“A smile is the universal welcome.” – Max Eastman
Add a welcome sign to your front porch and create a warm and welcoming front entrance. This increases the curb appeal of your home and gives your home some personality. You can also use a welcome sign to set the tone for an event you’re hosting. They are commonly used when hosting birthday parties, engagement parties, weddings, and baby showers.
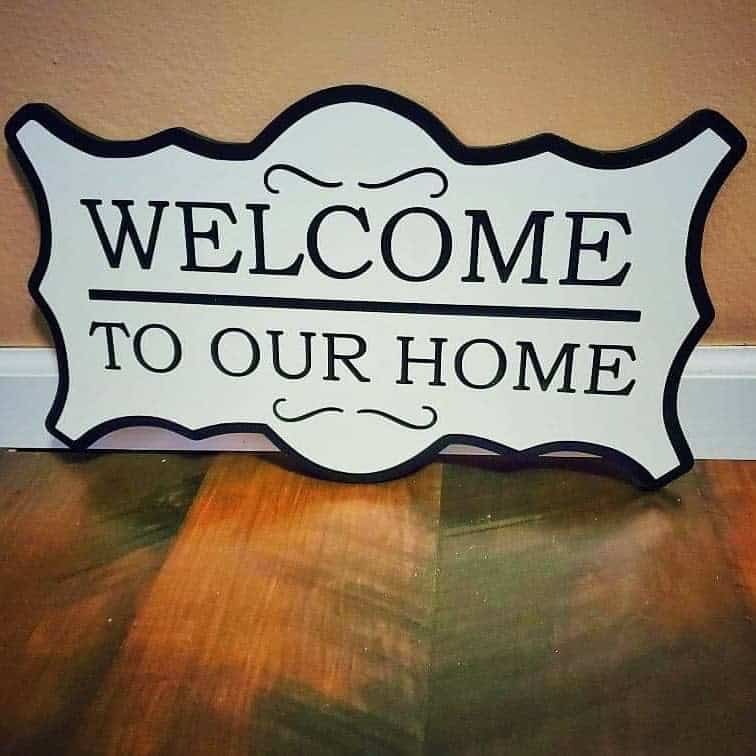
The type of welcome sign you choose will let people know about your personal style. You could have a sign that’s rustic, modern, mid-century, or Victorian. These welcome sign ideas will inspire you to add your own welcome sign to your home’s entrance.
[view_toc]
1. Creative DIY Welcome Signs
You can make your own DIY welcome sign with a piece of wood, a stencil, and acrylic spray paint. You could leave the wood raw, but it would be nicer to use a wood stain. You can brush it on with a paint brush. This craft project is one that even a beginner can accomplish.
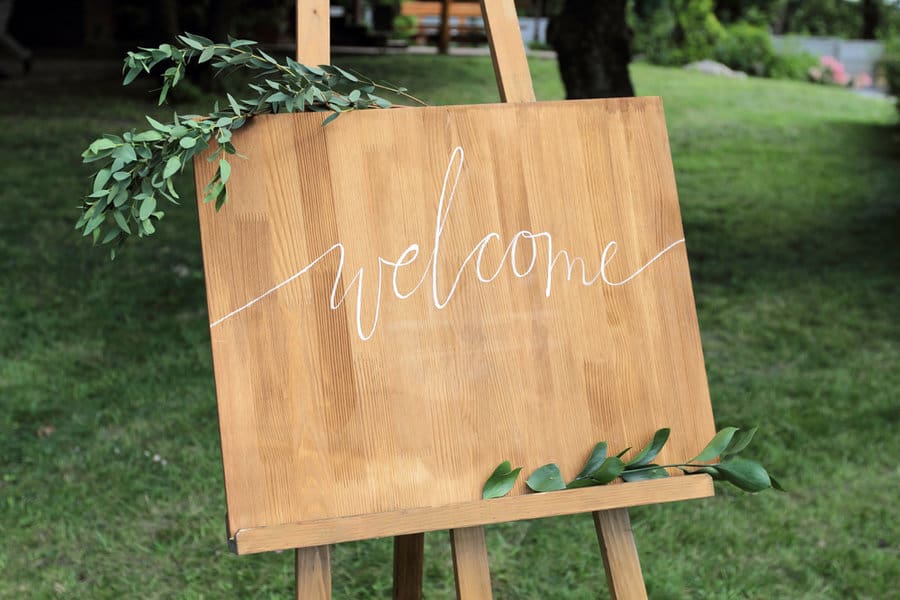
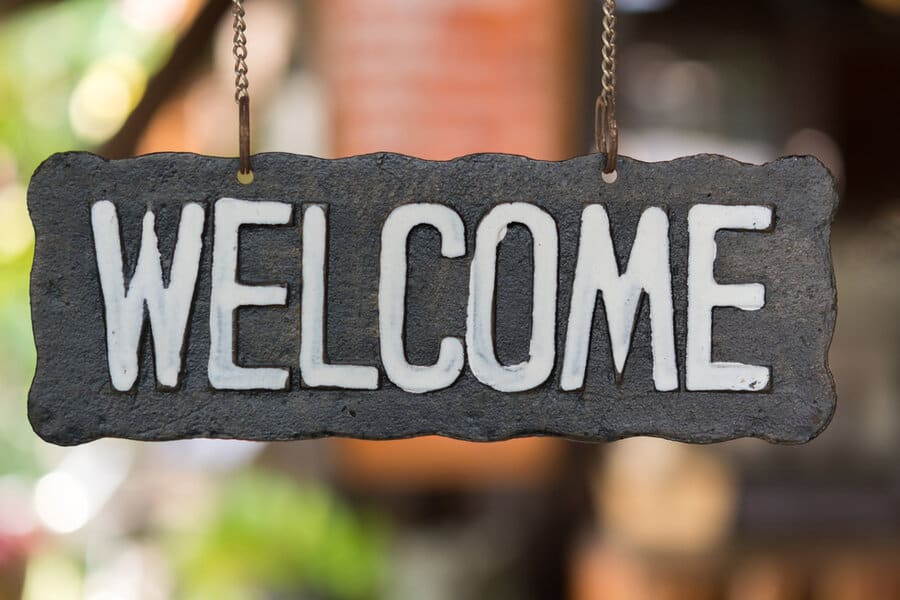
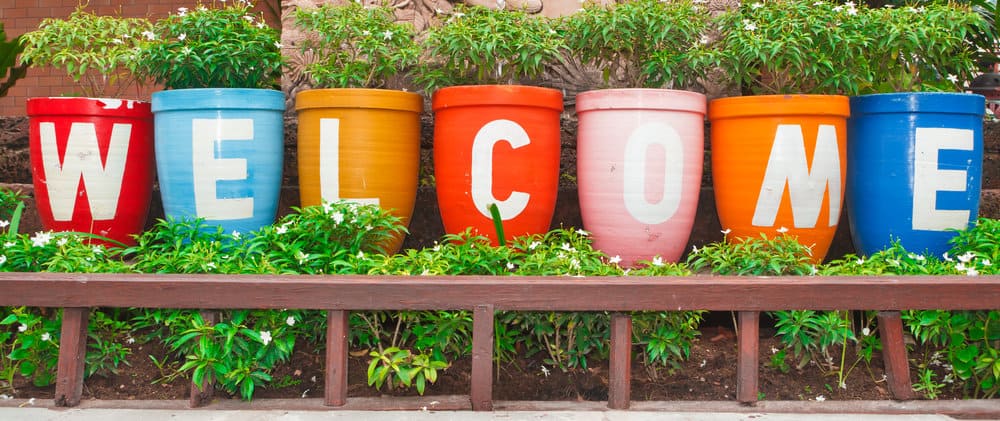
Before you start your DIY project, you’ll want to decide how large you want your sign to be and what you want it to say. A simple sign will have just “welcome” painted on it. If you aren’t skilled at painting, then consider using vinyl stickers. You can peel and stick them.
2. Entryway Greeting Sign Inspirations
The natural place to display your welcome sign is in the entryway of your home. Look for sign ideas that blend well with the rest of the decor in your home. Instead of wood, you could have a minimalist acrylic sign.
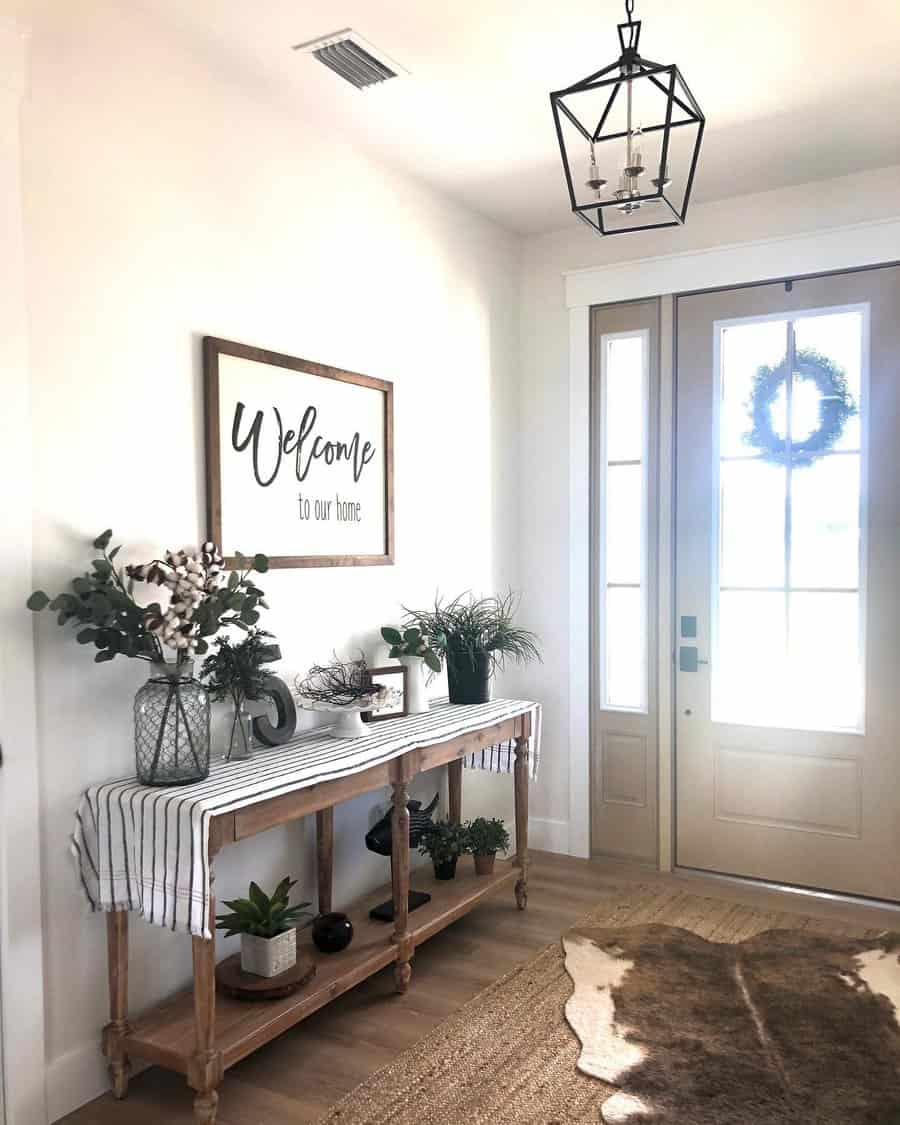
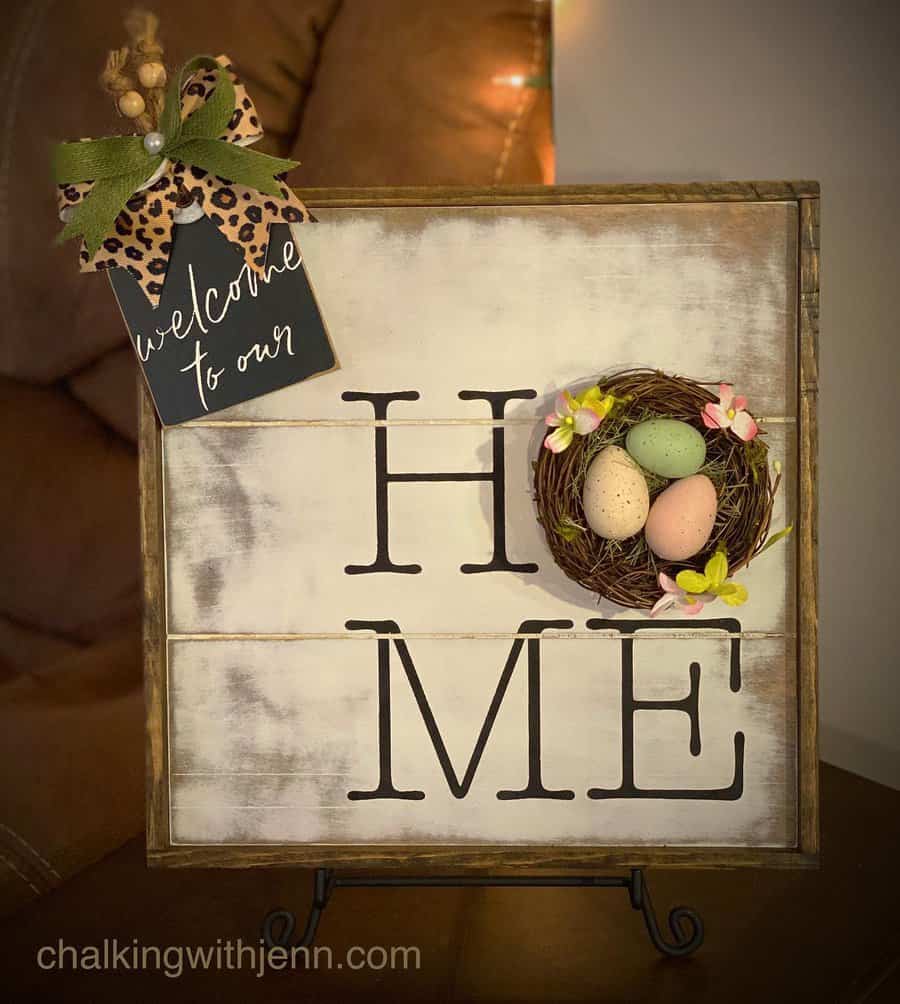
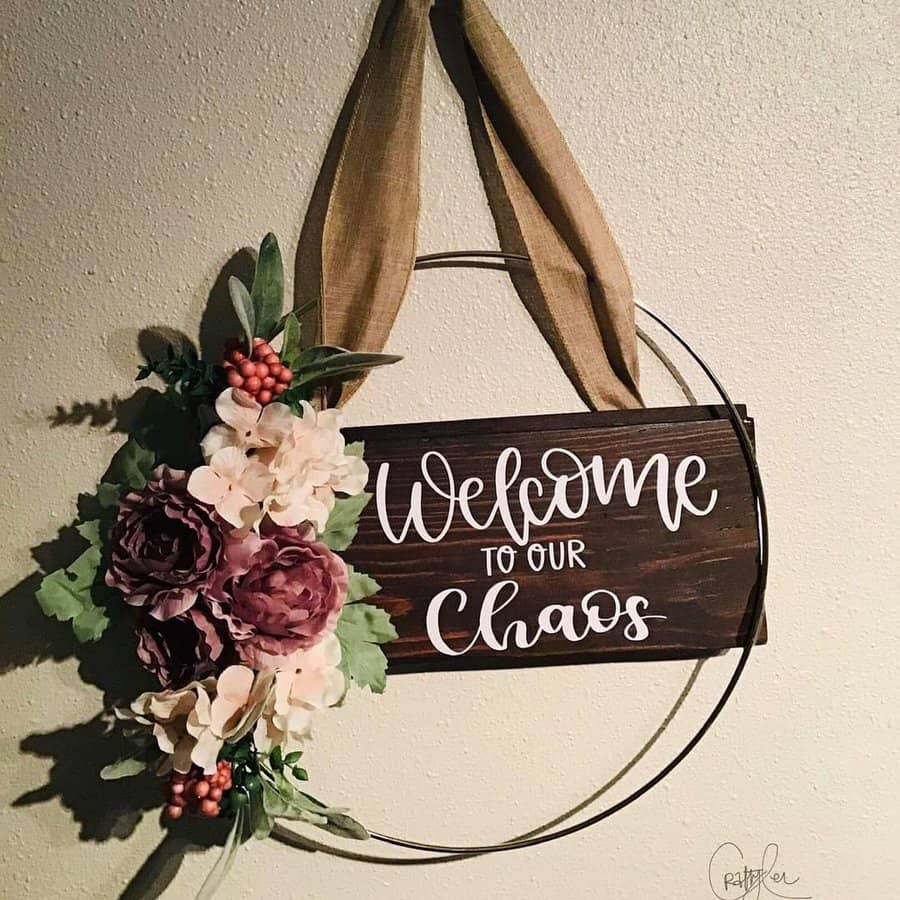
Another option is to trade out your welcome signs throughout the year. The sign could be a seasonal sign, such as one for Easter, the 4th of July, or Christmas.
Hang your welcome sign on the wall among other decor for a gallery wall effect. Or lean it against the wall when placed on a credenza or floating shelf.
3. Farmhouse-Style Greeting Displays
If you love the farmhouse style, you can continue this look with your welcome sign. Glue several wood planks together to create the platform base for your welcome sign.
Choose wood that will match the rest of your farmhouse decor. If you have a lot of vintage furniture, then stain the wood to match the darker hue of vintage furniture. If you have decor that’s whitewashed, then you can give this treatment to your welcome sign.
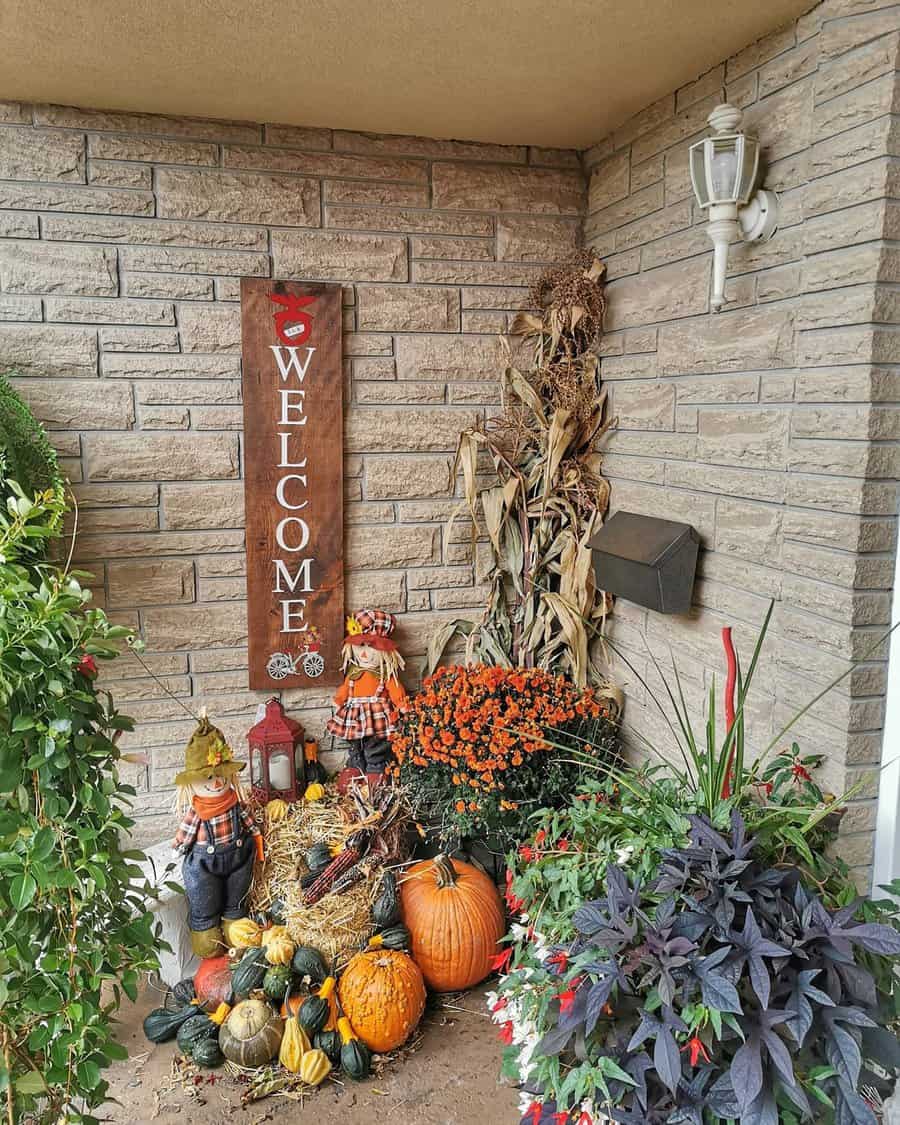
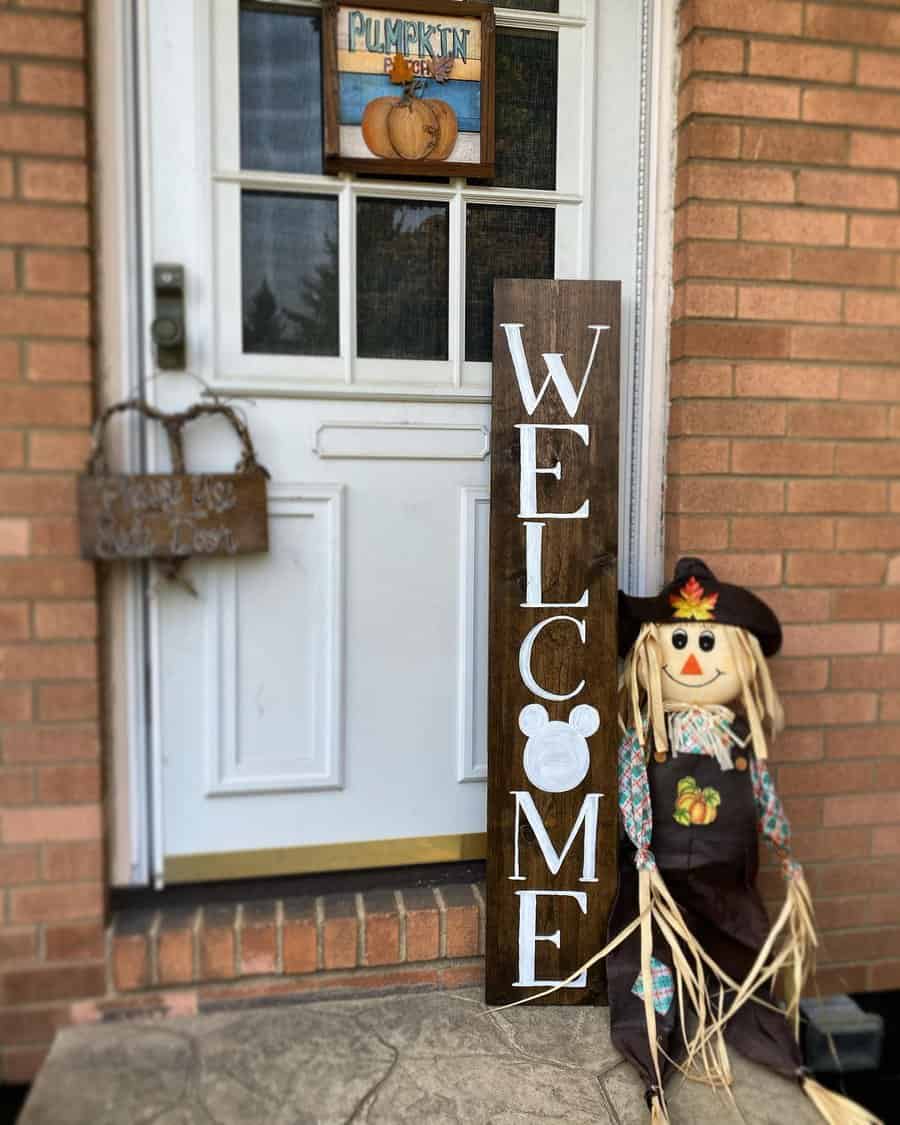
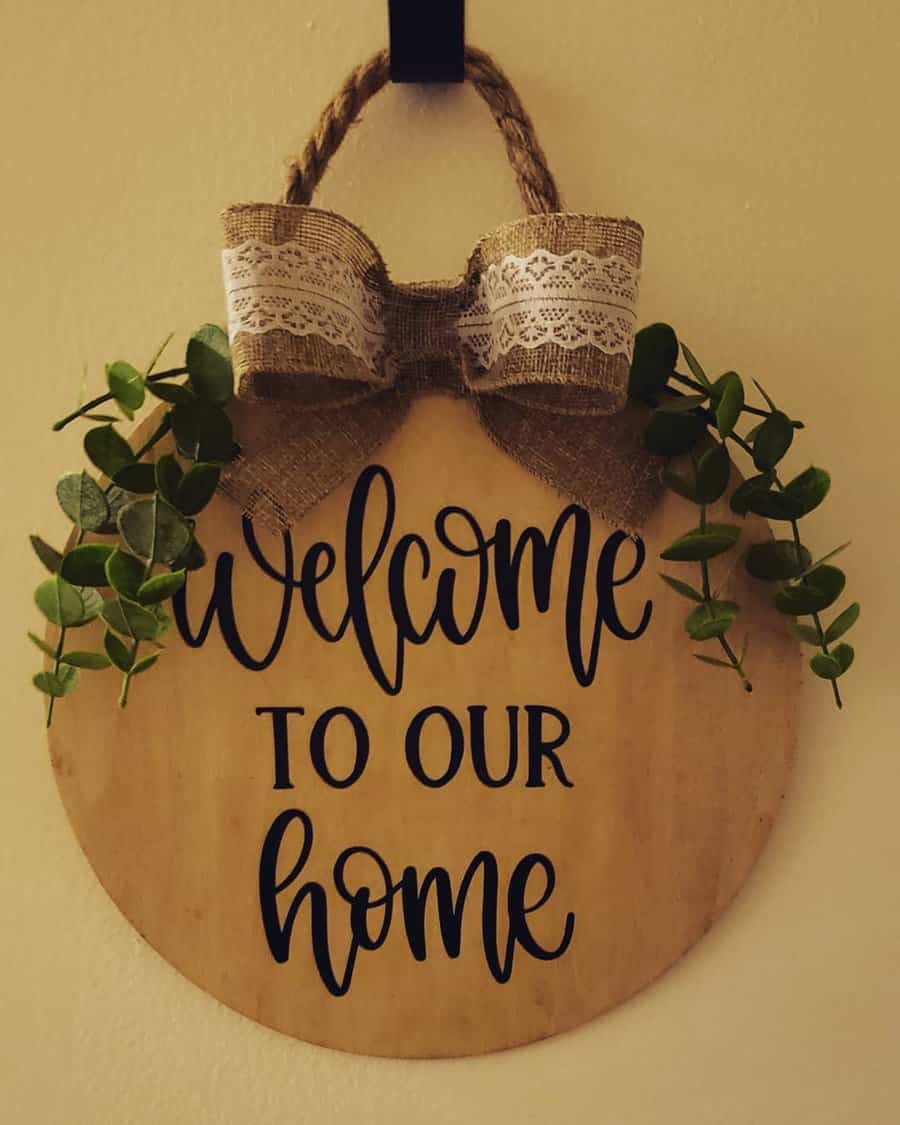
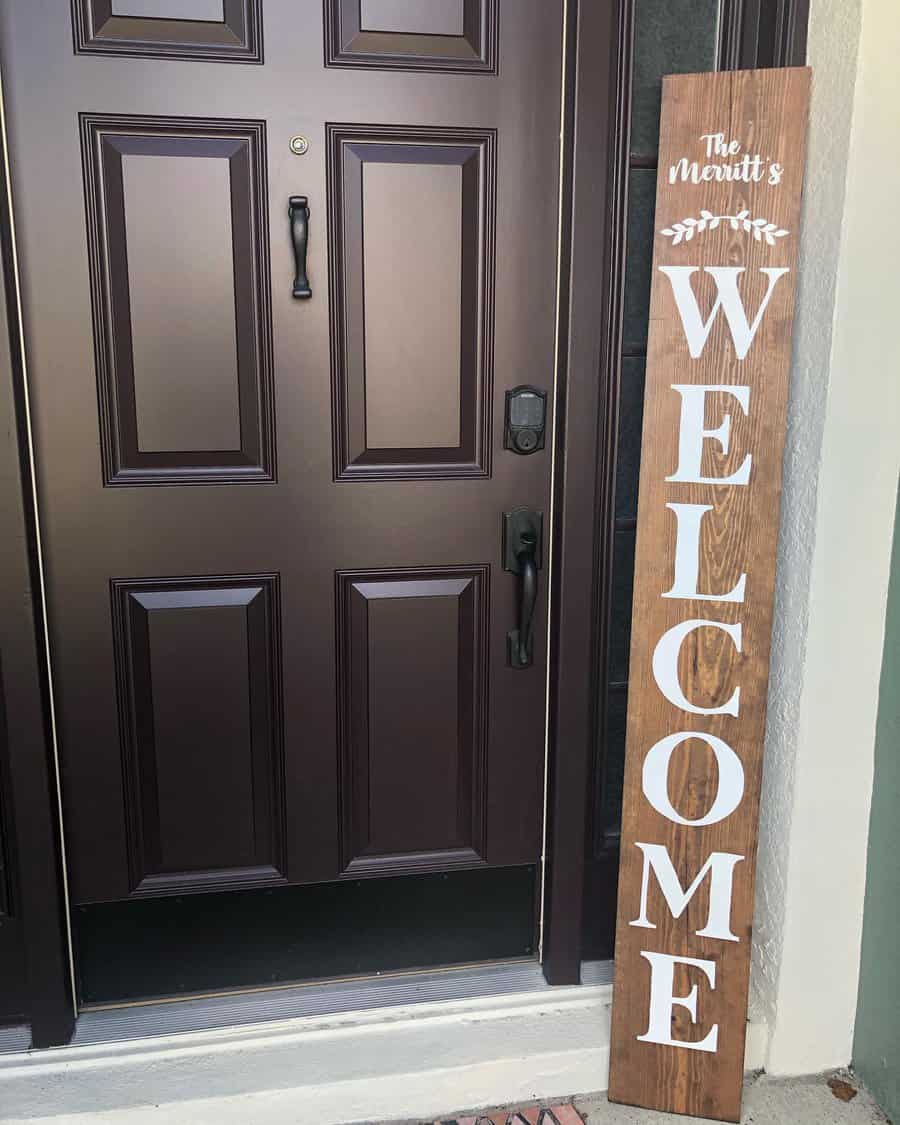
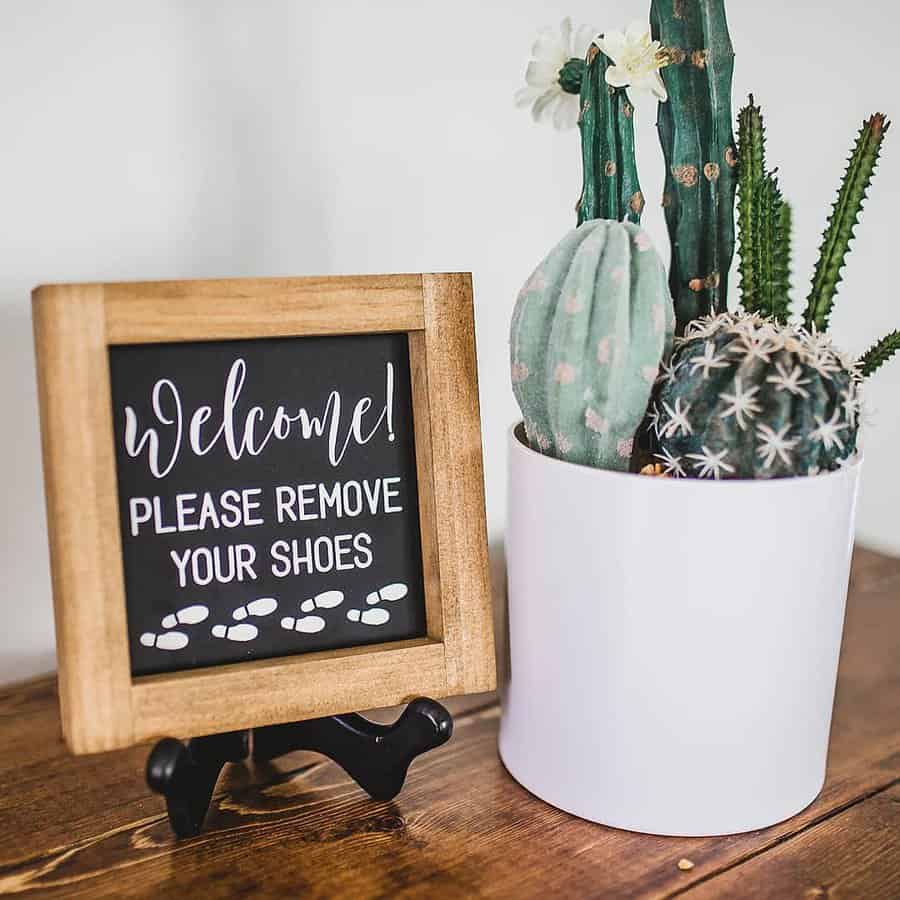

Don’t be afraid to dress up your welcome sign. A burlap bow will dress up the sign without it being overly ornate. You could arrange dried flowers, grasses, or grains around it.
4. Welcome Signs for Front Door
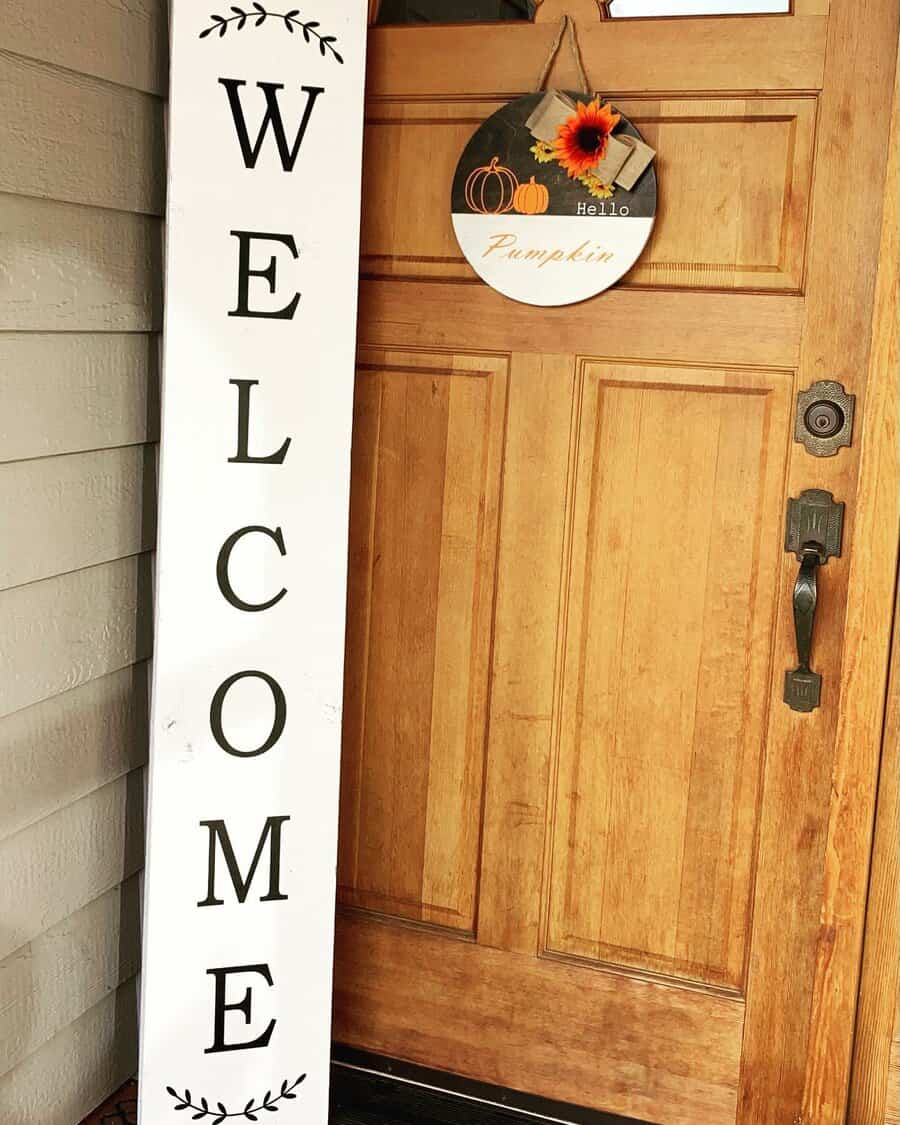
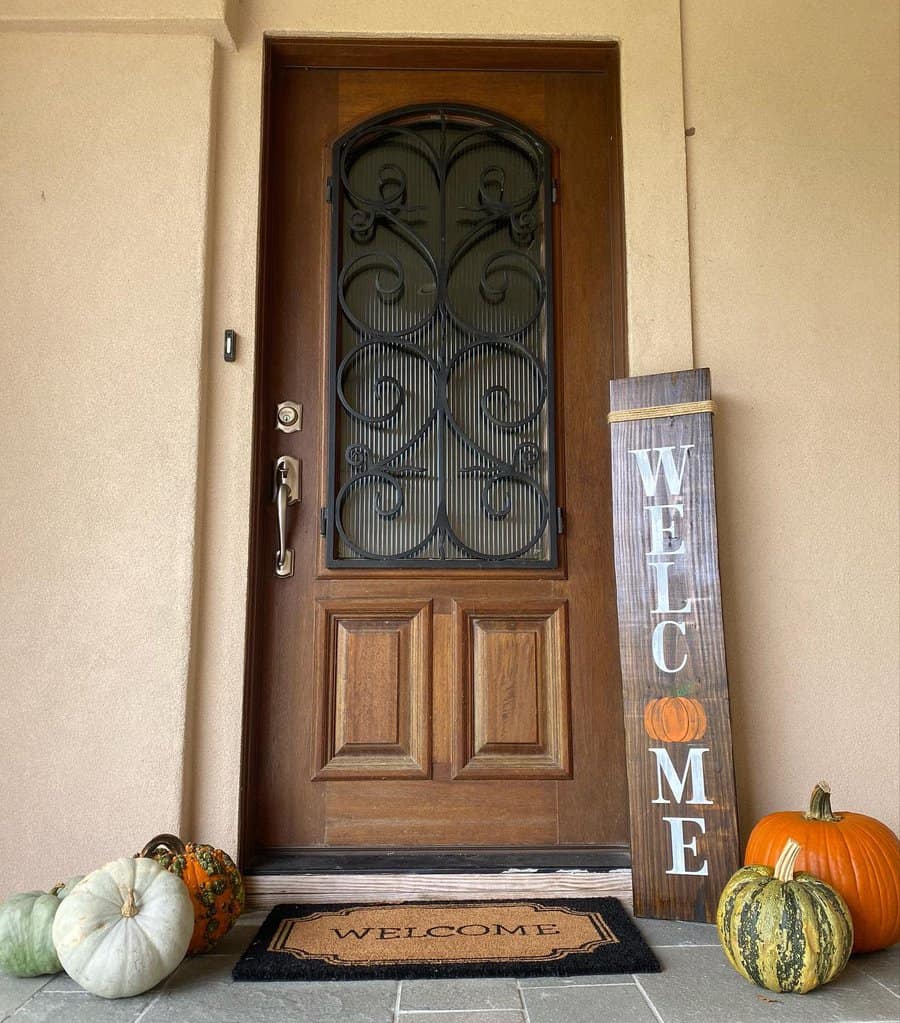
Instead of displaying your welcome sign inside your home in the entryway, place it outside. Use it as part of your decor on your front door or porch. It could be a large sign that rests on the ground and leans up against your home.
These larger signs are best when you have plenty of room next to your front door. You don’t want anyone bumping into the sign or tripping over it.
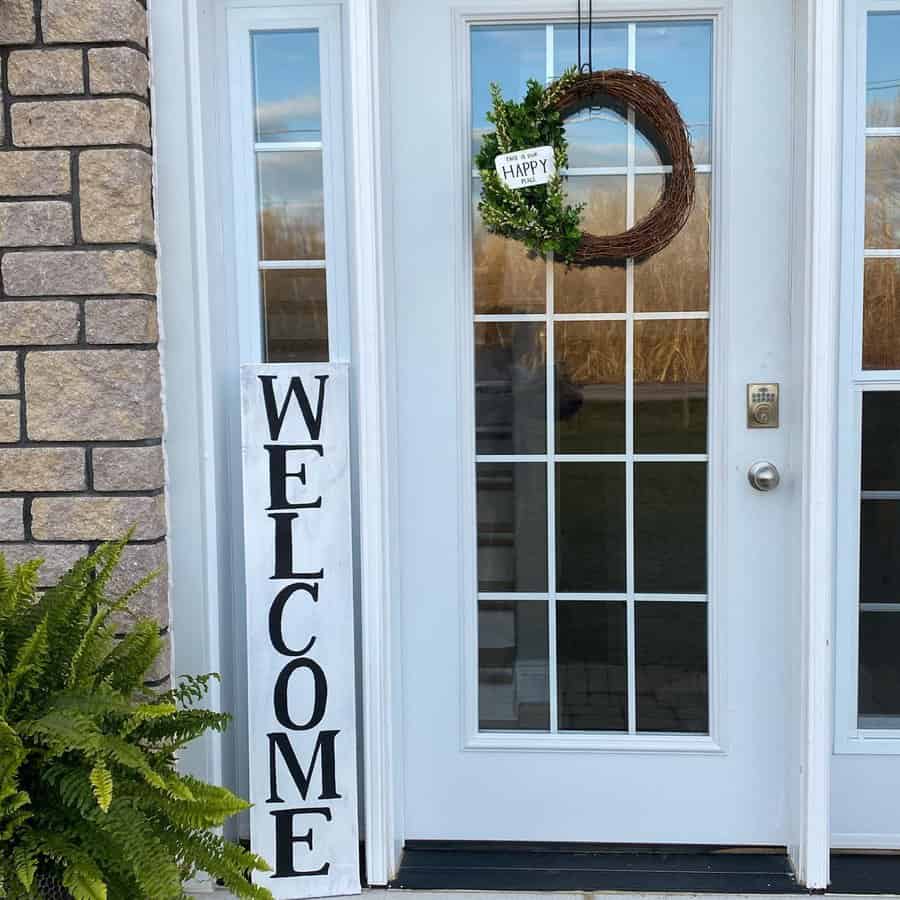
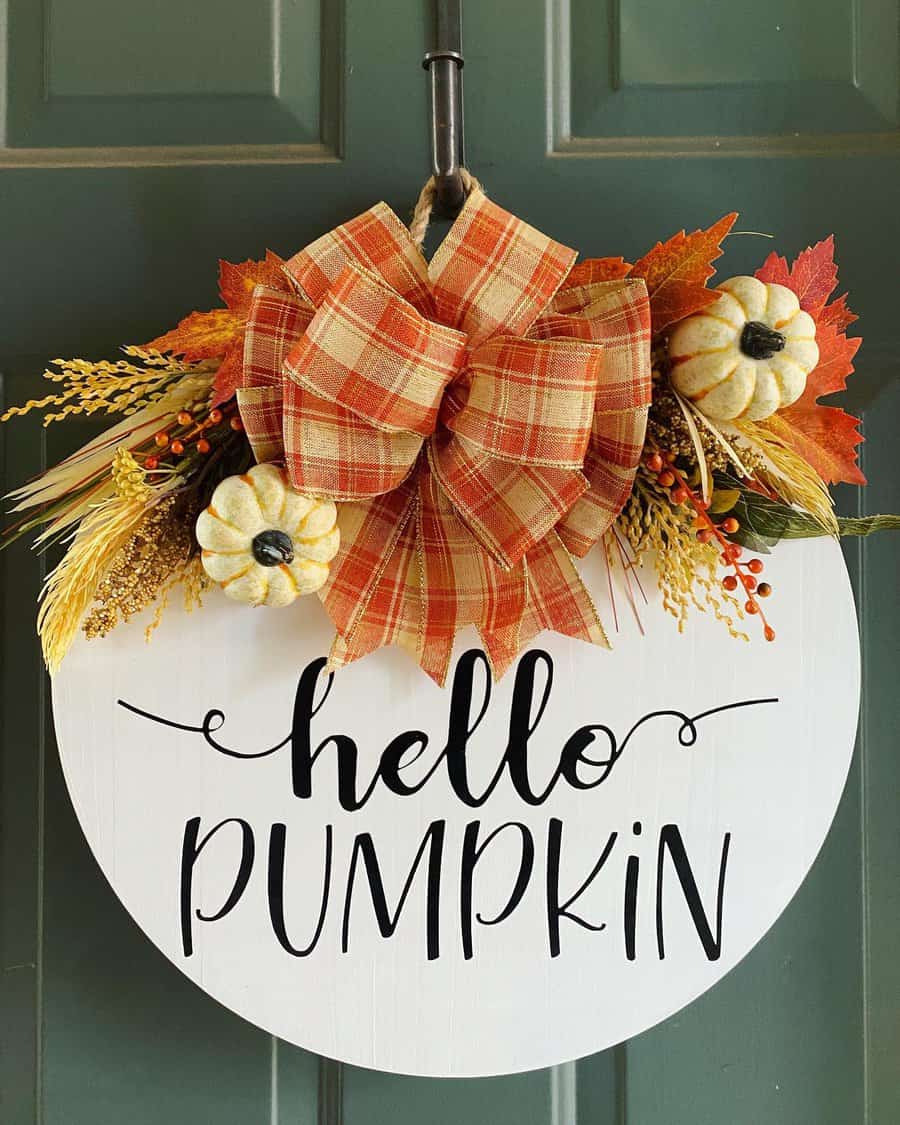
If you don’t have a lot of room or don’t want a huge sign, you could have a smaller one hanging on the door.
There are welcome signs that hang on their own from a wire. Or it could be a part of a wreath. This is nice because it can have several elements, such as flowers, ribbon, greenery, and lights.
5. Pallet Wood Signs
Pallet wood is popular for a wide variety of home projects. If you have a few leftover pieces, you can put them together to make a pallet sign. Line them up to create a clean rectangle or square. Or you can offset them for a more creative look. Then paint, draw, or use vinyl stickers for the lettering.
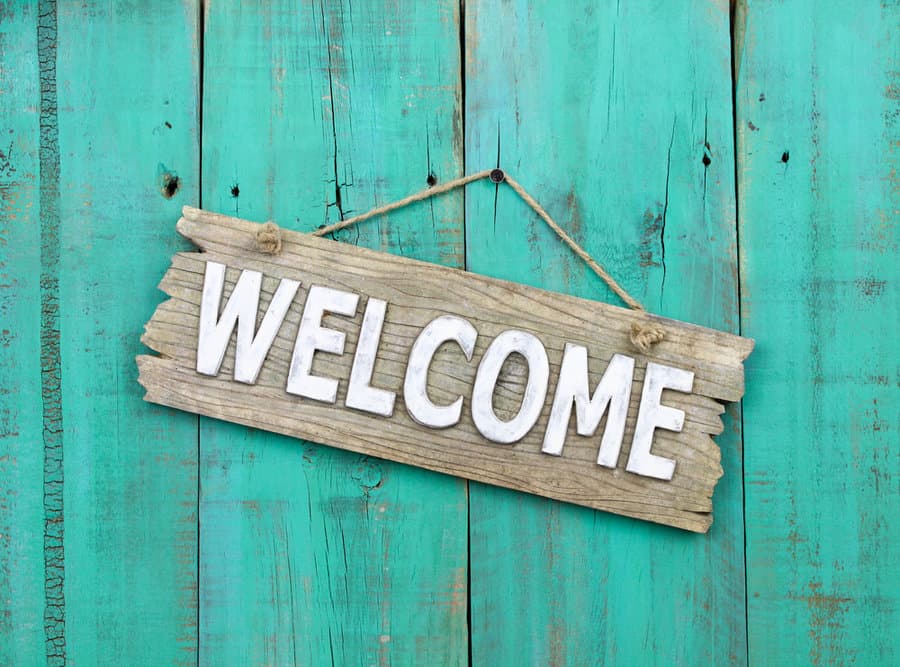
When hanging your pallet sign, remember that pallet wood can be very heavy. You don’t want to make the sign too big. You can reduce the weight by cutting the pallet planks in half to reduce their thickness. This lets you preserve the look of the pallet wood while reducing the sign’s bulk and weight.
6. Front Porch Welcome Signs
Having a large porch on the front of your home gives you a lot more room to work with. You could hang a larger porch sign on the wall. Or you could skip the sign and hang large wood letters right on the exterior of your home.
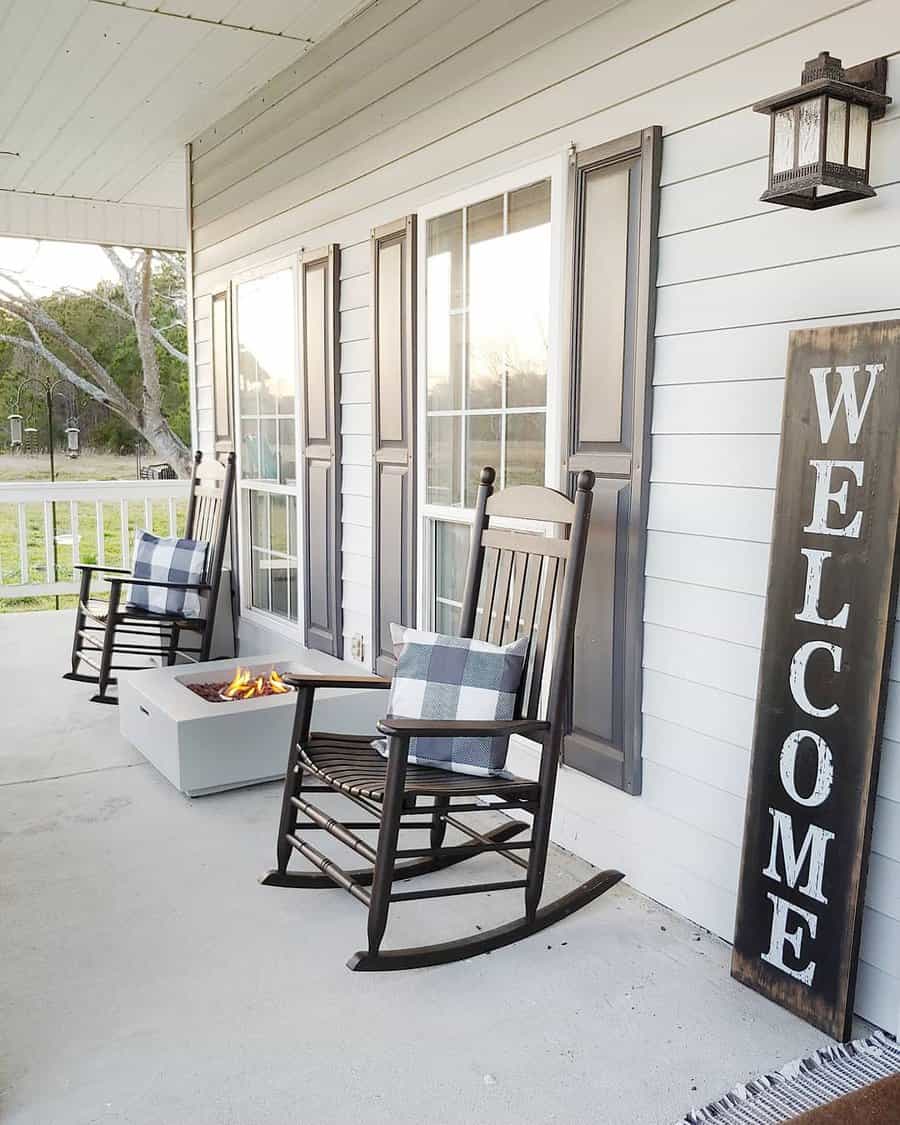
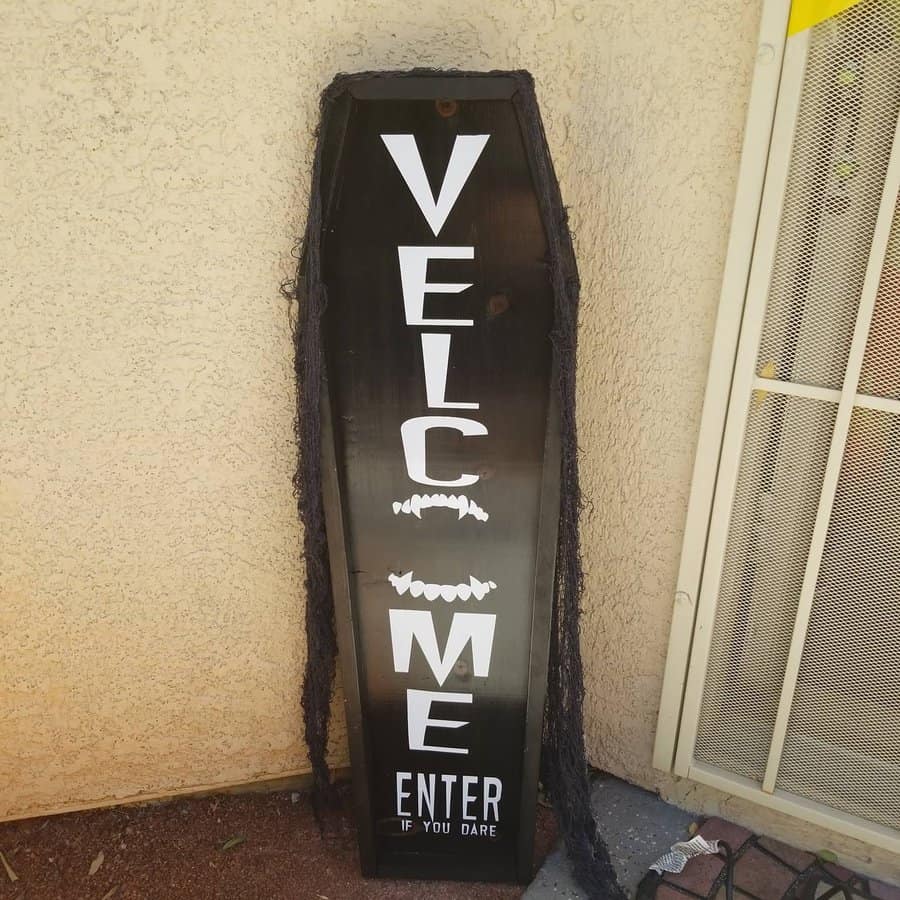
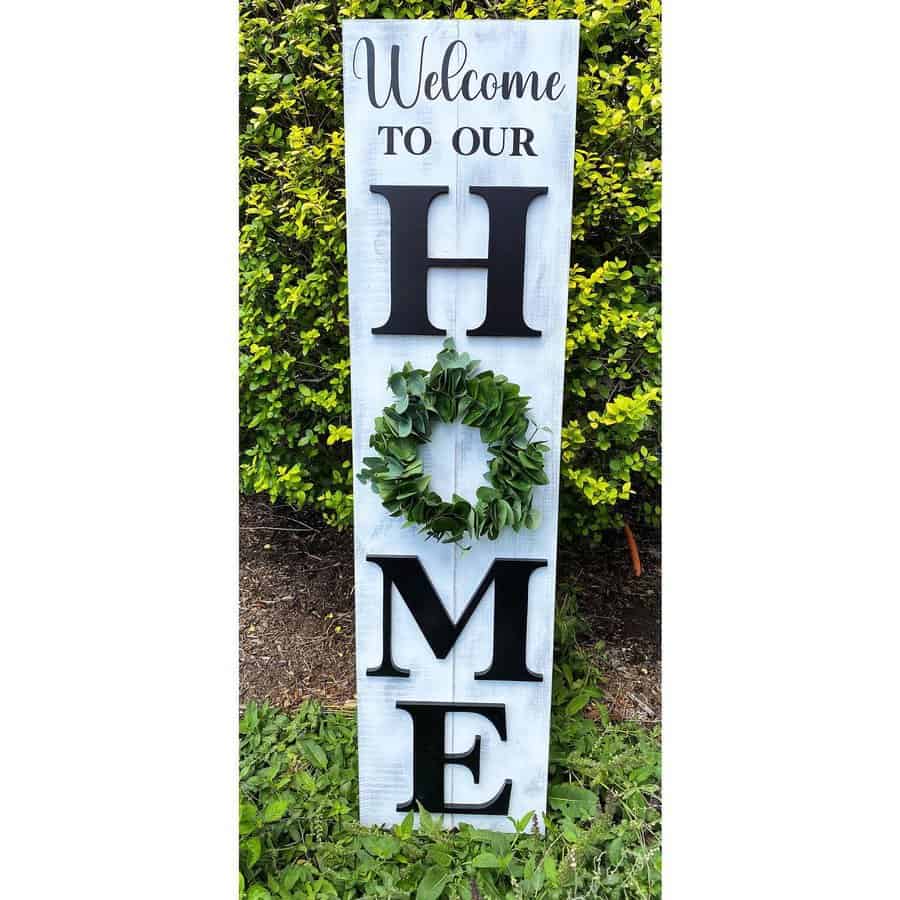
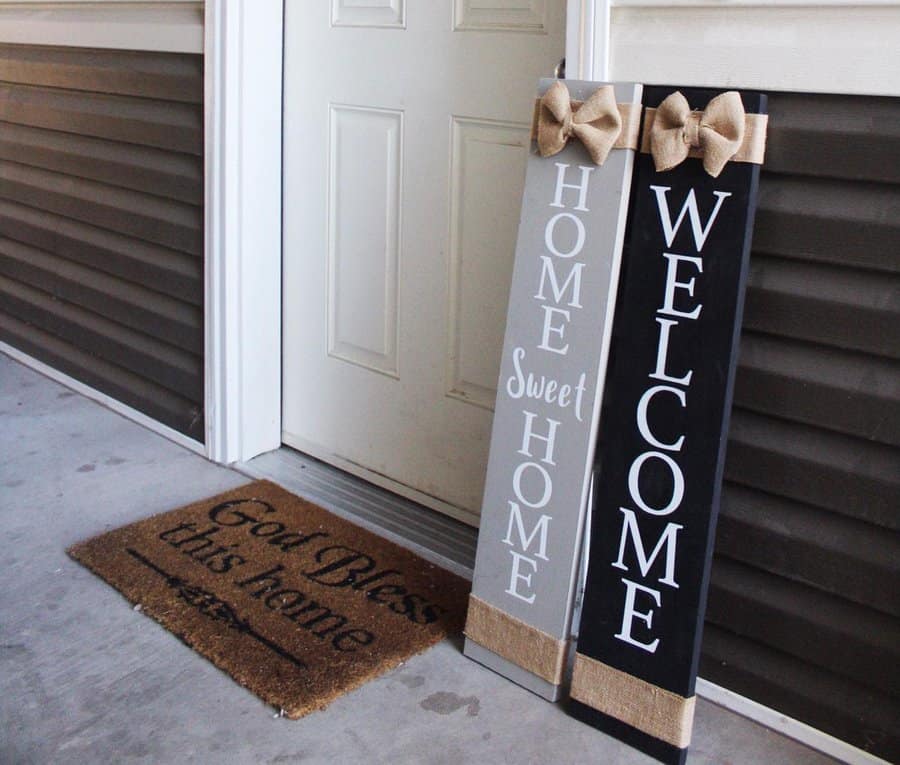
If you have other porch decor, you could place a small welcome sign among it. Try using a three-dimensional sign that stands on its own. It could be on a post, easel style, or a block.
7. Printable Welcome Signs
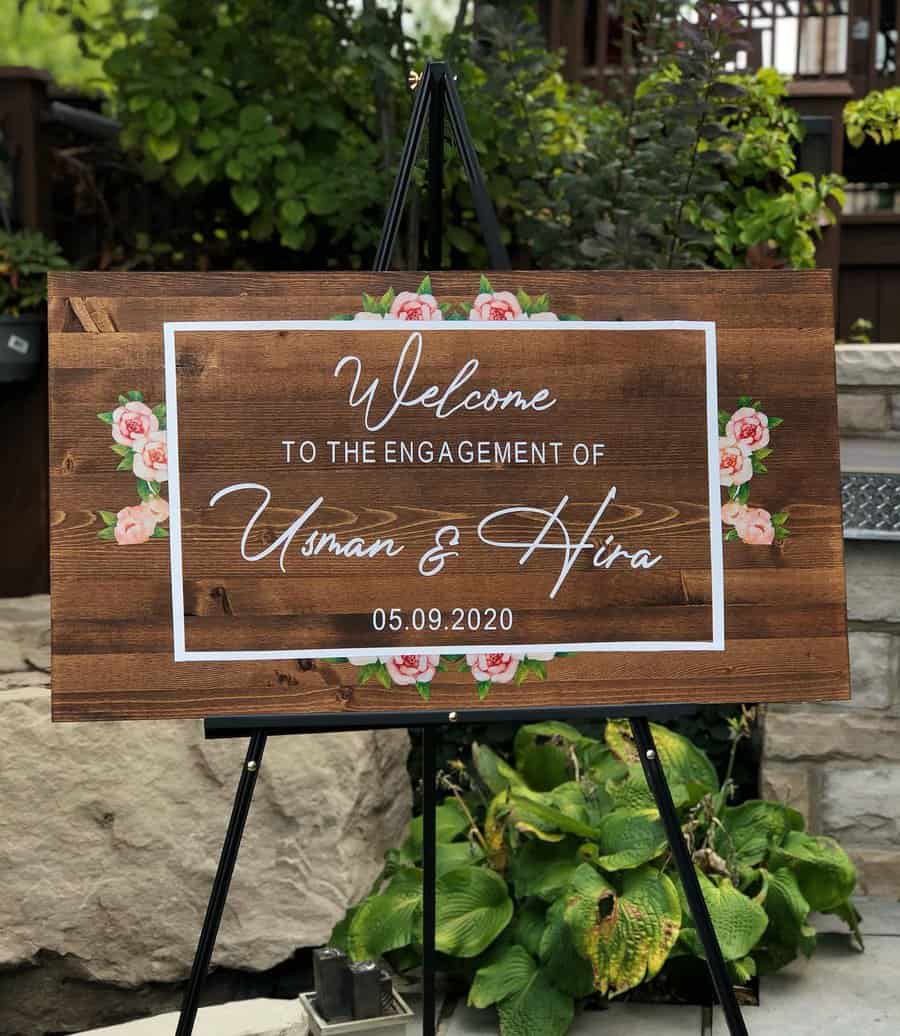
Hosting an event requires a welcome sign, but that doesn’t mean you’ll want to keep that sign when the event is over with. In this situation, temporary signage will work. There are plenty of printable templates and designs available. Look for one that matches your wedding decor.
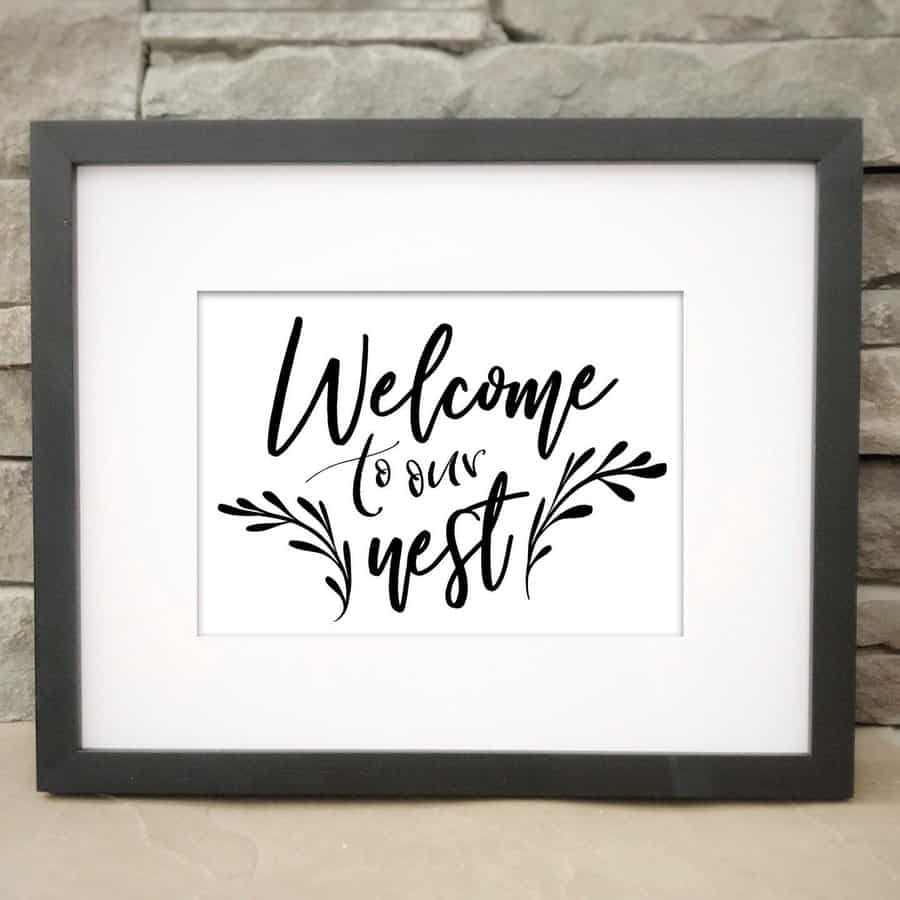
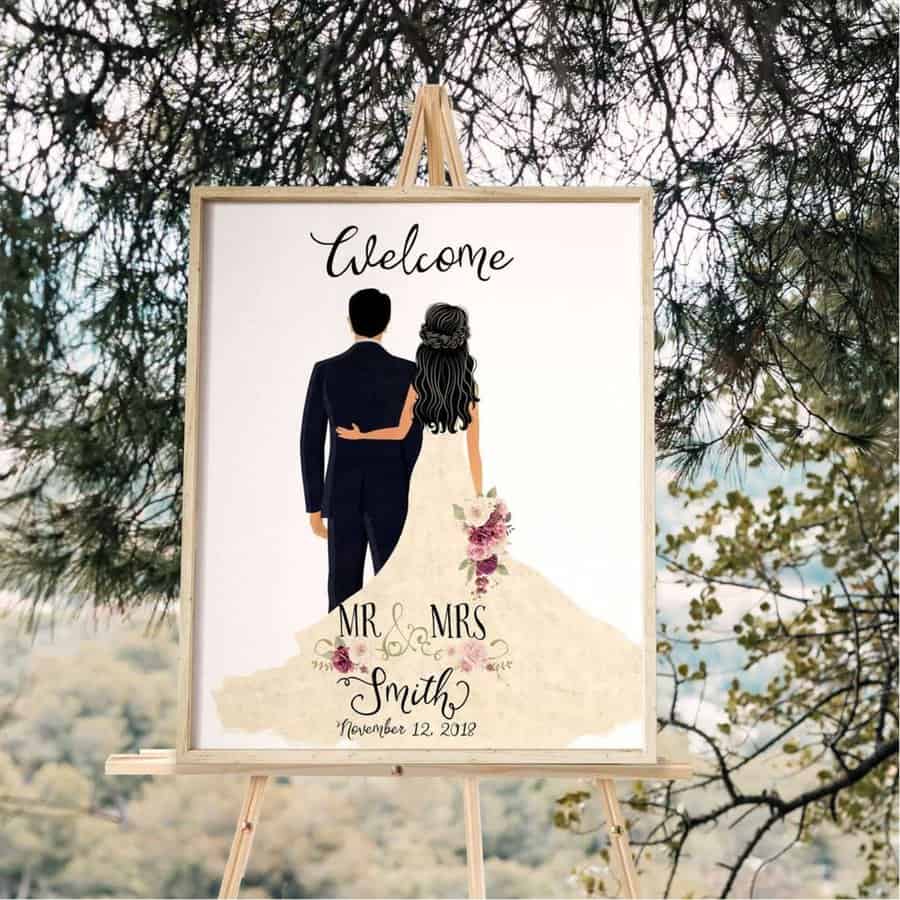
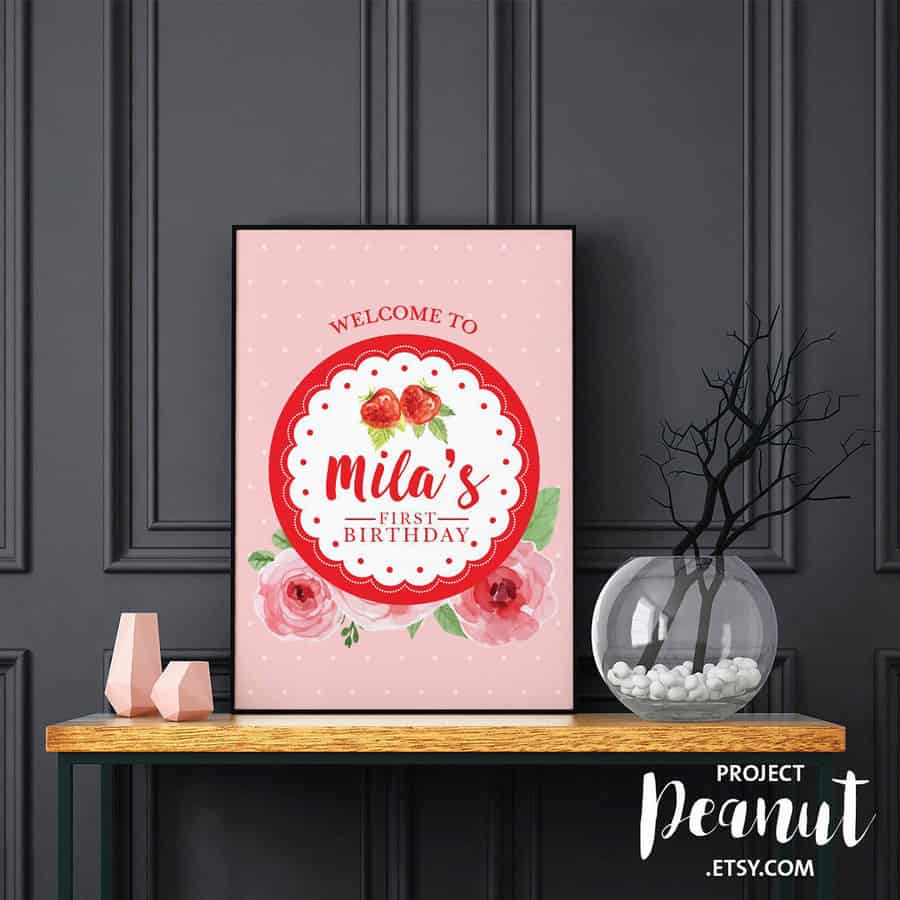
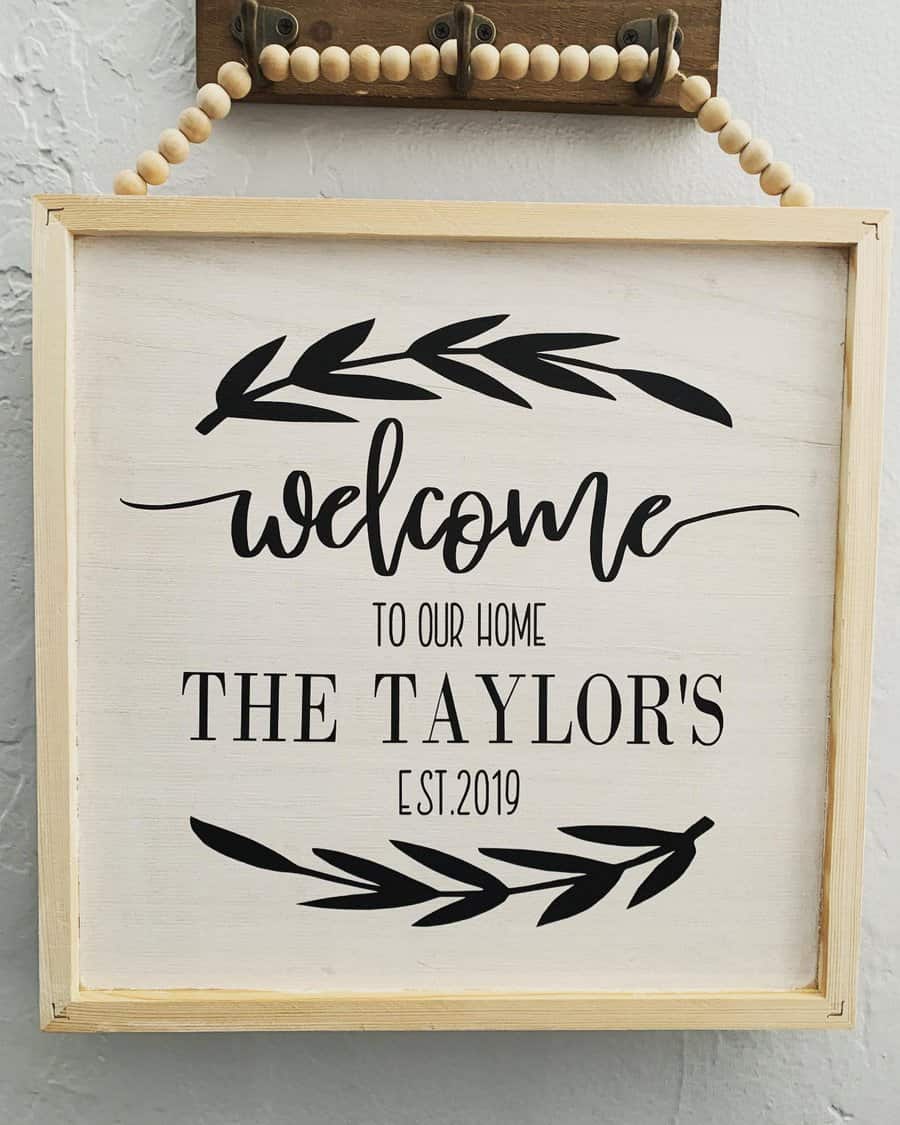

Print out the wedding welcome sign and then place it in a decorative picture frame. This will let you display the sign and have it match the rest of your event. Then when the event is over, you can take the sign out and use the frame for another event or as decor in your home.
8. Rustic Welcome Signs
A rustic welcome sign will give your home a humble feel. For an authentic look, use a piece of distressed wood. You can also use several small pieces of scrap wood that you piece together to create a larger sign.
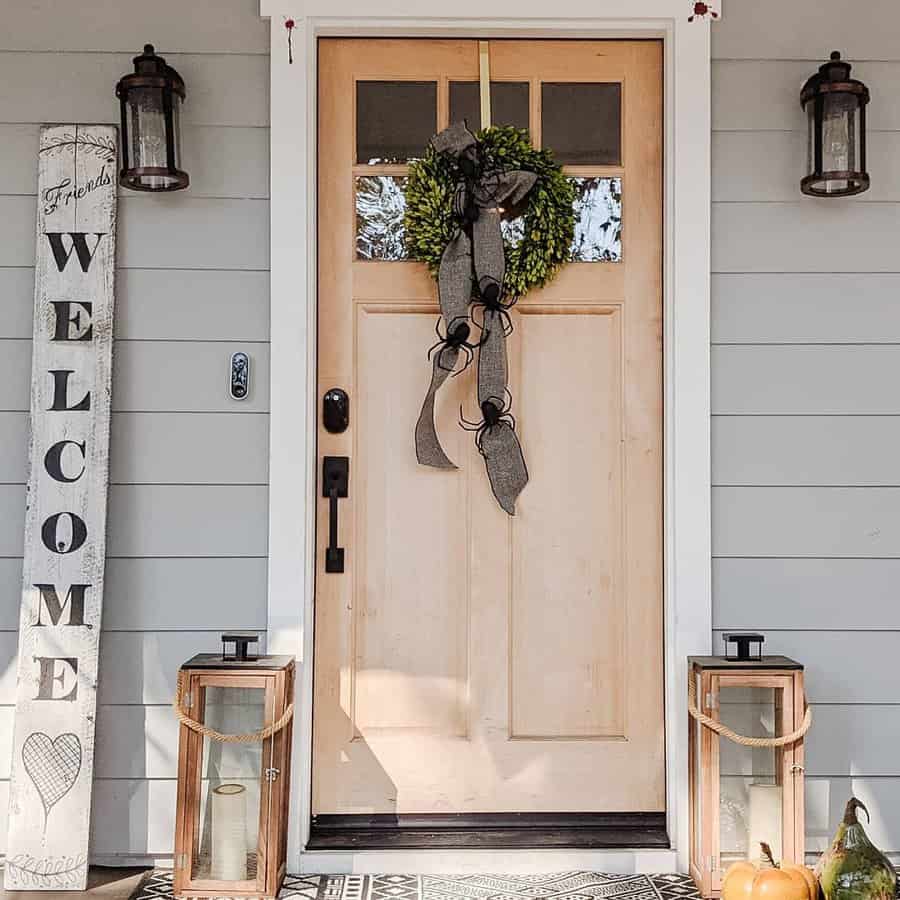
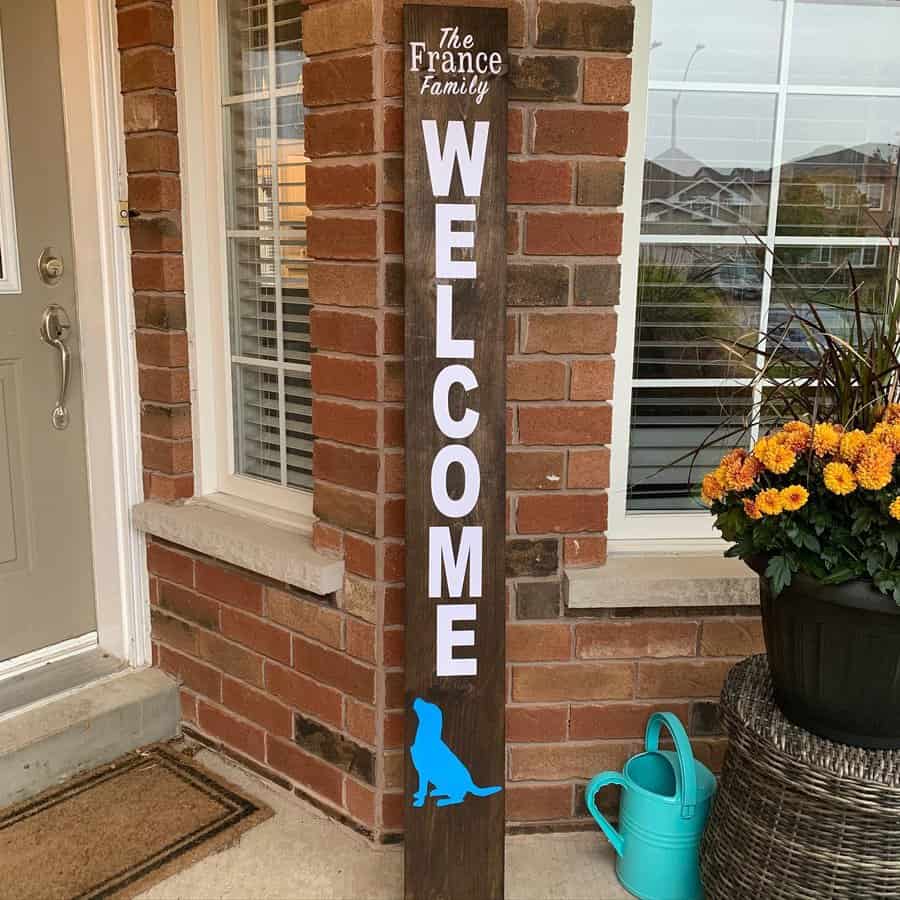
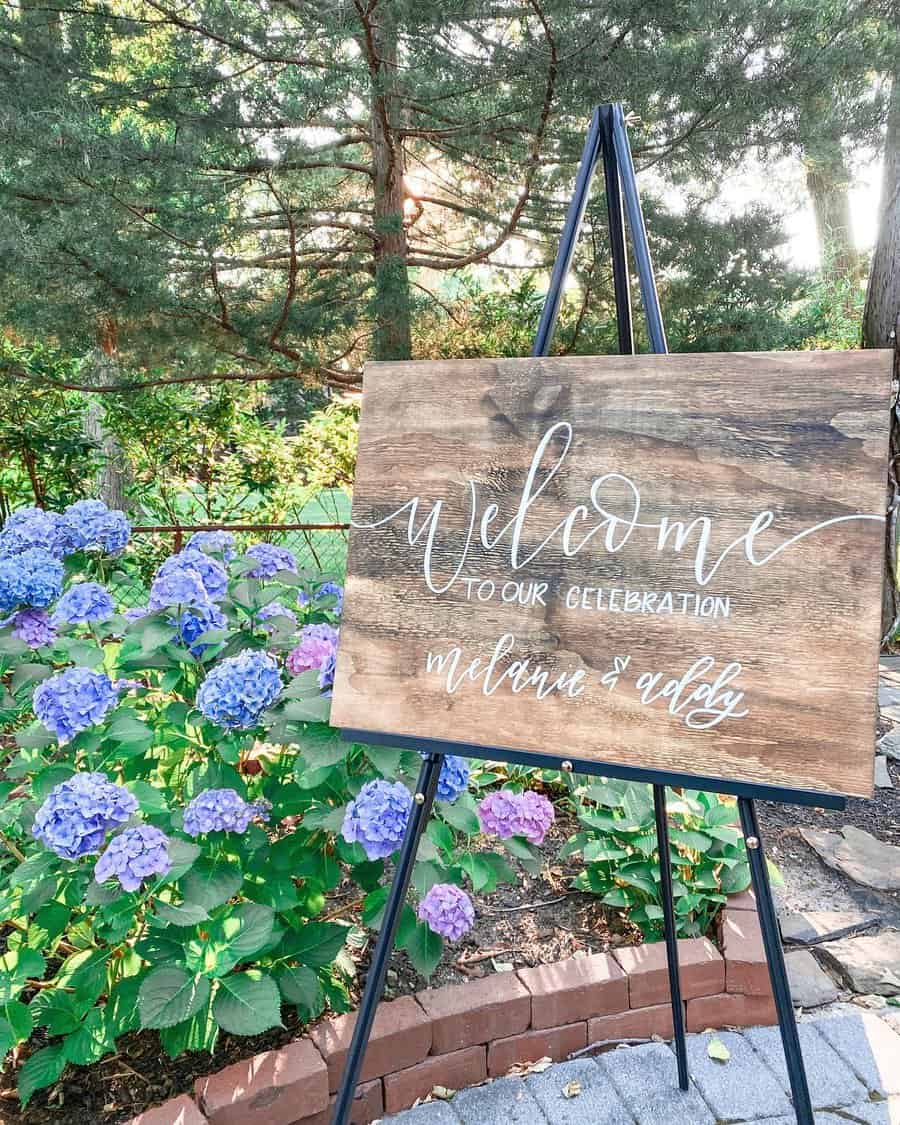
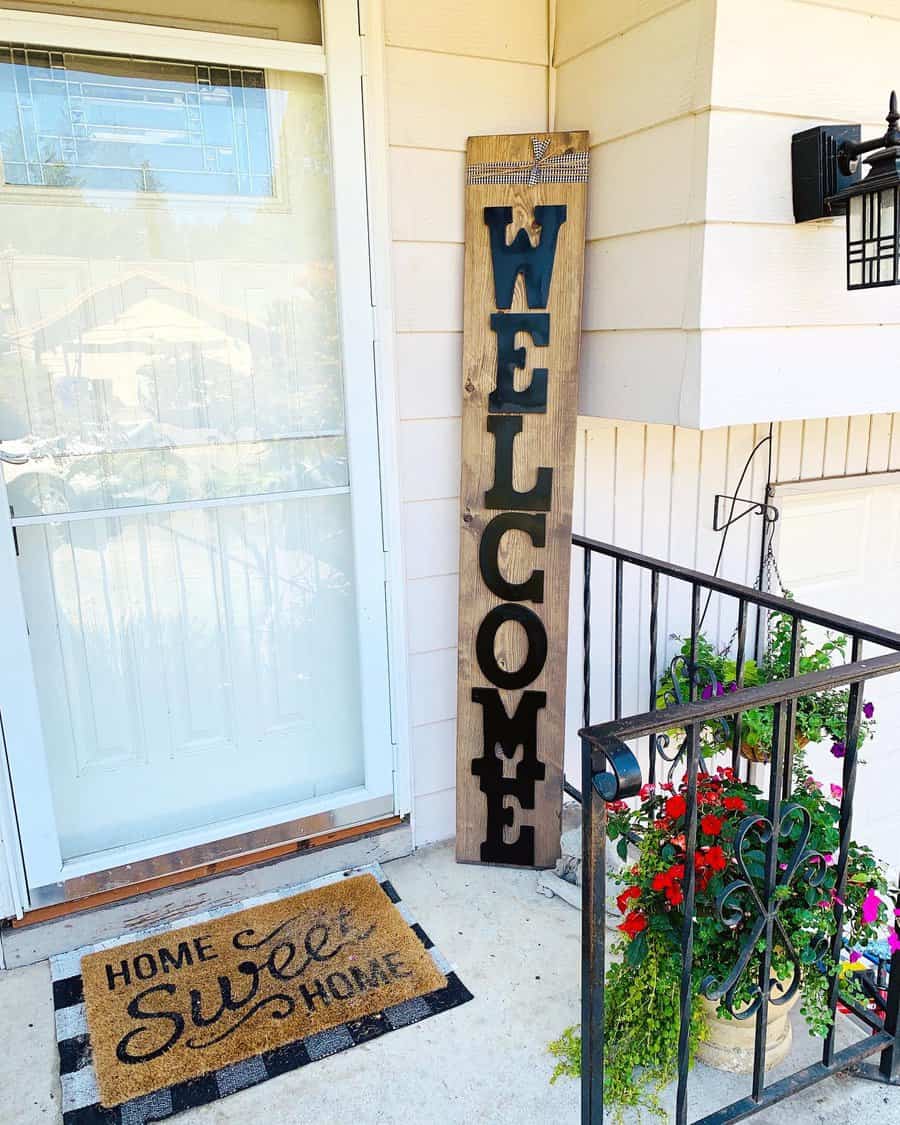
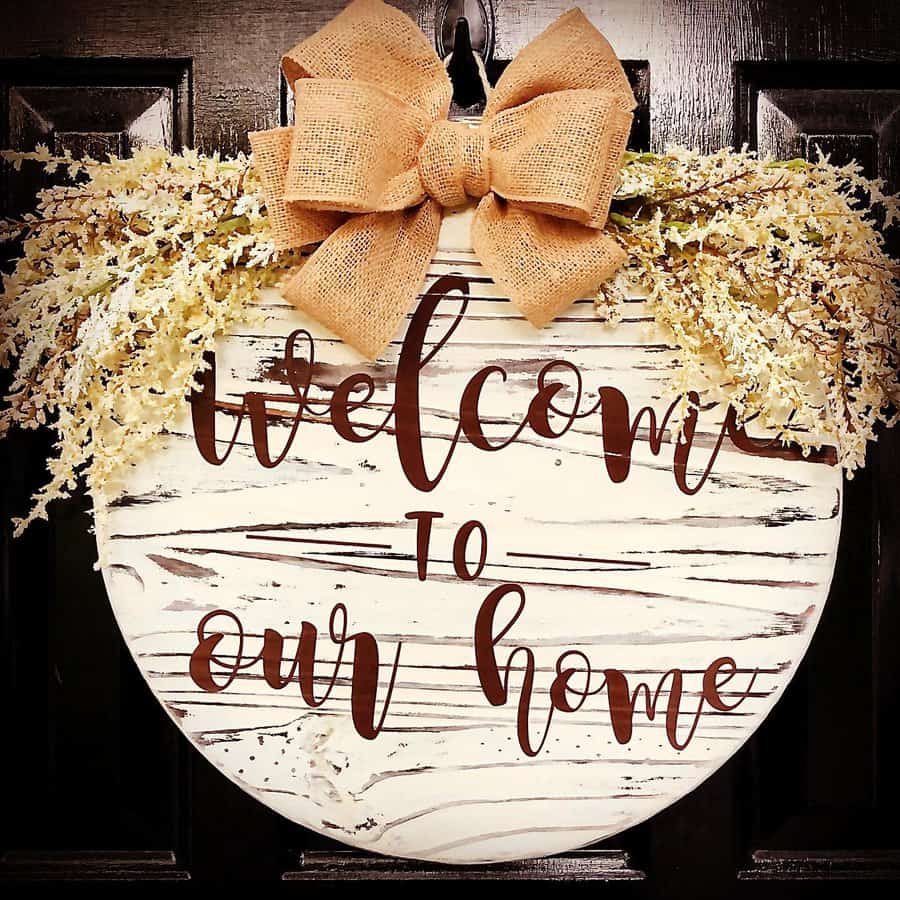
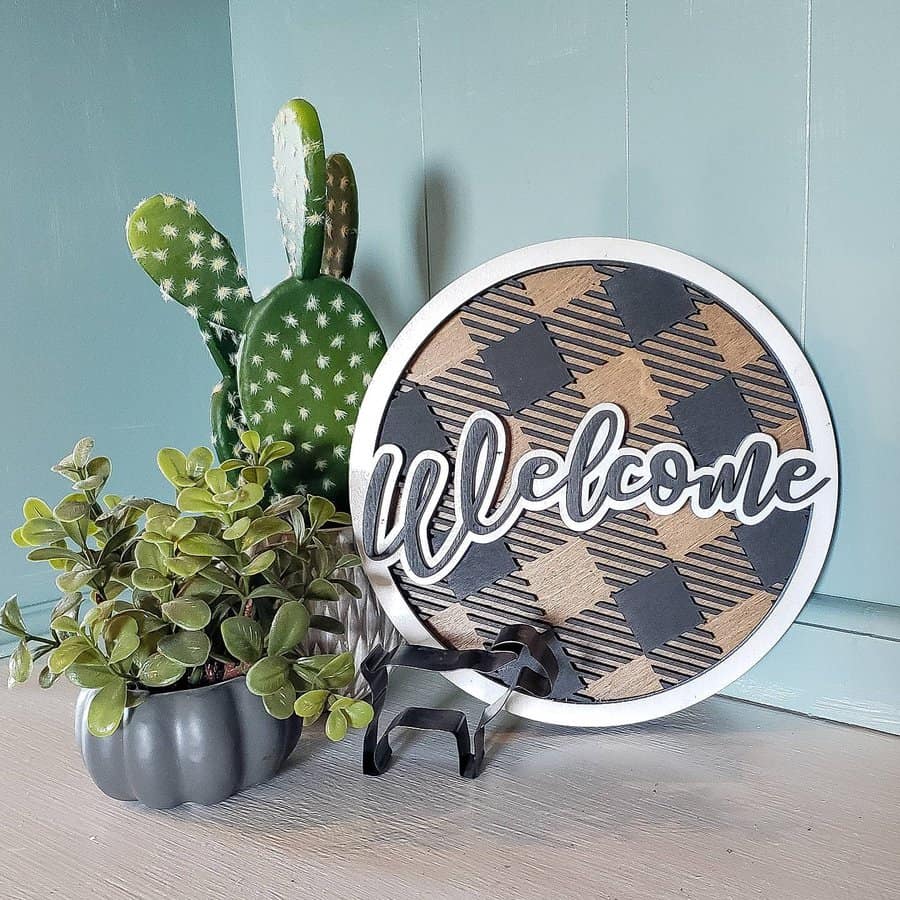
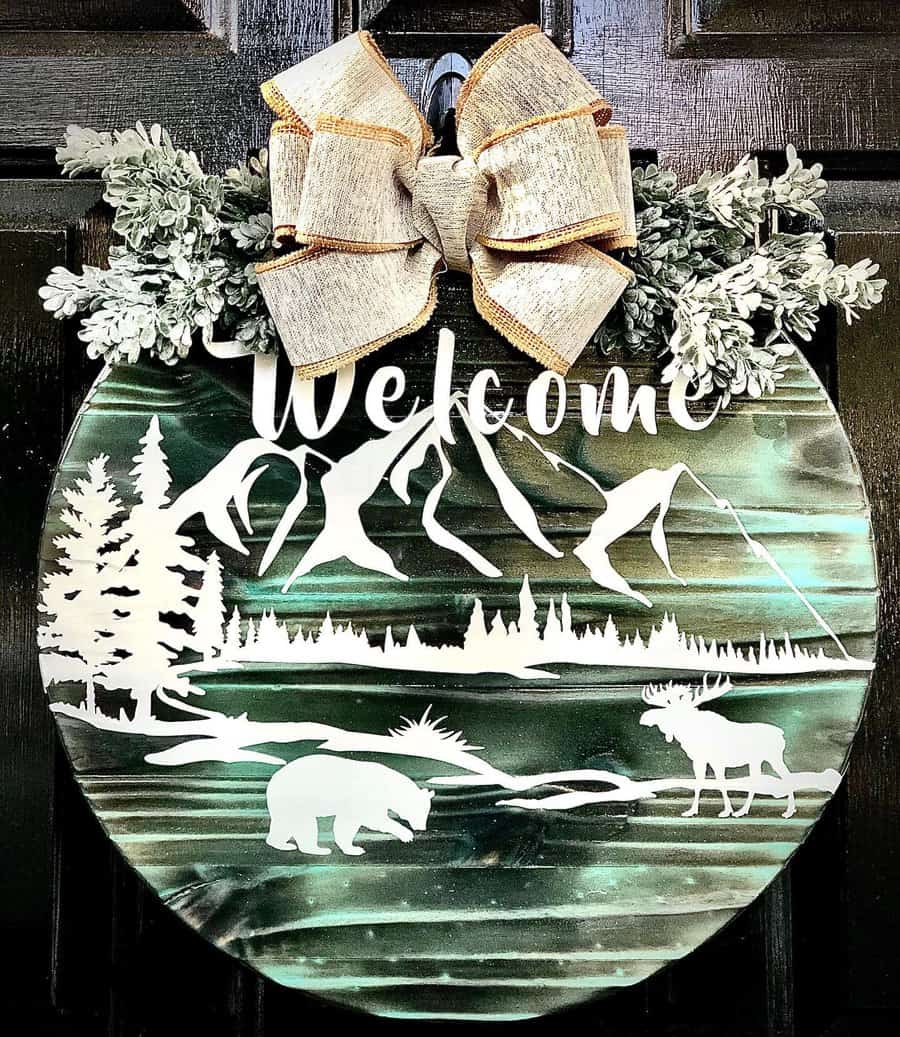
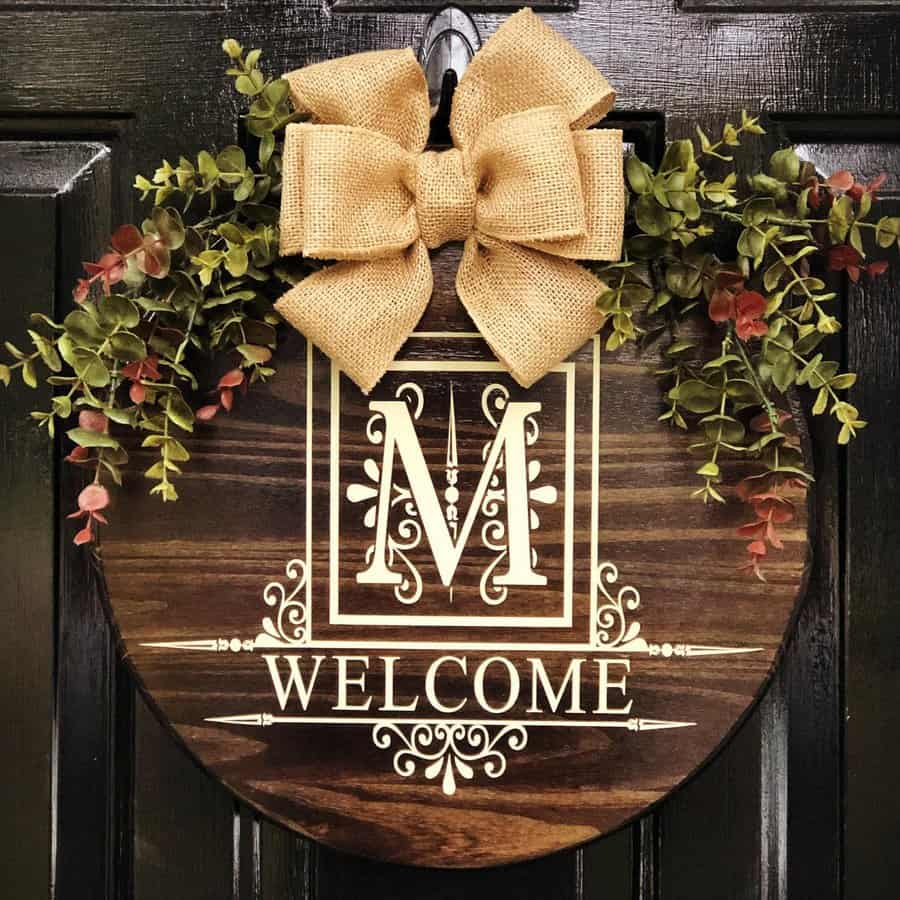
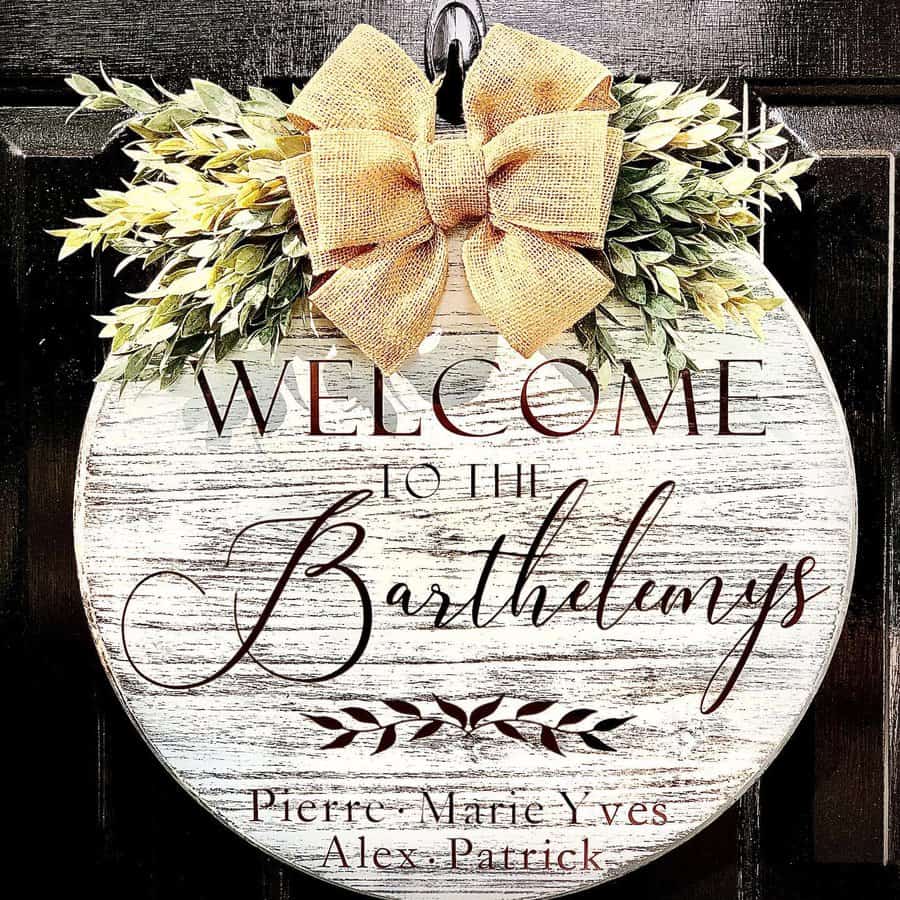
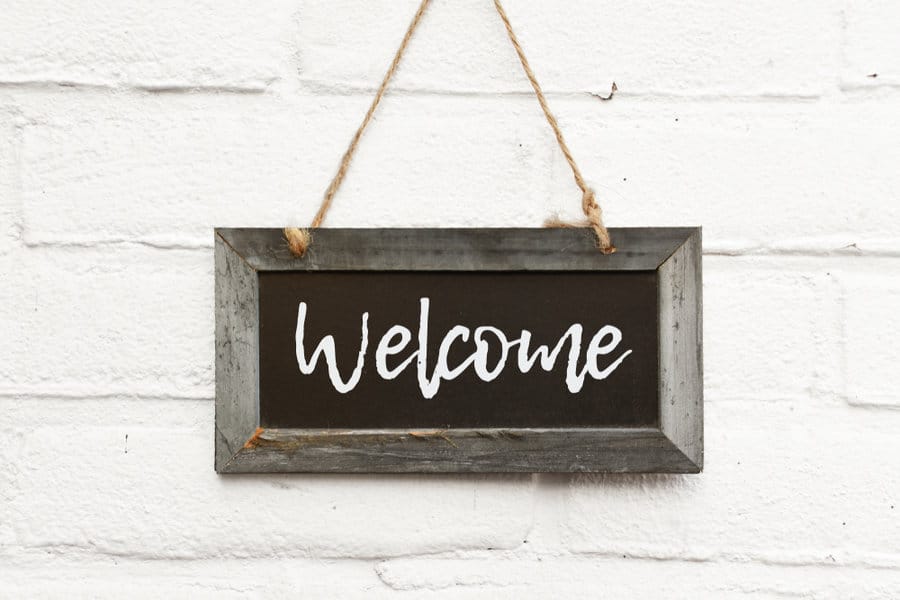
Instead of using paint to create a welcome sign, you could turn it into a chalkboard sign. Sand the wood smooth and then paint it with chalkboard paint.
You could then use chalk to create your welcome message. This idea is nice because you can customize the message to personally welcome your guests.
9. Wedding Welcome Signs
If you’re hosting a big event, such as a wedding or bridal shower, then welcome your guests with a sign. This lets your guests know when they’re in the right place and sets the tone for the event. There are wedding welcome sign ideas for every style, theme, and budget.
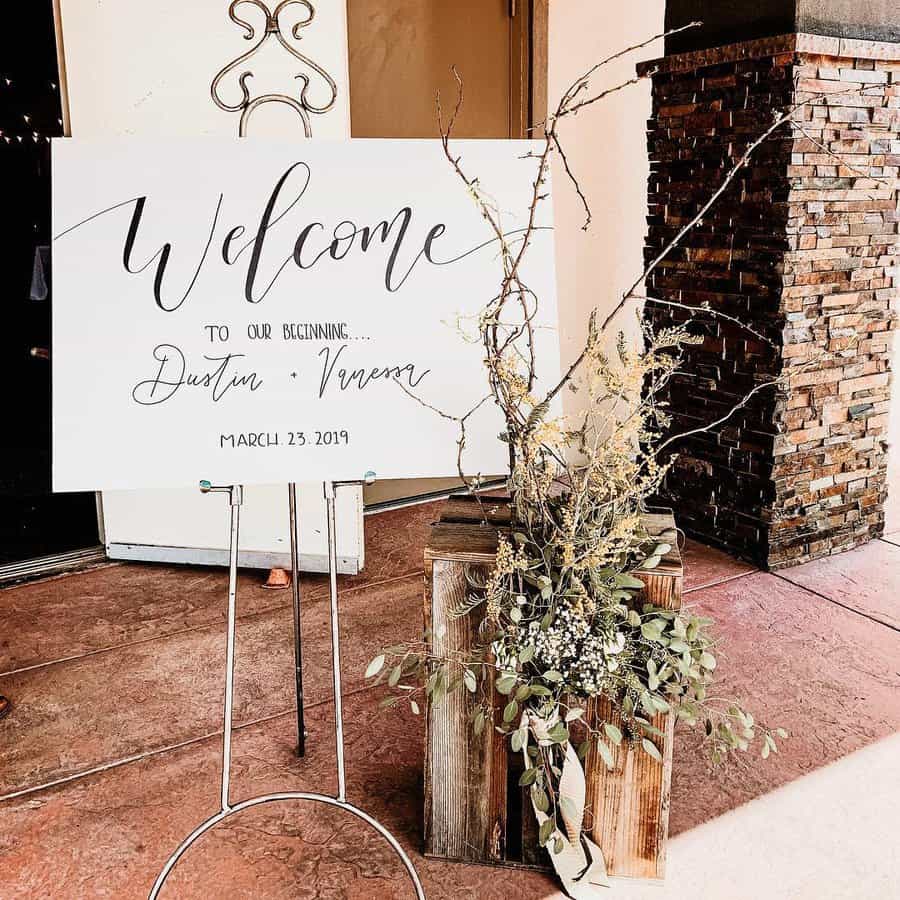
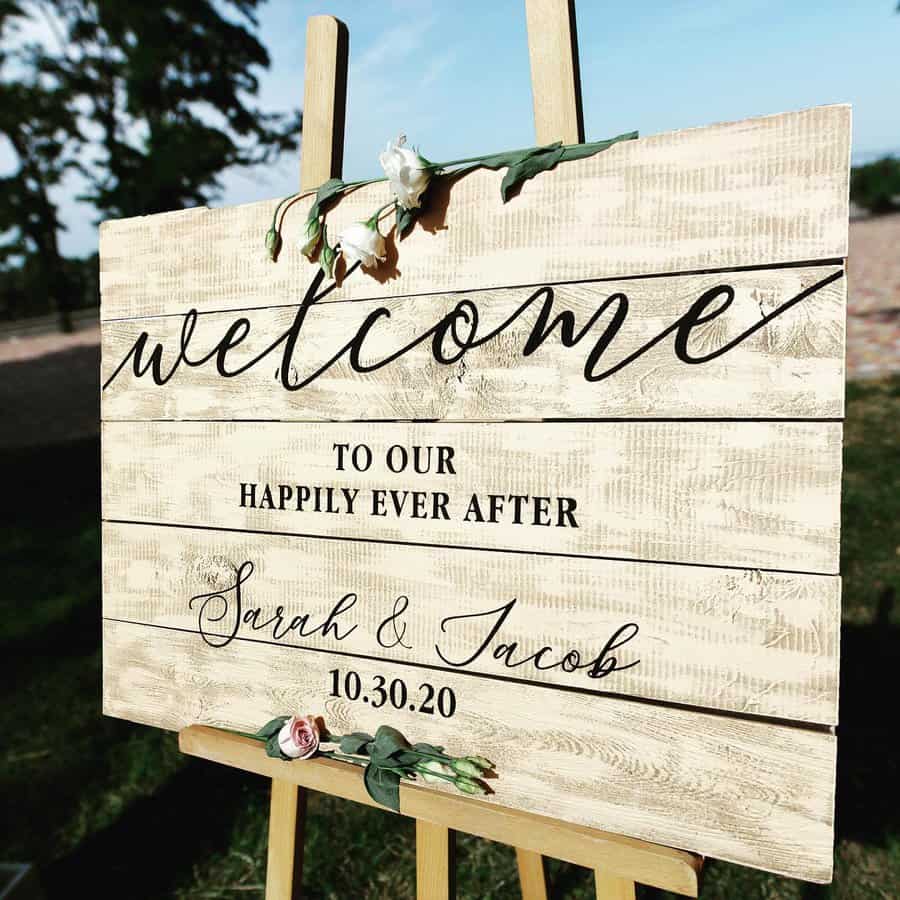
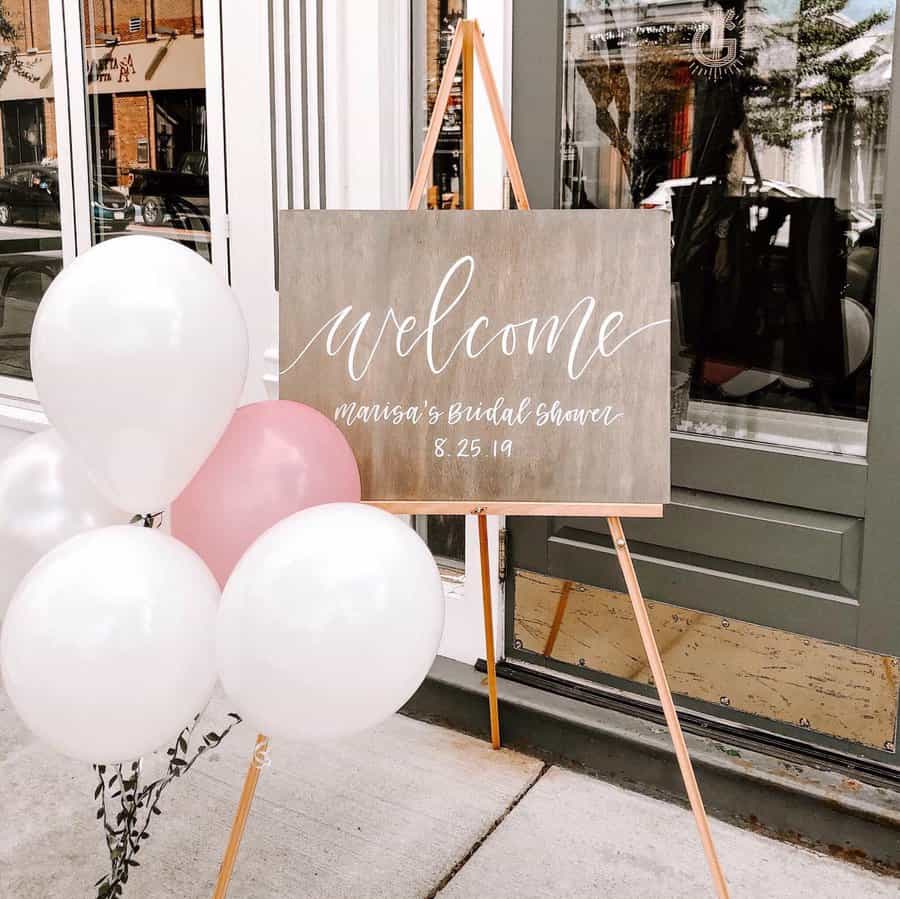
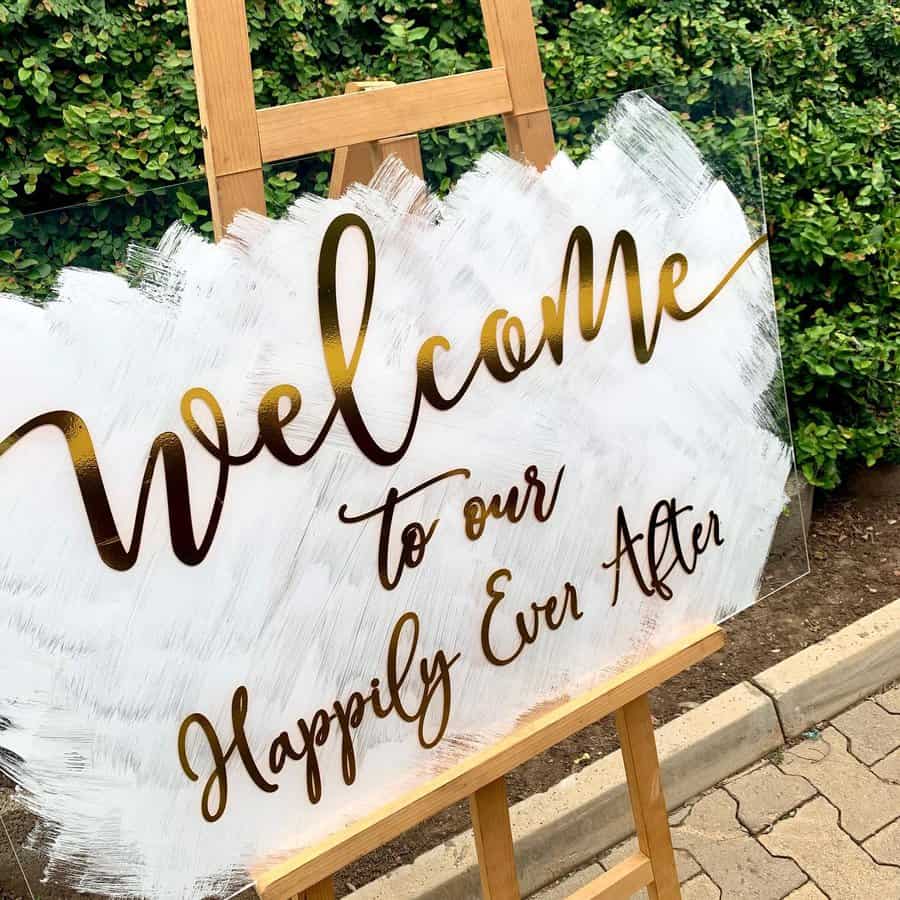
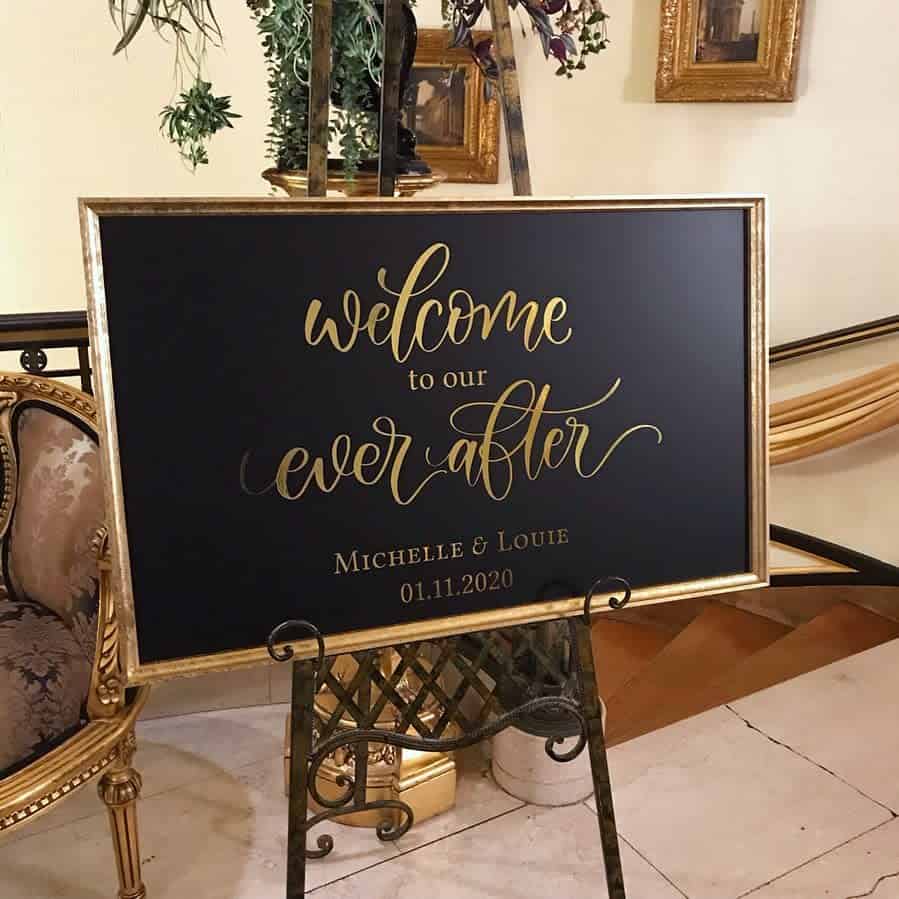
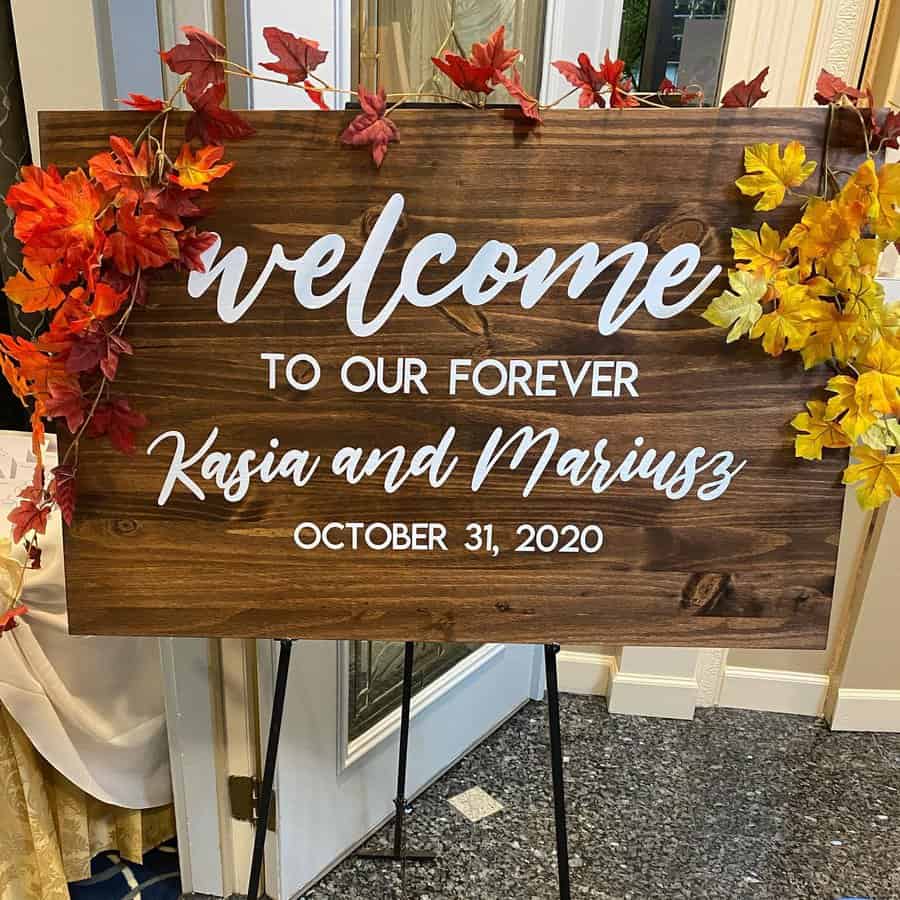
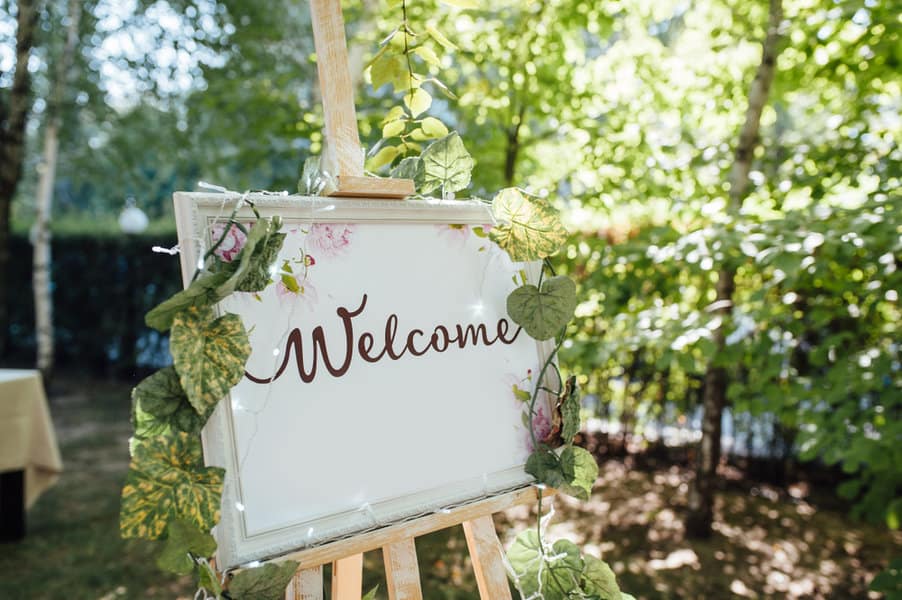
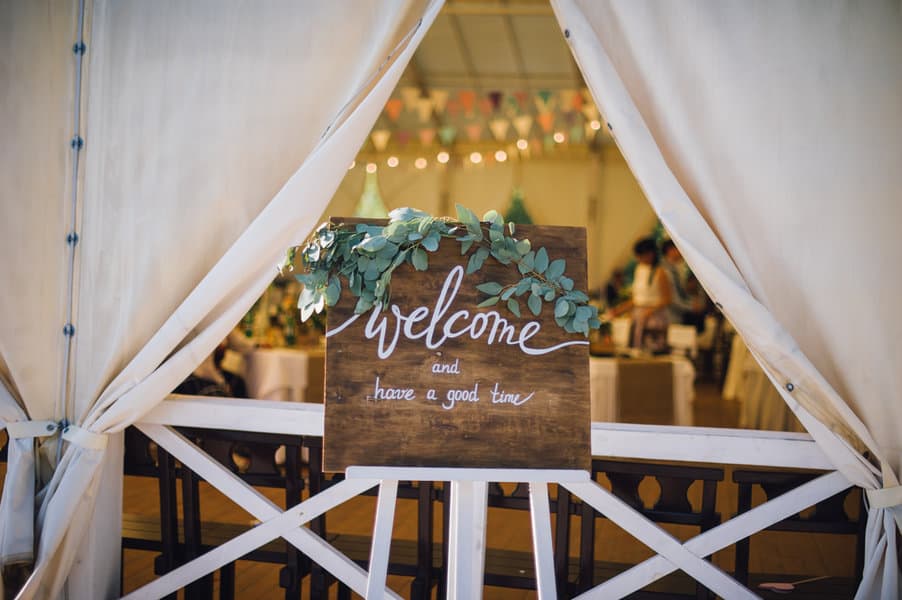
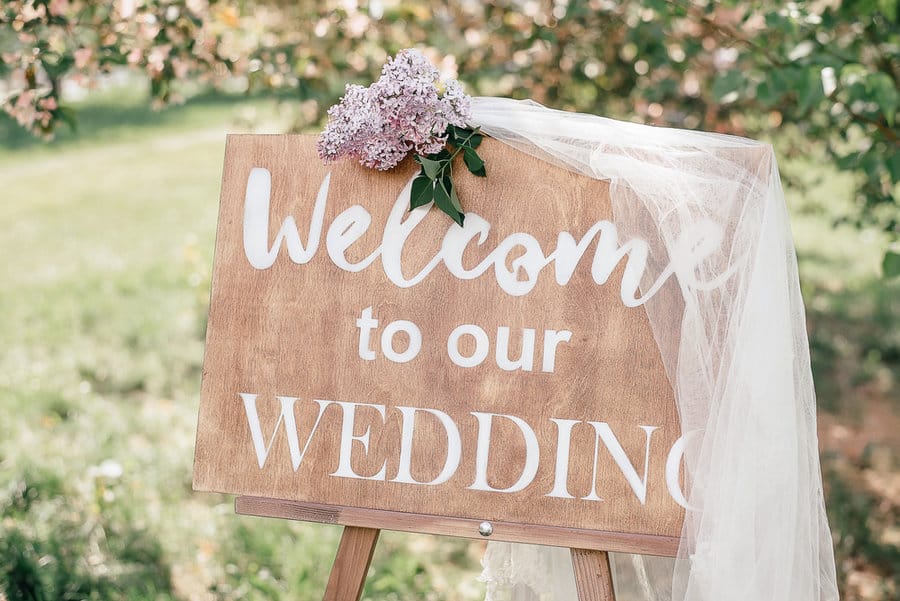
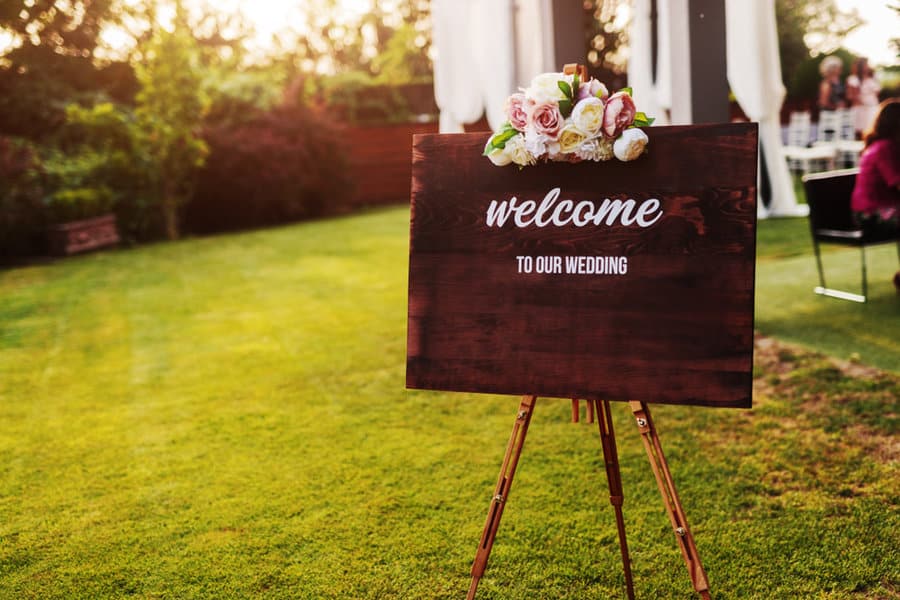
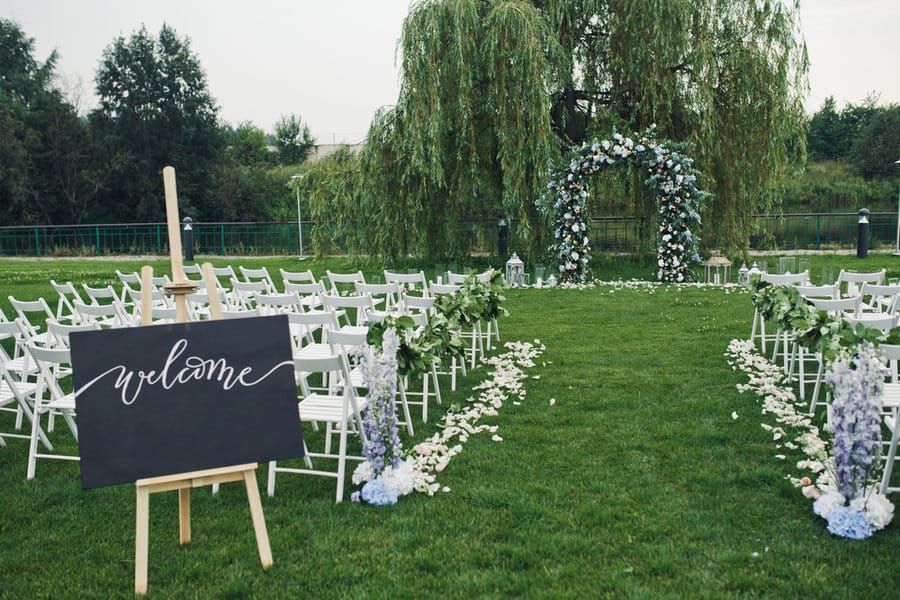
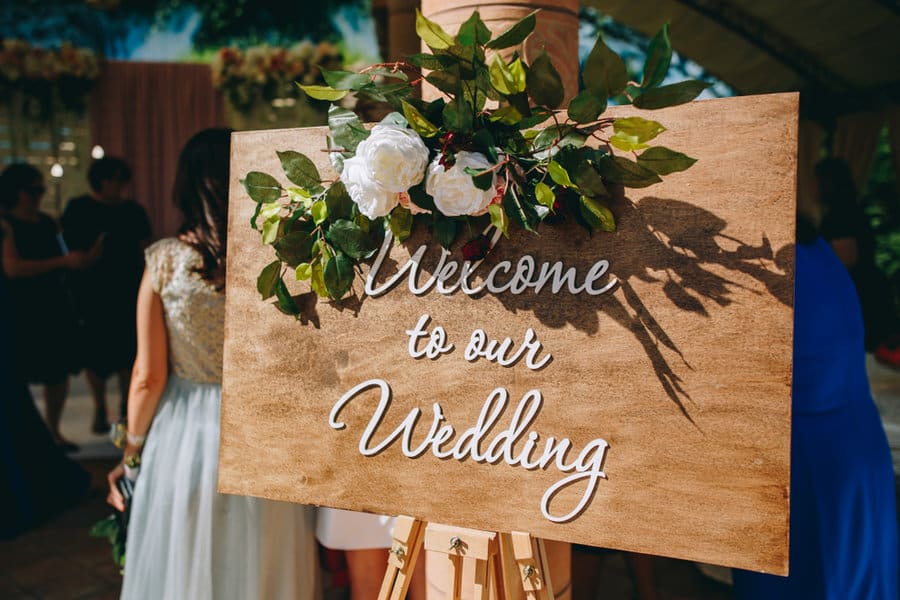
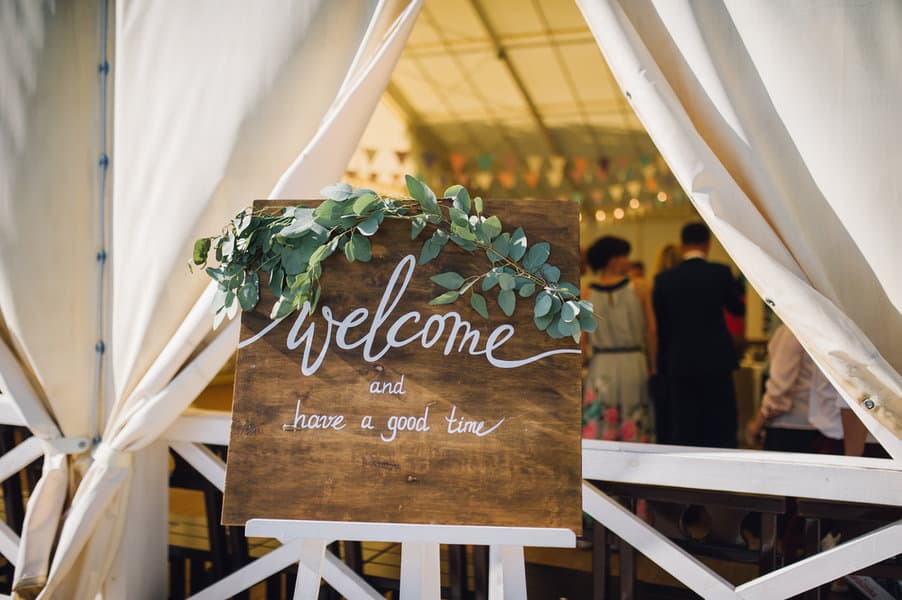
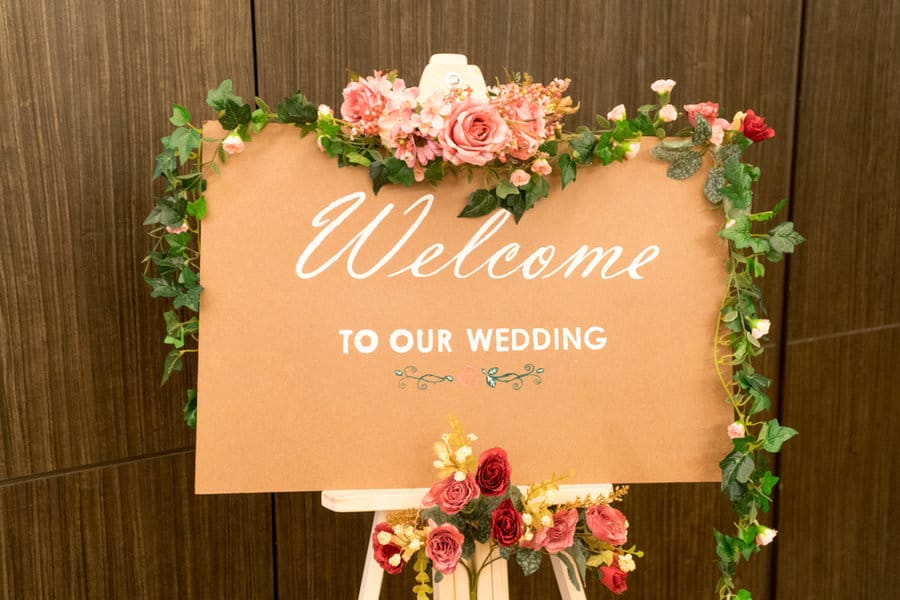
A rustic wedding sign will give your event a relaxed and laid-back feel. An acrylic wedding welcome sign will give your event a modern and classy feeling. If you plan to use the sign again, keep the welcome message generic.
10. Wooden Welcome Signs
Making your welcome sign out of wood is an affordable and easy option. There are also countless options because you can choose from different types of wood. There’s reclaimed wood for a rustic look.
A bamboo wooden sign will give your home a tropical look. A wood sign made out of teak or cedar will give it a coastal vibe.
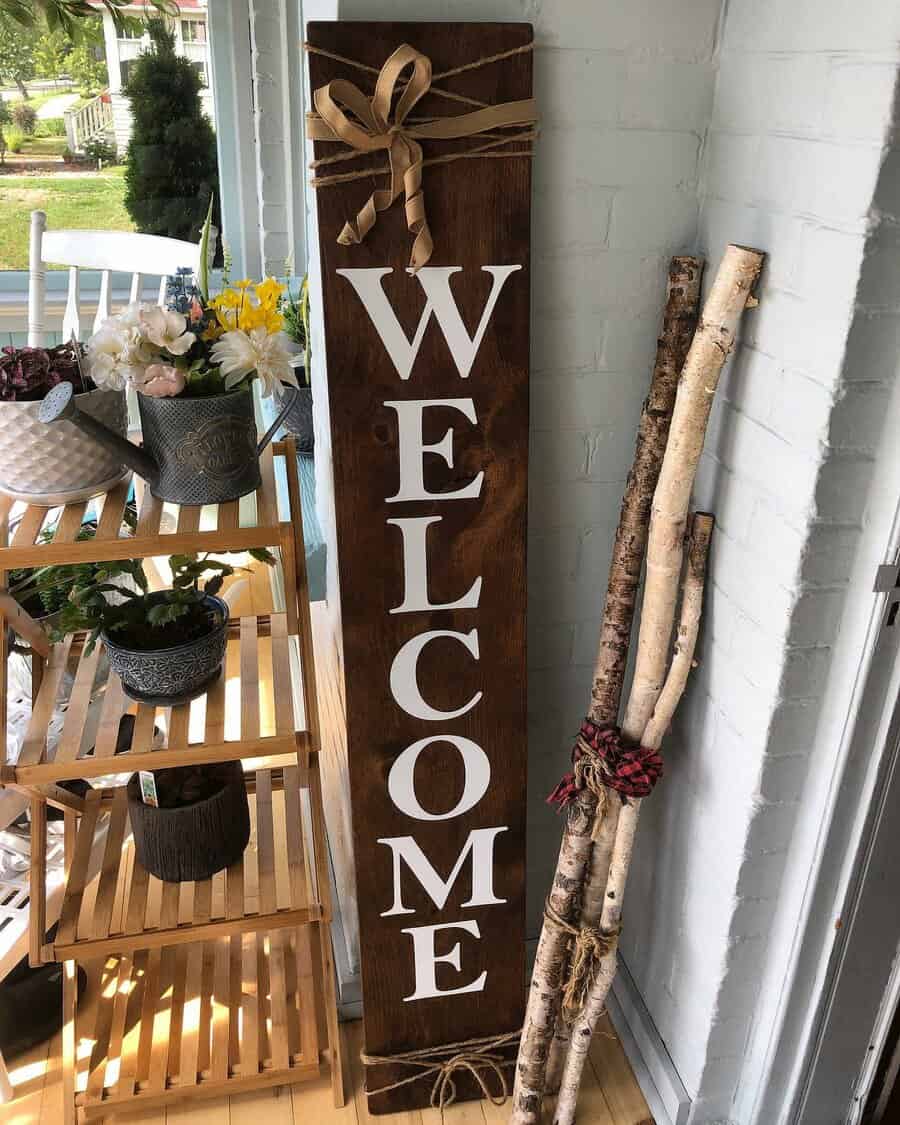
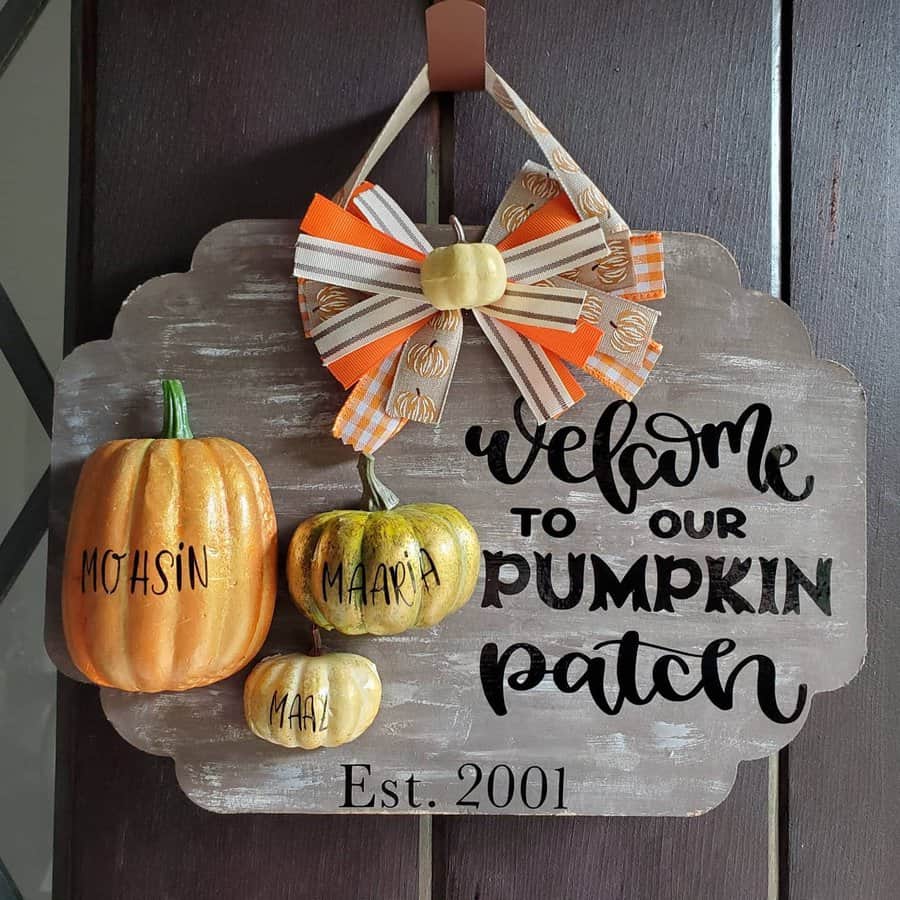
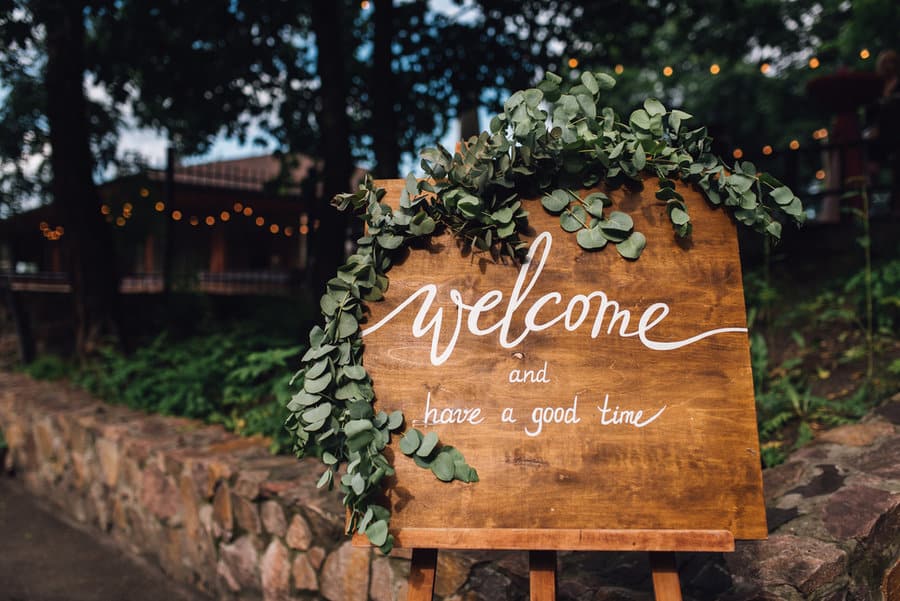
When making or buying a wooden welcome sign, consider how it will weather and age. Wood that’s left out in the sun will begin to fade and turn grey. Wood that’s exposed to high amounts of moisture and is shaded will grow mold or mildew.