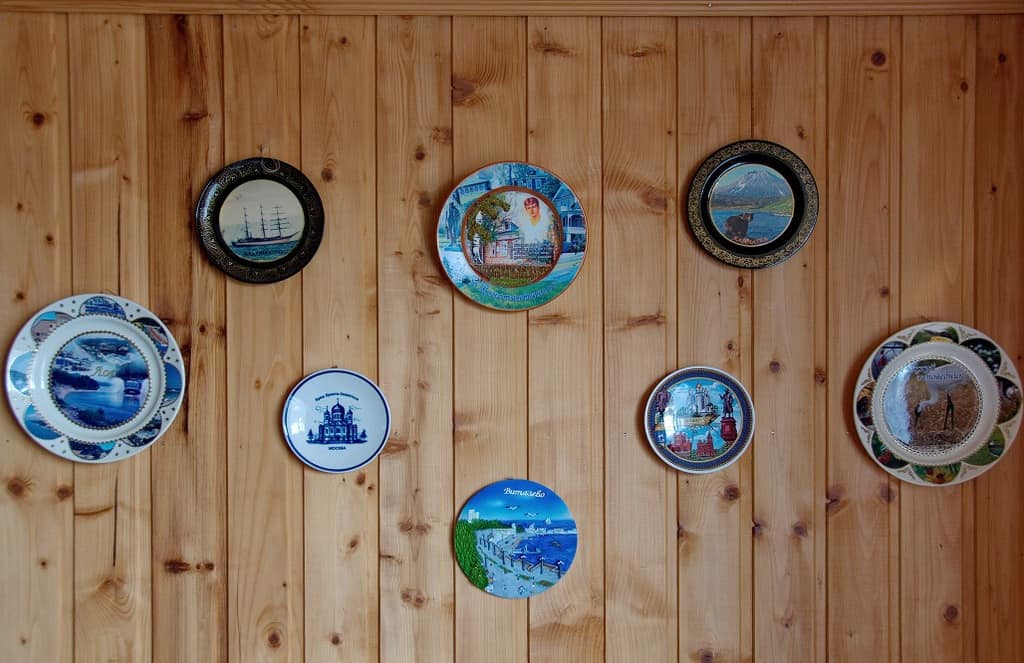
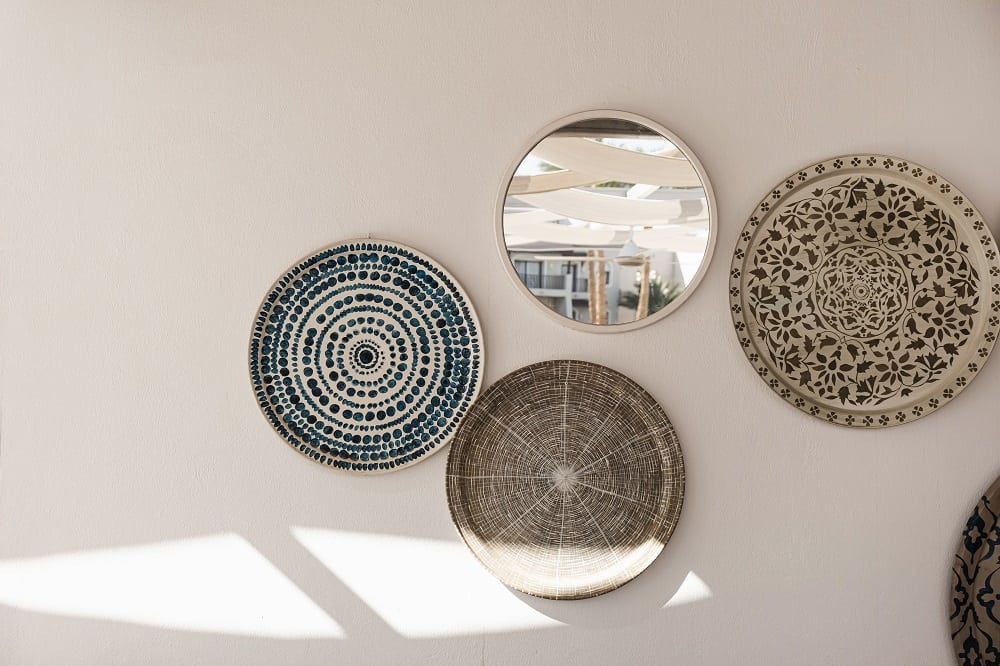
Adding decorative plates to your walls is an easy way of adding color and decor to your home. The three-dimensional nature of the plates allows them to protrude away from the wall, adding depth to the decor and space. There are plates for every taste, from traditional china to modern handmade designs. The real problem is, how do you get them on the wall?
Step 1: Choose the Plates

The first step is to decide which plates and platters you want to hang on the wall. Consider the size, shape, weight, and style of the plate. If you have a prized collection, this should be relatively easy because you already have plates you love. If you do not already have plates, you will need to buy some. For vintage plates, you can head to your local antique store. Local home design stores have contemporary plates with a broad appeal. Finally, check out local art fairs and websites like Etsy for handmade and one-of-a-kind art.
Try to choose plates that complement each other. They should fall in line with a chosen color scheme and style. This will help your final design to look cohesive and not cluttered. Also, selecting plates of different sizes and shapes can add interest to the final display.
Related read: 45 Wall Art Ideas
Step 2: Design the Arrangement

Once you have your plates, it is time to decide how they will look on the wall. Do not blindly start making holes in the walls, as you will end up with a mess and a wall full of holes. Instead, get some craft or butcher paper and spread it out on a table or the floor. Place the plates on the paper in different arrangements until you find one you like. Keep in mind the available space on the wall, as your arrangement needs to fill the space but not look too cluttered. Do not be afraid of leaving some space between the plates. This is called allowing your design to breathe. The empty space creates a visual break, enabling each plate to shine.
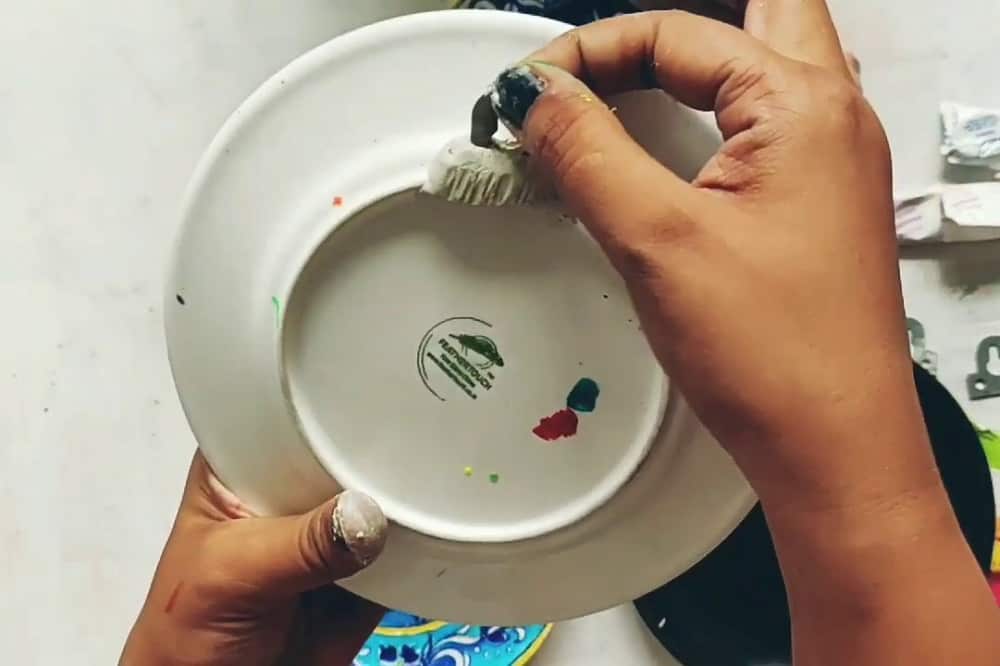
Once you have the plates where you want them, trace around them with a pen, pencil, or marker. It can be easier to turn the plates over so that they are face down for this task. Then, you can take the template to your wall and use it as a guide for mounting the hanging hardware on the wall.
Alternative Design Arrangement Method
If you have a large wall or your hanging method won’t work with a single template, there’s an alternative. Lay out the paper and trace around the plates on the paper. Do not worry about the arrangement; you will cut out the tracings to have multiple round plate templates. Label the templates so that you can easily keep track of which template matches which plate. Then, tape the plates to the wall and design your arrangement on the wall.
Step 3: Choose the Hanging Method

The hanging method that you choose will depend on the plates’ size, shape, and weight. The method you choose needs to be strong and secure enough to hold the plates on the wall without the risk of them falling.
Adhesive Disk Plate Hangers
A popular method is to use an adhesive method. These are flat disks that adhere to the back of the plate and have a small metal loop. This method is popular because the plate will hang flat against the wall. The problem with adhesive disks is that they have weight limits, so large and heavy plates may be too much for the adhesive disk. You could use more than one disk per plate, but even this may not be enough. Another issue is that you need a flat surface for the disk to adhere to. If your plate has ridges, then this method won’t work. Finally, this method won’t work if you plan to take the plates down and occasionally use them.
What size hanging discs do you need for your plates?
- 1 1/4″ for plates up to 4 inches diameter
- 2″ for plates up to 6 inches diameter
- 3″ for plates up to 8 inches diameter
- 4″ for plates up to 12 inches diameter
- 5 1/2″ for plates up to 6.5 pounds in weight
Spring-Style Plate Hangers
The other most popular method is to use a spring-style plate hanger. These hangers have two metal holders that are connected by two springs. At each end, the metal holders have two hooks that will hook over the edge of the plate. There is a v-shaped metal piece that you will hook over a hook in the wall to hang the plate. These hangers come in a wide range of sizes, so you will measure the diameter of the plate to know which size hanger to use. You won’t have to worry about the hanger not being strong enough. You can also easily remove the hanger and use the plate. One thing to be careful of is potential damage to your plate. Look for a hanger that is coated with vinyl, rubber, or plastic on the hooks. This creates a cushion between the hooks and the edge of the plate to prevent scratching or chipping.
Command Strips
Be careful when using command strips to hang your plates. While they boast strong weight limits, they are not always reliable. On the other hand, their advantage is that you can remove them from the wall without leaving any damage or marks. If you have very small or lightweight plates, they might be an option, but use them with caution.
DIY Methods
There are some DIY plate hanging methods out there. While people claim that they are useful and creative methods for hanging their plates, many are more work than they are worth. For example, some use paperclips, but this is dangerous. Paperclips are not designed for holding the weight of plates and will eventually bend or break. Another uses hot glue, felt, and safety pins. This requires you to buy more materials, and the end result is not as stable. Ultimately, if you are going to hang cherished plates on the wall, invest in the proper equipment to hang them. This will prevent damage to your plates and give you a polished final display.
Step 4: Hang the Plates

When it is time to hang your plates, start by cleaning them. They could have dust or grease from your fingers on them. If you are using an adhesive method, these will prevent the adhesive from effectively sticking. If you are using another method, the dust and grease will make the plates look dingy.
Attach your chosen hanging method to your plates. First, confirm that you have your template where you want it on the wall. Then, begin adding the appropriate hooks where you need them.
Choose the Right Hook
The size of the hook you use will depend on the size of the plate. The larger and heavier the plate is, the larger and stronger the hook needs to be. Otherwise, the hook may not be able to hold the weight of the plate, and the plate will pull the hook out of the wall. If you have especially heavy plates, you may also need to use a wall anchor. This arm goes through the hole in the wall and braces the hook from the backside.
Hook Placement
When adding the hooks, keep in mind the hook’s location in relation to the edge of the plate. You do not want to put the hook at the top of the template, or your entire arrangement will ship upward. Instead, measure down from the top of the plate and then place the hook here. This will keep your plates from unintentionally shifting during hanging.