“Creative minds are rarely tidy.” – John William Gardner
There are often two sides to the creativity that makes crafting such a joy. While a free spirit is necessary for creativity to flow, it can be a hindrance when it comes to keeping things organized and tidy. Yet clutter and chaos are the enemy of creative energy.
As any craft enthusiast can attest, most crafts require a stunningly large collection of tools and materials. If you’ve felt challenged over where to store it all, take a few minutes to check out our best-ever craft storage ideas. In no time, you’ll have a fresh, uncluttered crafting space where your creativity can freely flow.
[view_toc]
1. Maximize Cabinet Storage
Unused cabinets are ideal craft storage solutions. Designating one closet or cabinet for all your crafting supplies keeps them confined in one convenient space, while hiding any clutter neatly behind a closed door or curtain. Clear craft storage containers and labels help you find supplies quickly.
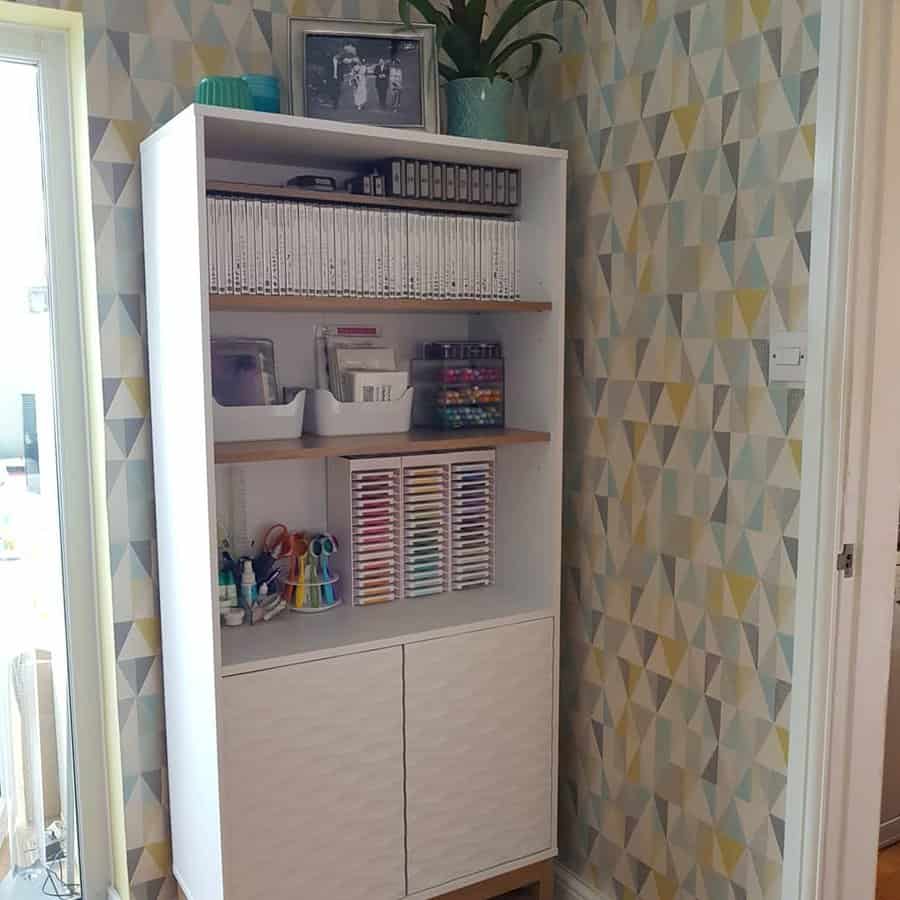
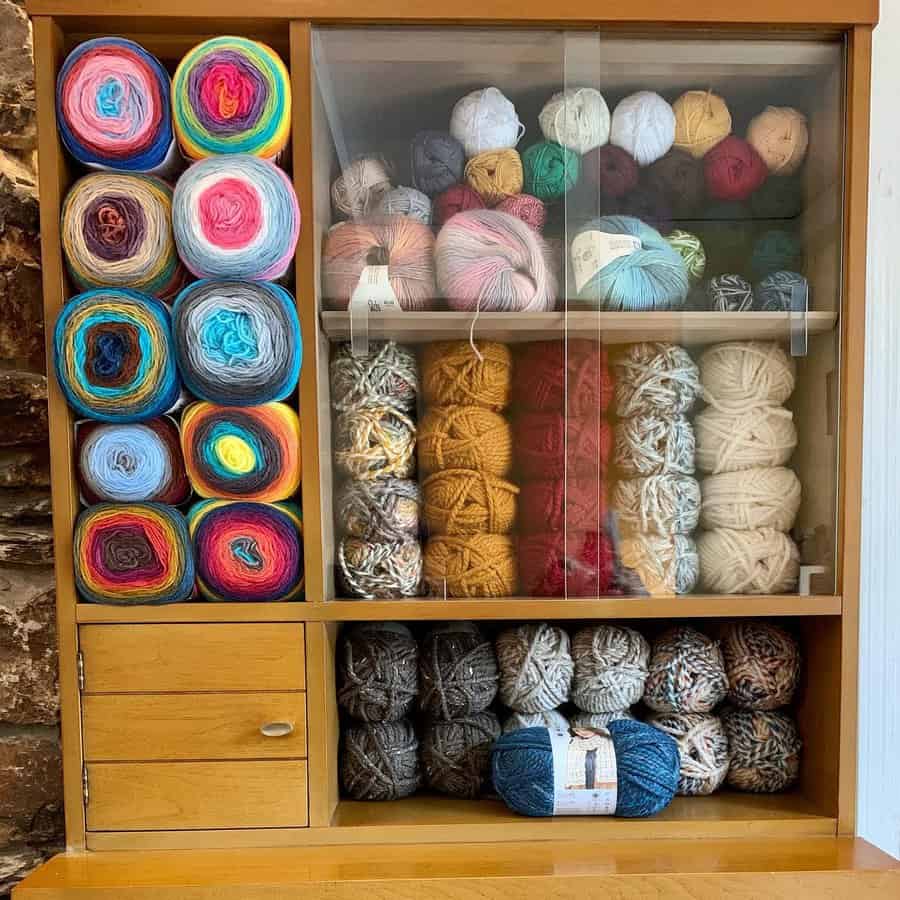
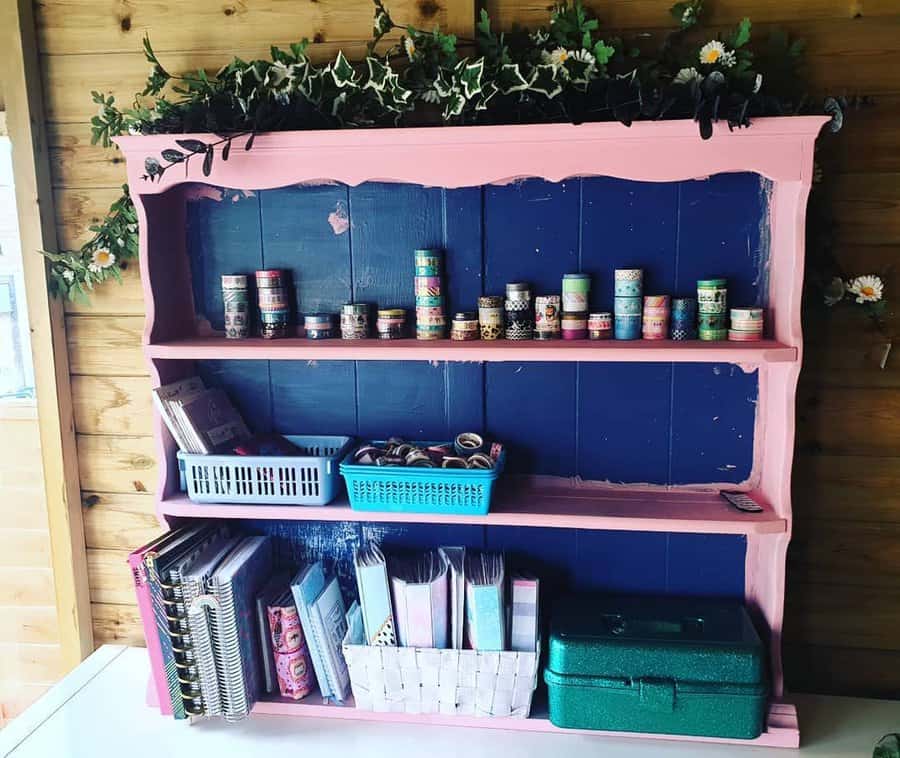
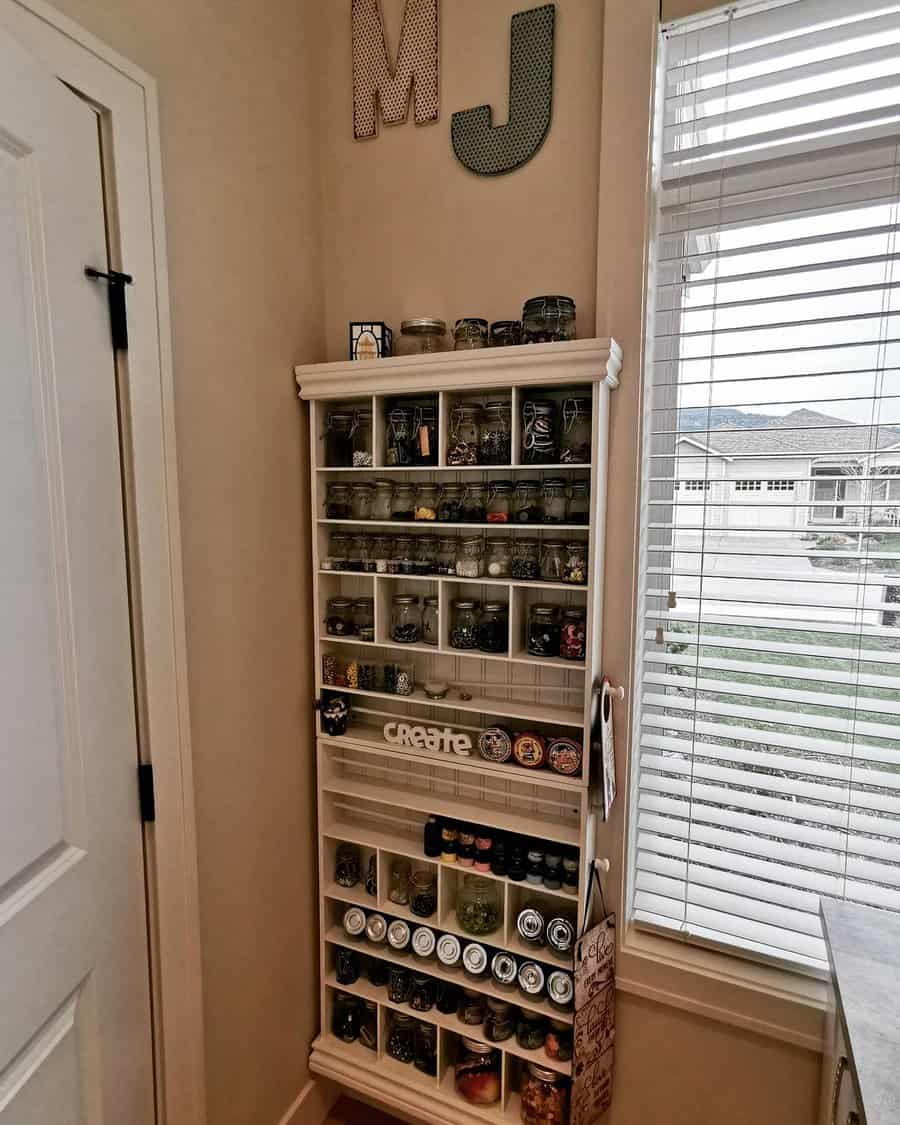
Hang hooks on the inside of your craft cabinet doors and use them for scissors or washi tape rolls. Ideally, your craft closet or craft cabinet should be in the same room where you work. If not, a small rolling cart can help you transport supplies between your storage space and crafting room.
2. Utilize Jars for Crafts
Your local dollar stores are great resources for inexpensive craft storage ideas. From attractive wire baskets to plastic or glass jars, dollar stores are full of affordable options to get your craft room into shape.
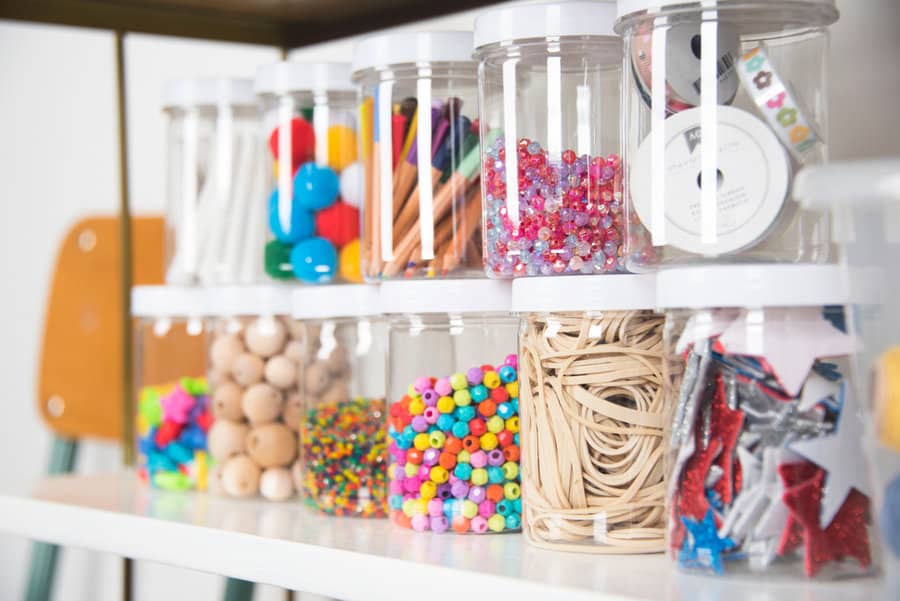
Lidded glass jars are inexpensive craft room storage ideas for small items. You don’t need to spend big money on a mason jar collection. Simply wash and reuse jelly, pickle, and spice jars. Make them look pretty by painting the lids and decorating them with washi tape.
3. Choose Stylish Metal Buckets
Ideal for storing a variety of crafting supplies such as yarn, brushes, or small fabric scraps, metal buckets can easily be labeled and stacked, making them a versatile storage solution. Their metallic finish adds an industrial chic element to the space, blending functionality with aesthetic appeal.
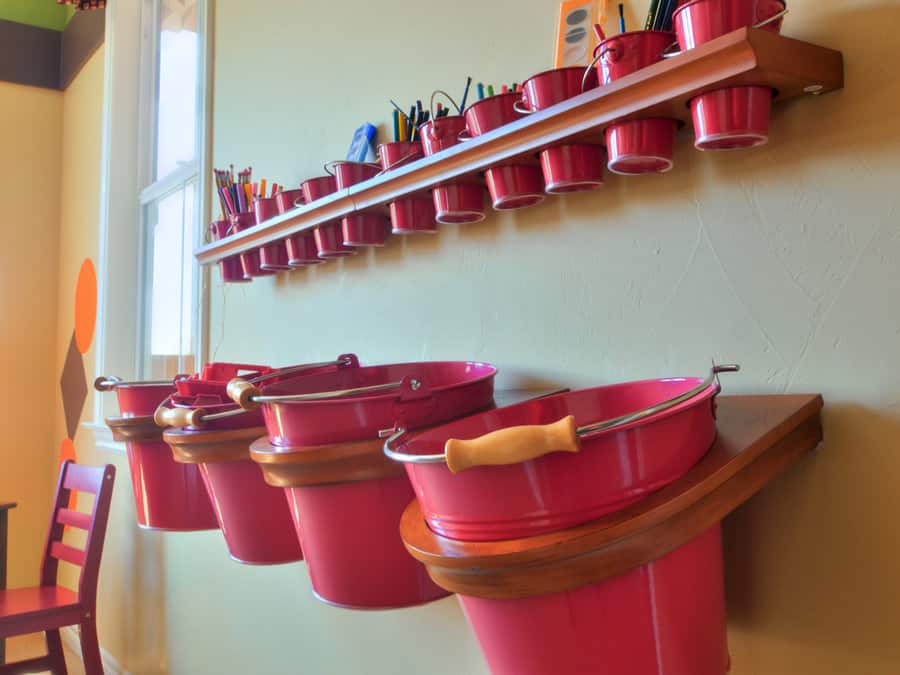
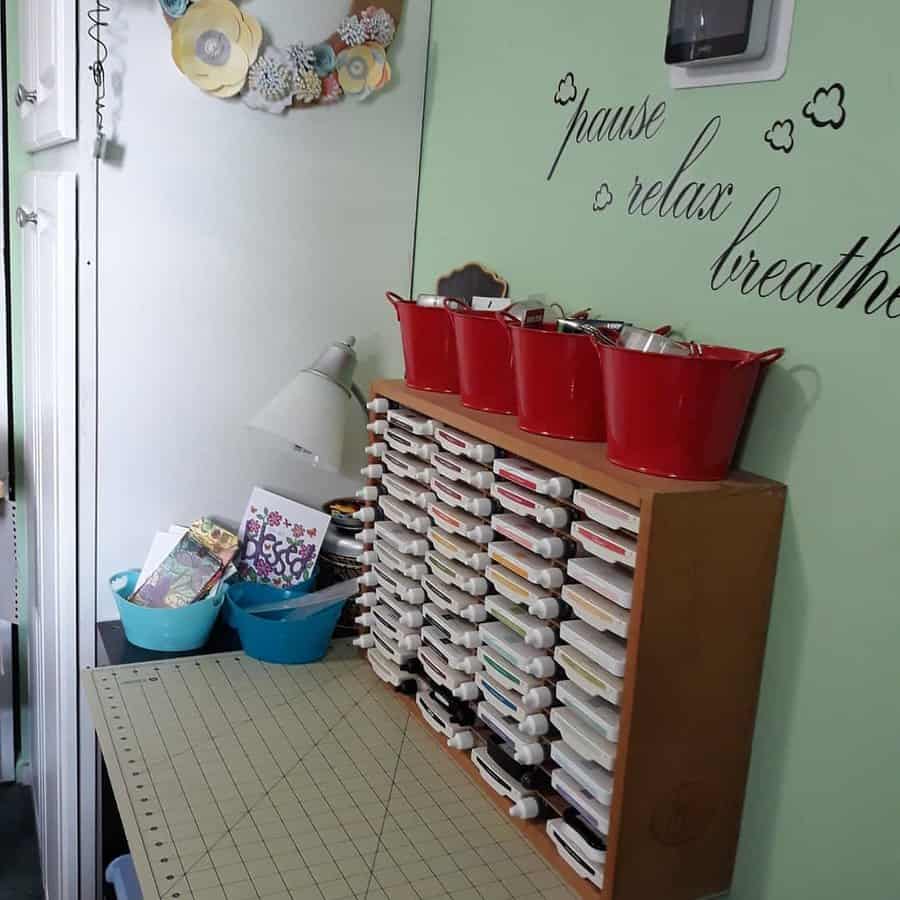
For those with limited floor or shelf space, these buckets can be innovatively mounted on the wall, creating a vertical storage solution that is both space-efficient and visually appealing.
4. Organize with Storage Cubes
Storage cubes are popular in schools for a reason. Not only is their symmetry pleasing to the eye, they provide a great shelf option for storing supplies of various shapes and sizes. Yarn crafters love this type of shelf because stacking colorful skeins of yarn inside them makes each hue easy to find. It’s also a craft room storage idea that becomes a beautiful room focal point.
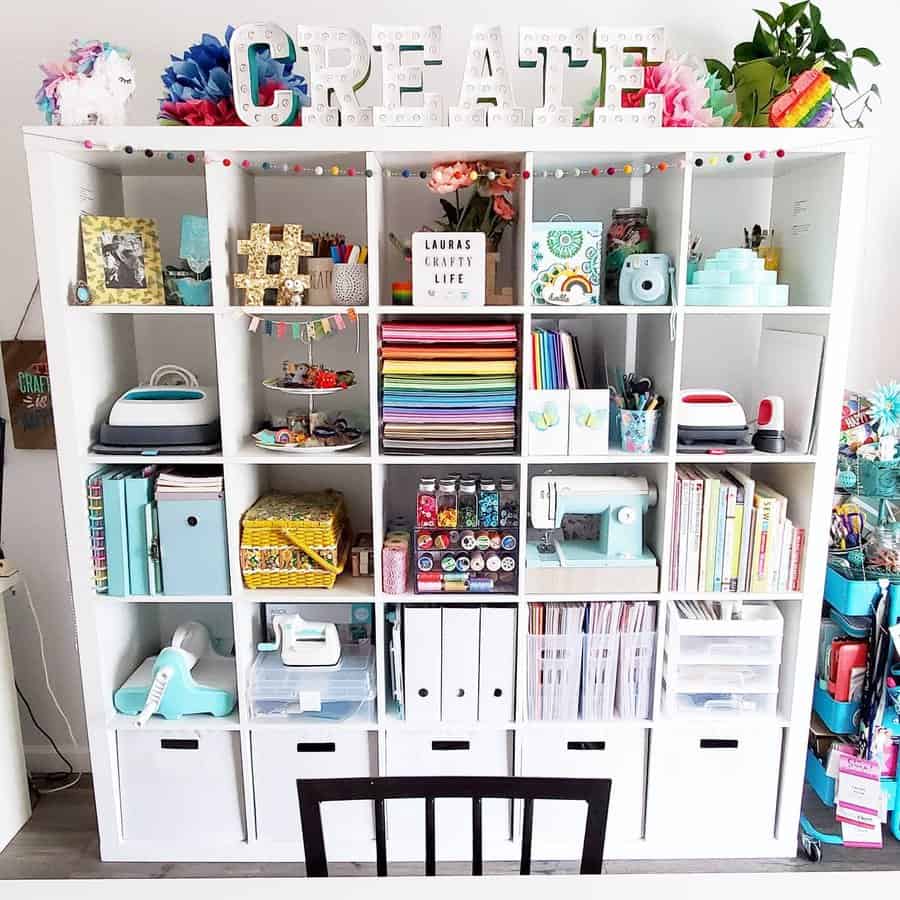
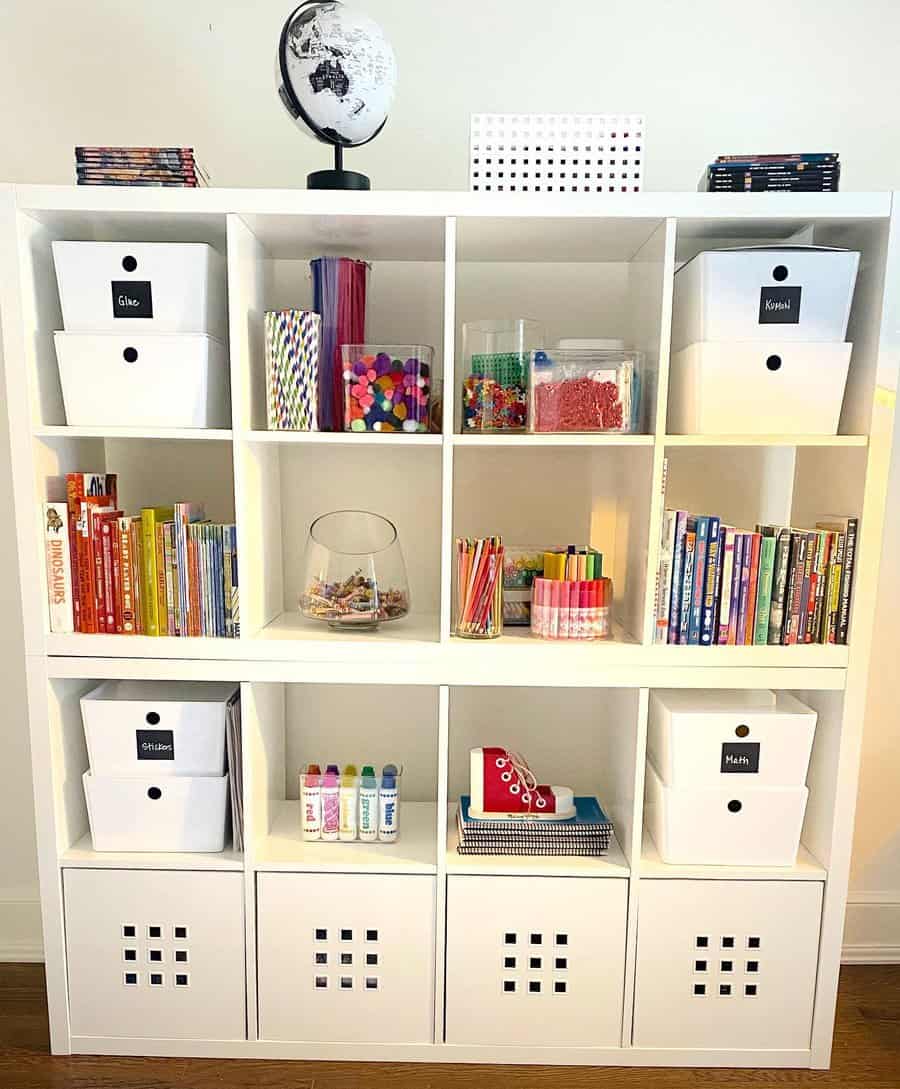
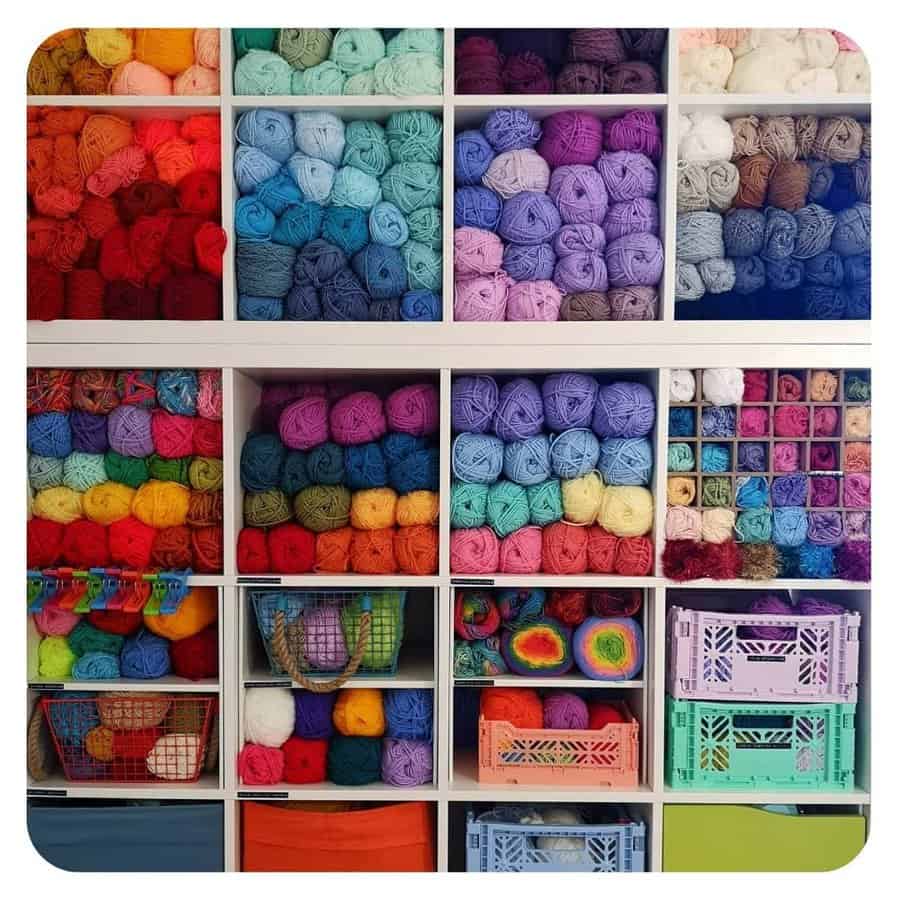
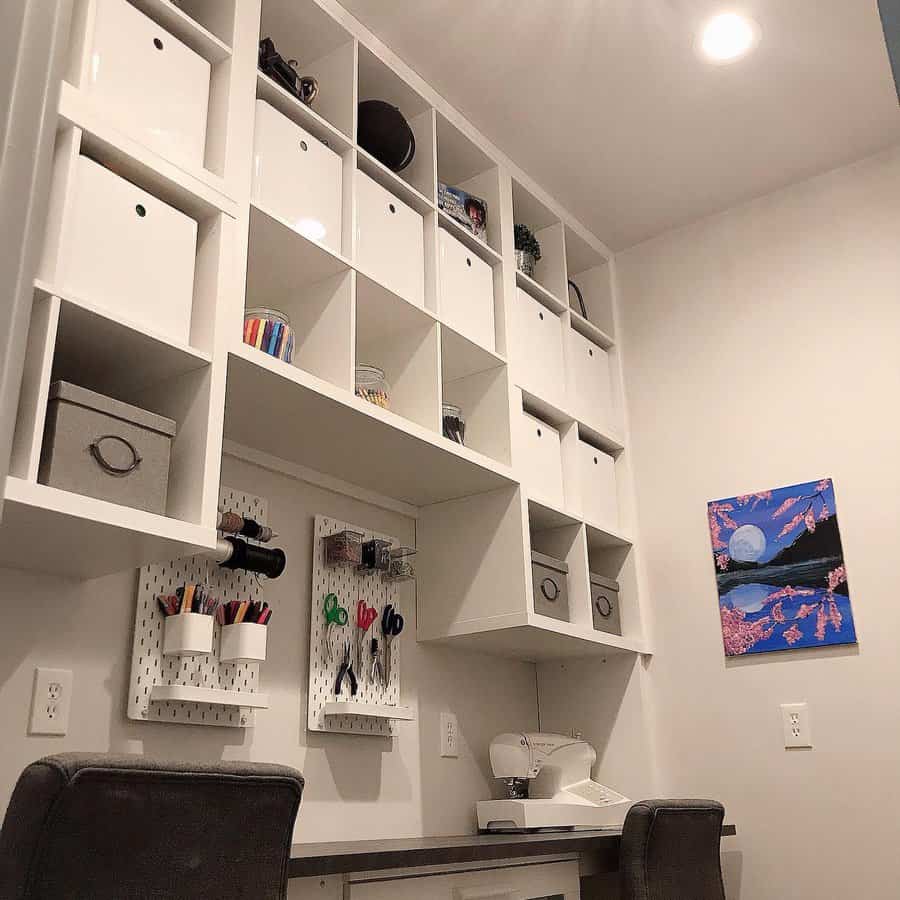
Cube storage units can be purchased with baskets and drawers or without them. Because of their simplicity, cube shelves fit into any home decorating style. Square wire baskets slip easily into open storage cubes and add a farmhouse or rustic vibe to this type of shelving unit.
5. Create DIY Craft Holders
You don’t have to spend a lot to enjoy some of the best craft room organization ideas. Consider repurposing an old hutch, bookshelf, or TV cabinet into a craft storage unit. Old fishing tackle boxes make excellent storage boxes for little tubes of craft paint, beads, fasteners, and other small craft materials.
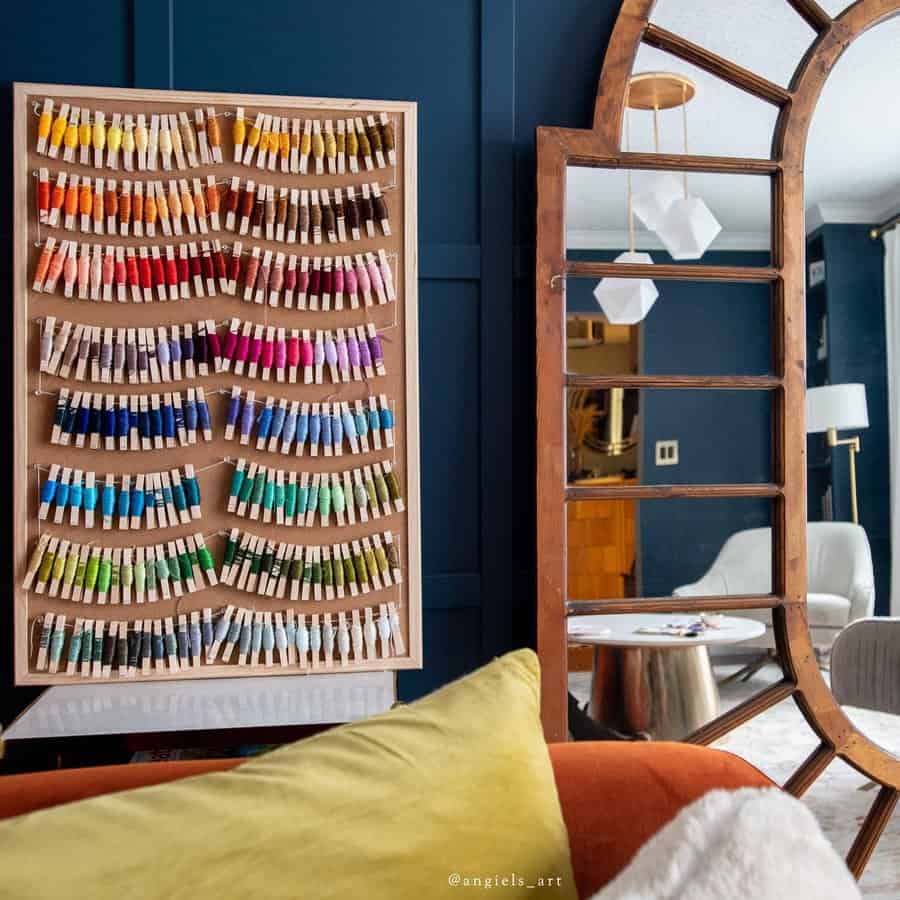
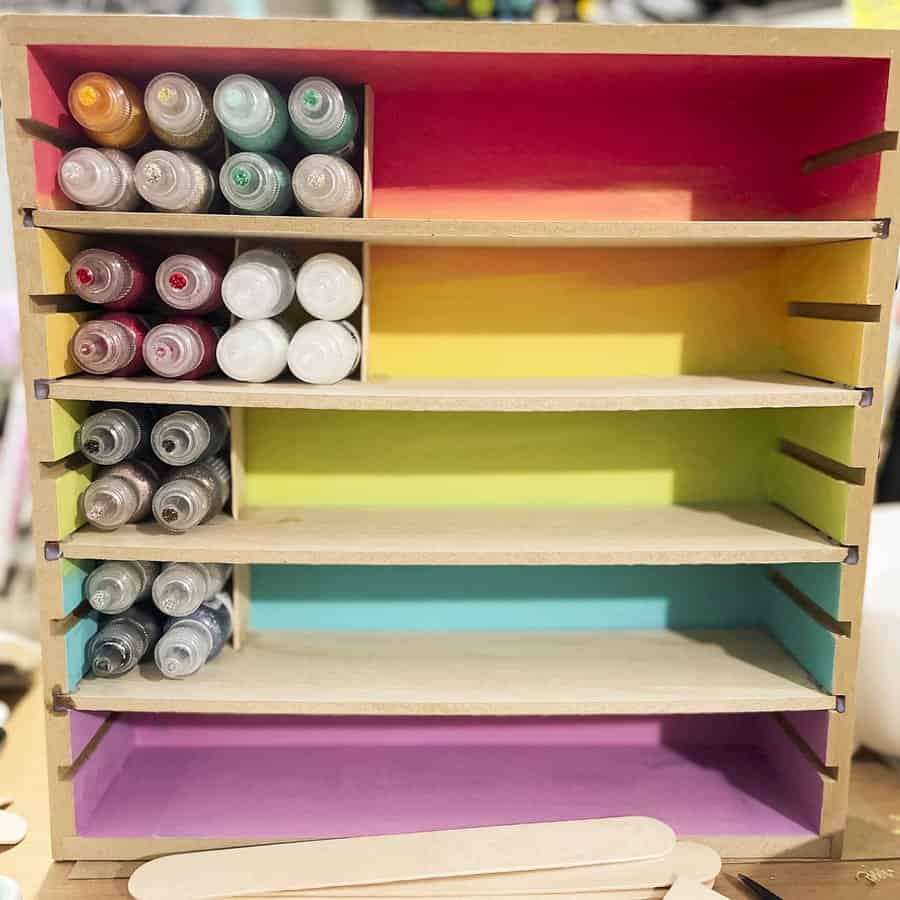
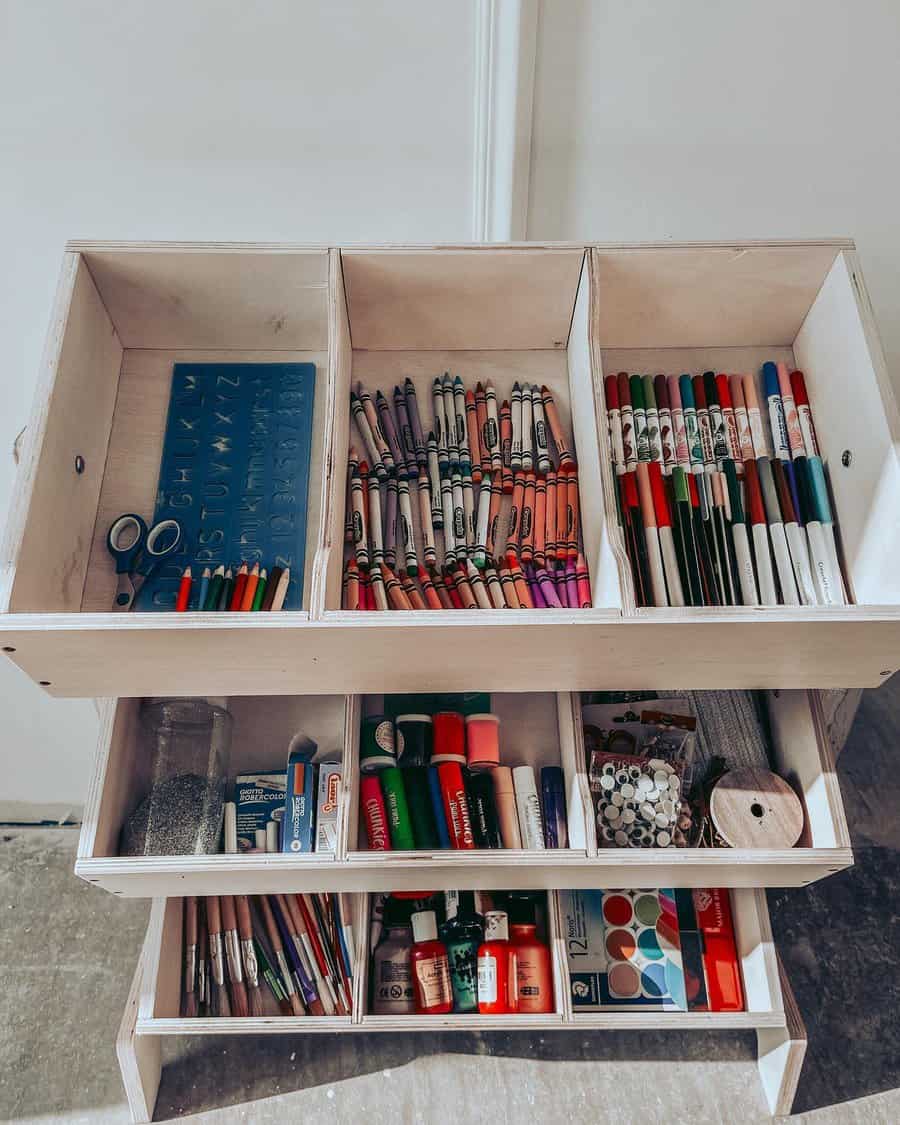
Hanging shelves on shelf brackets is an easy DIY project that can add a great deal of storage space to your craft area. If you need a mobile DIY storage solution, watch this video to learn how to make a multipurpose craft organizer cart from dollar store materials:
See more DIY storage ideas here.
6. Optimize Drawer Space
Ikea craft room ideas include Alex drawers, a favorite brand of drawer unit for artists and crafters. Each drawer is wide and flat, perfect for storing paper, canvas and other large items that need to lie horizontally. Purchase drawer organizers to separate these big drawers into smaller, organized compartments.
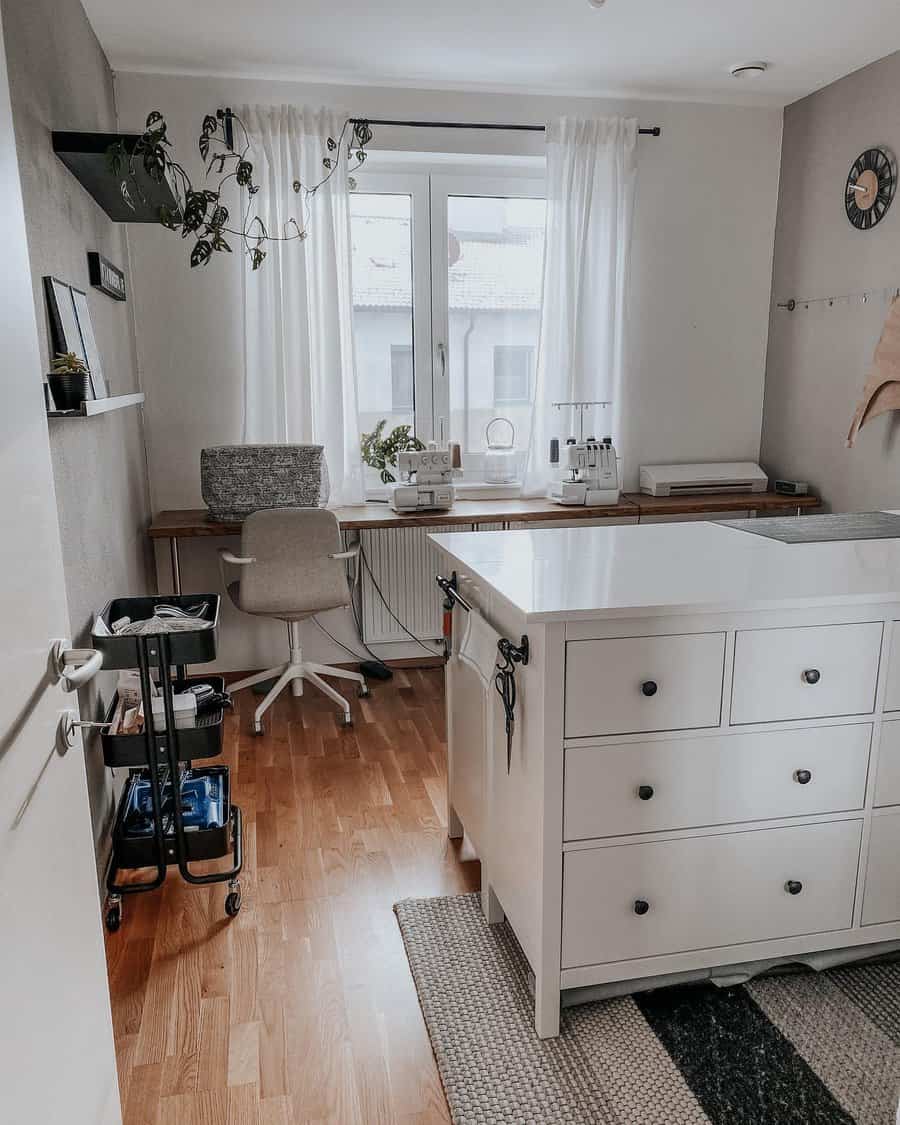
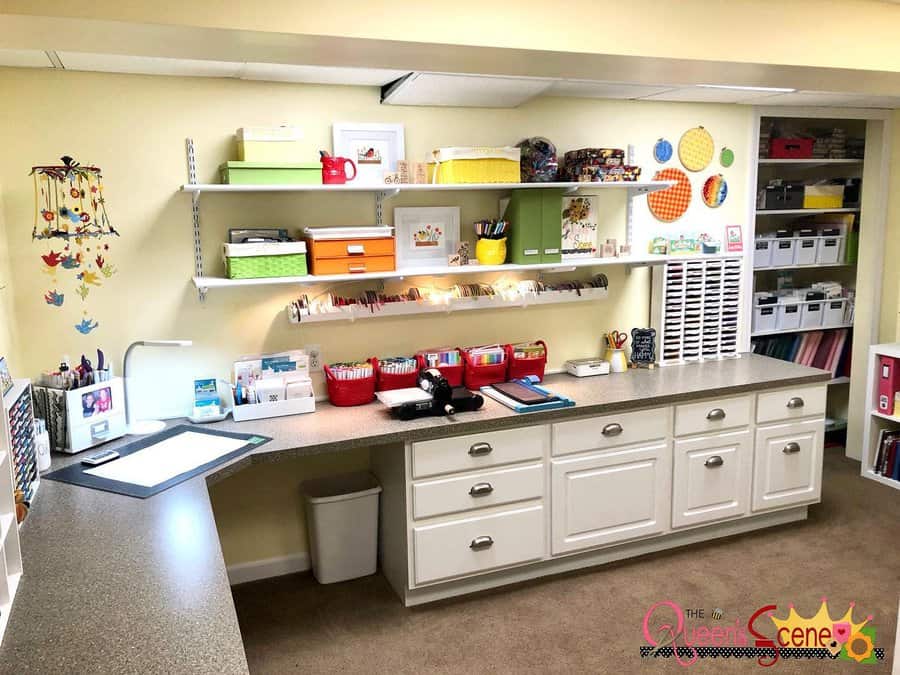
While you can find drawers designed to hold specific types of craft supplies, virtually any type of drawer unit can be used for craft supply storage. Drawers with solid fronts result in a craft room with a tidy appearance, but you may prefer clear plastic drawers that make it easier to find specific materials.
7. Select Pre-made Organizers
Even if you’re not a naturally organized person, organization is the key to creating an easy, fun crafting experience. Thankfully, premade organizers make it much easier to obtain the order you desire.
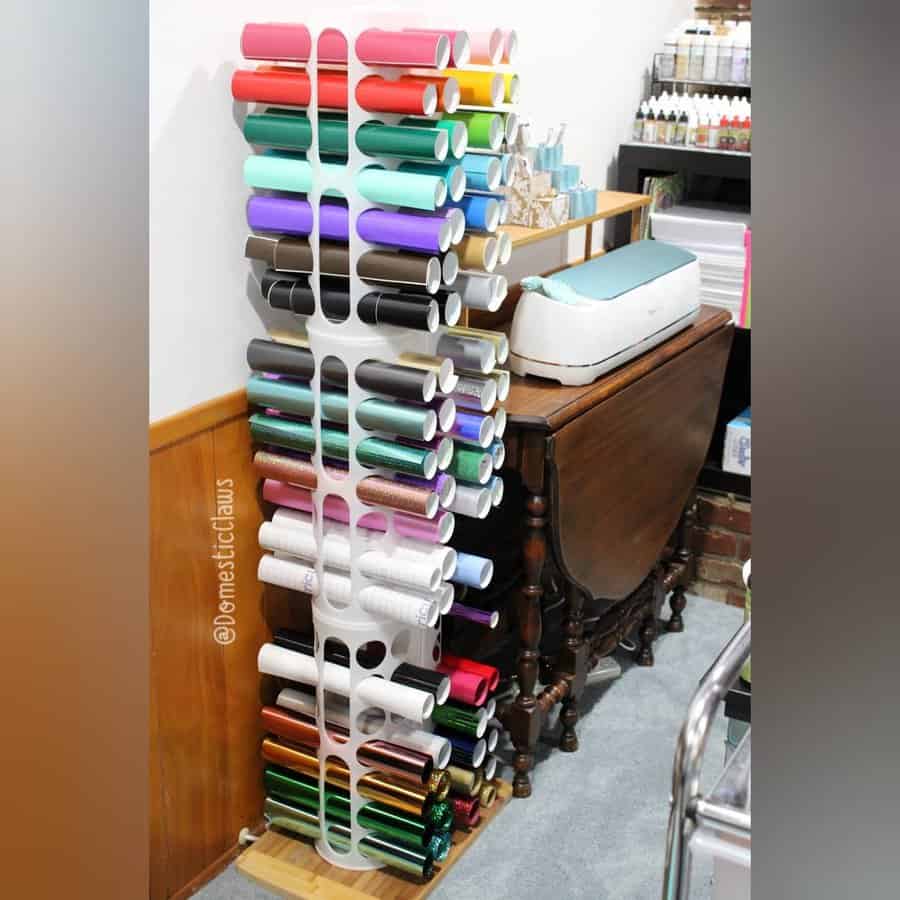
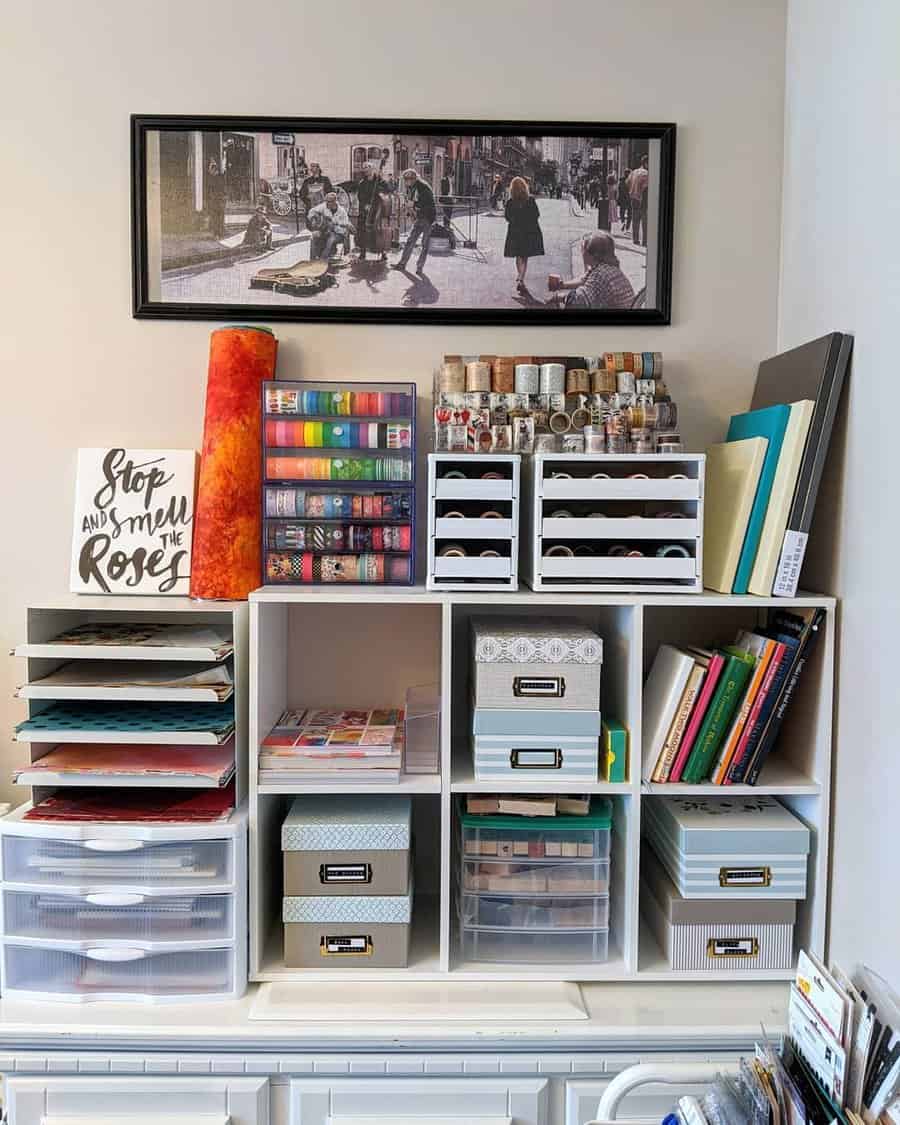
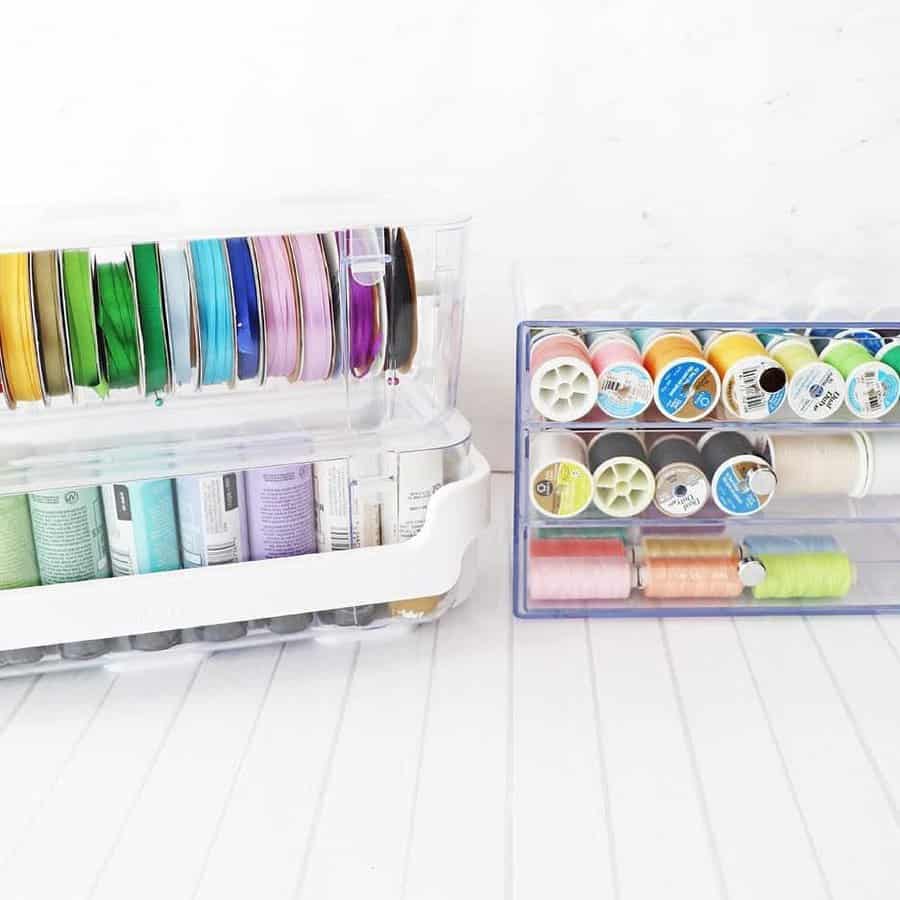
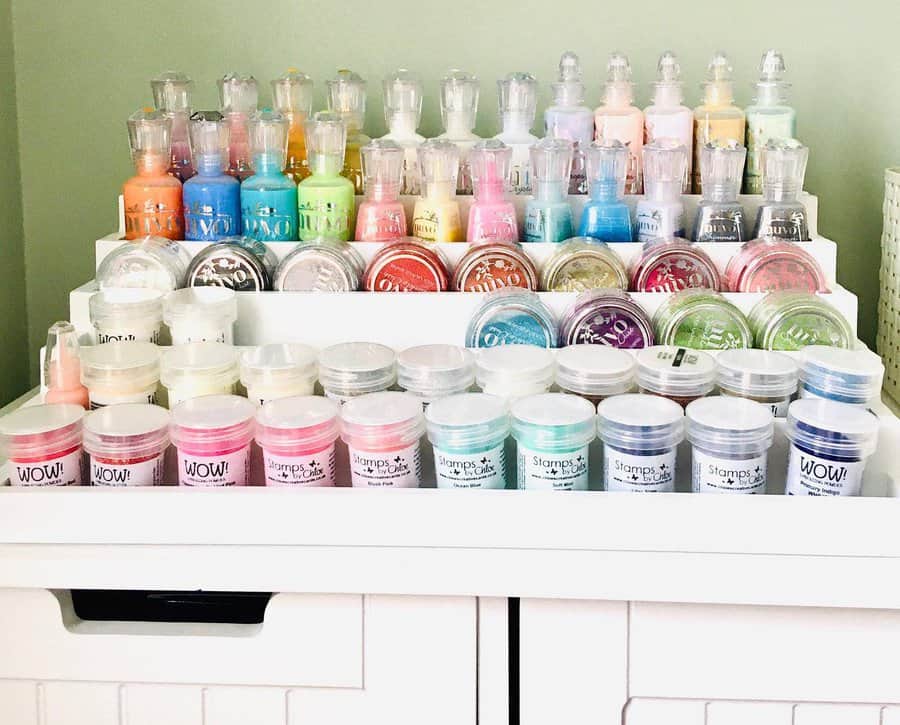
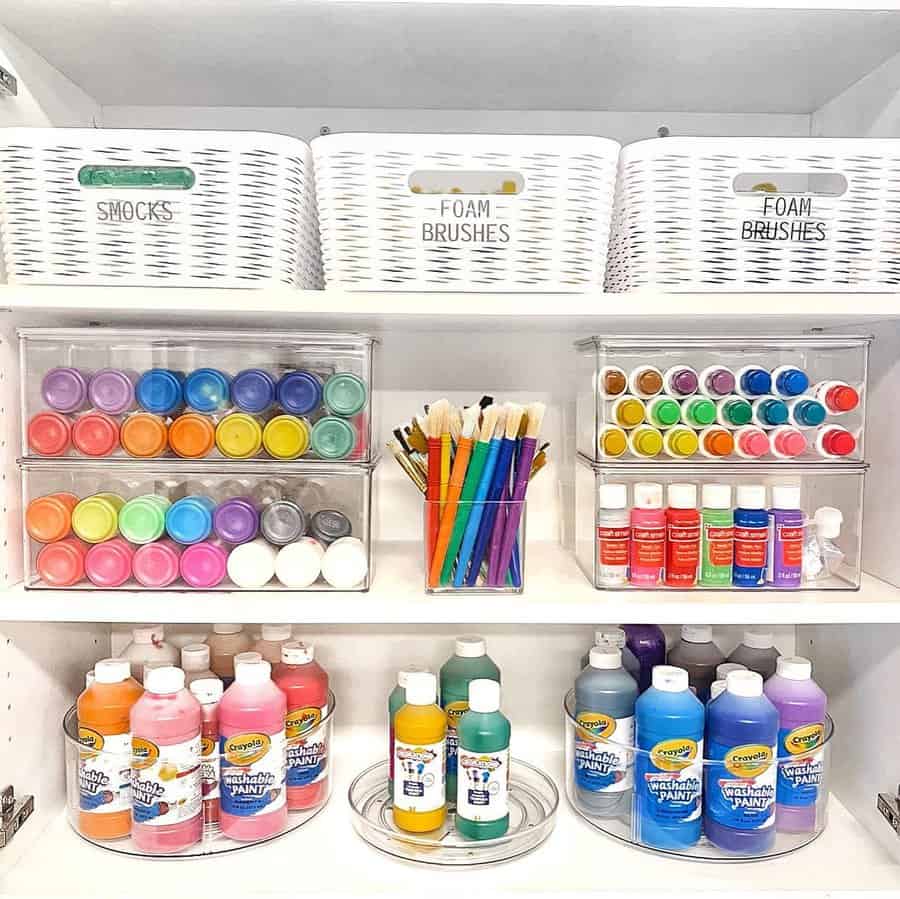
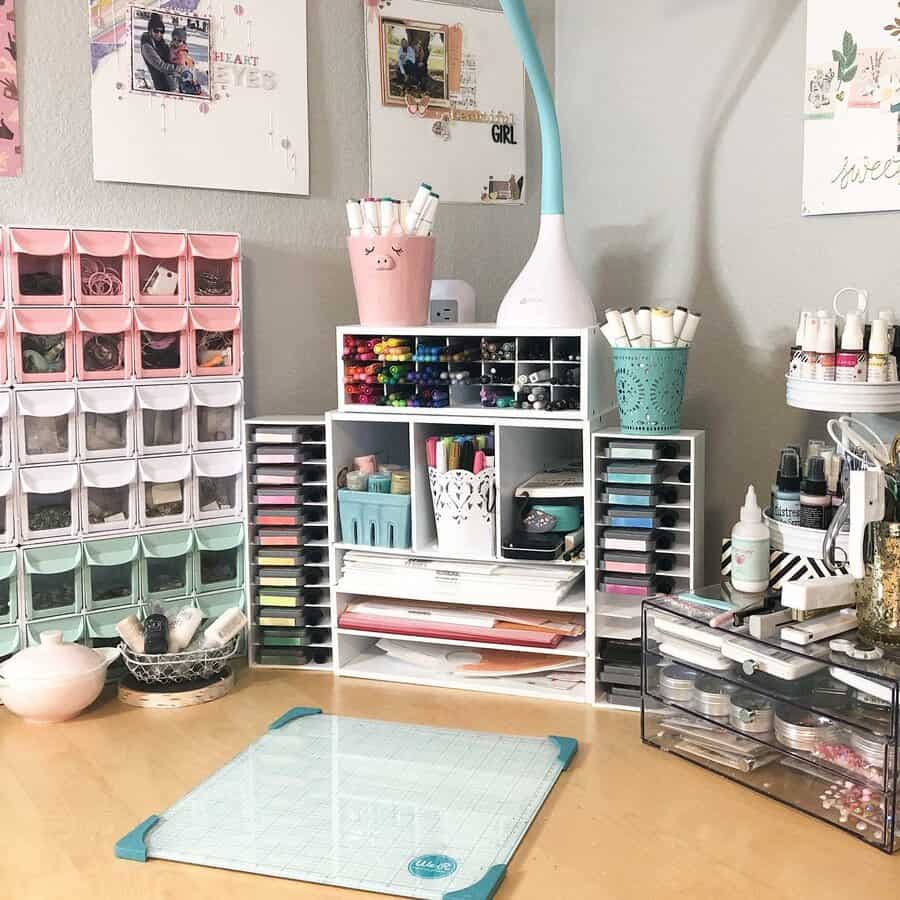
A turntable or lazy Susan is a great way to store small paint bottles and find what you need as you work. Shelf risers or “steps” allow you to line up materials and still see clearly what’s on the back row. Spool trays and stands help you organize thread and ribbon by color while making the most of limited space.
8. Embrace Pegboard Flexibility
Pegboard is one of the best DIY craft room organization ideas. It’s easy to hang a simple pegboard panel over your work space and add hooks to hold various shelves and bins. You no longer have to settle for plain brown fiberboard and metal hooks. Pegboard now comes in many sizes and colors, with lots of fun accessories that maximize storage potential.
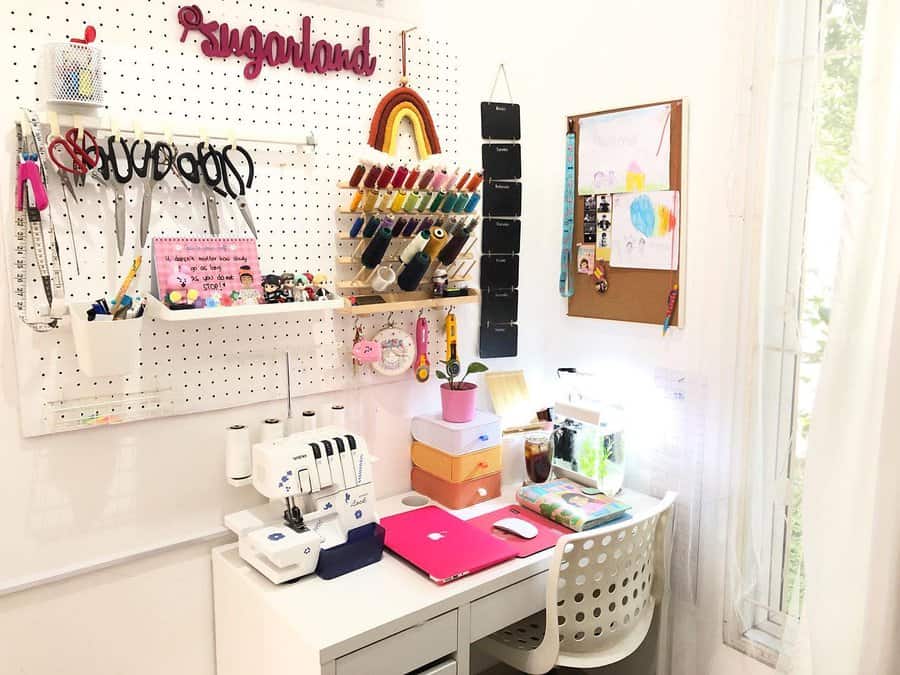
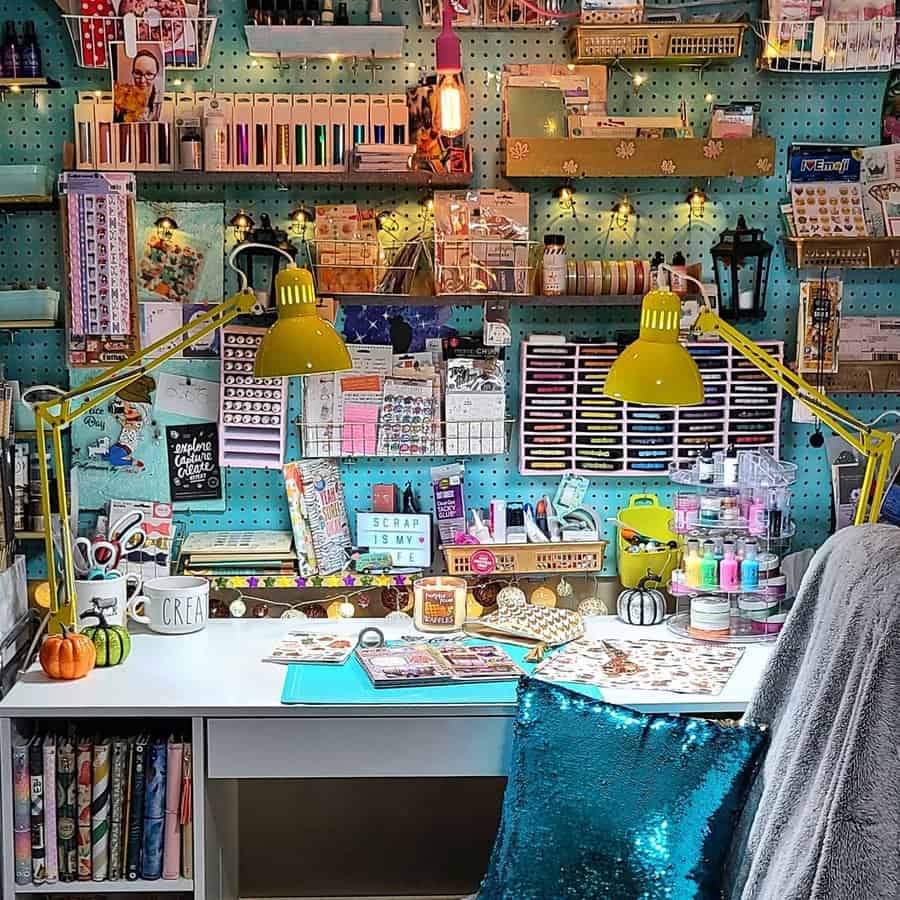
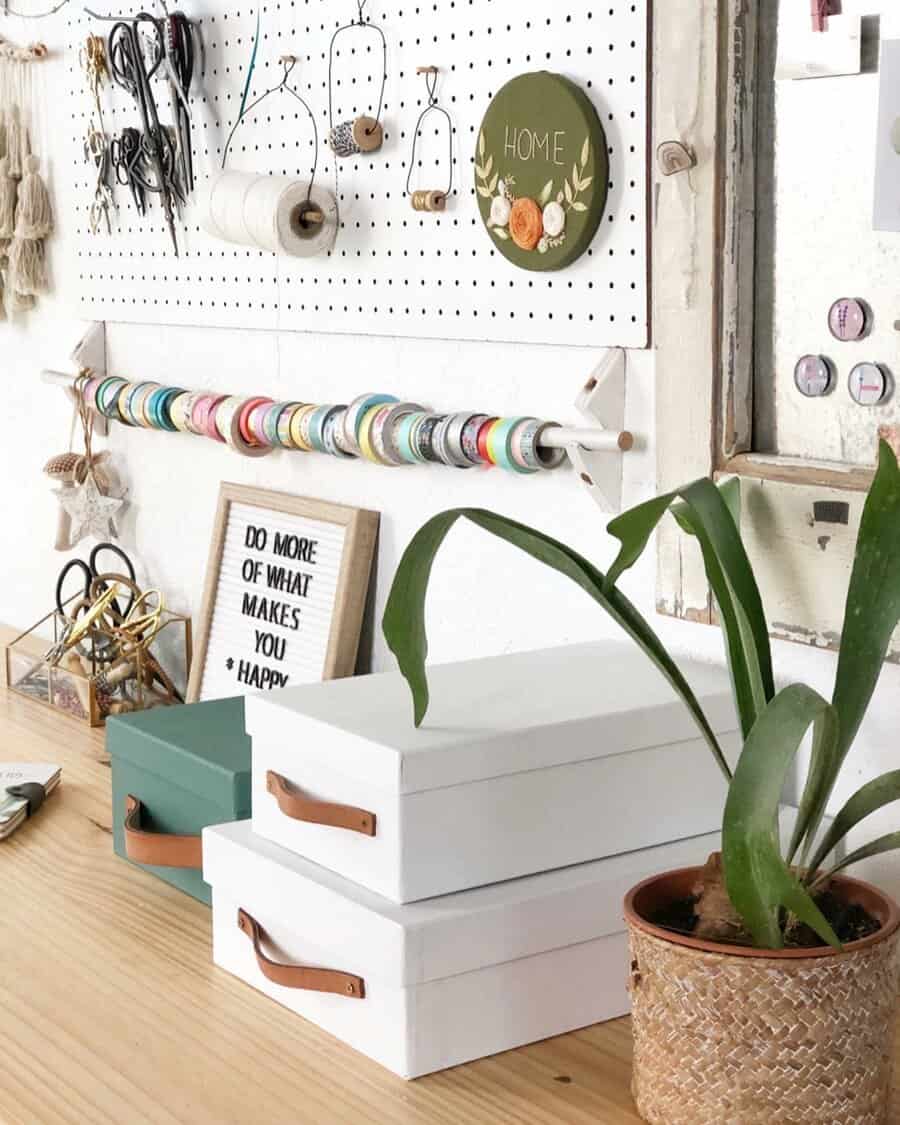
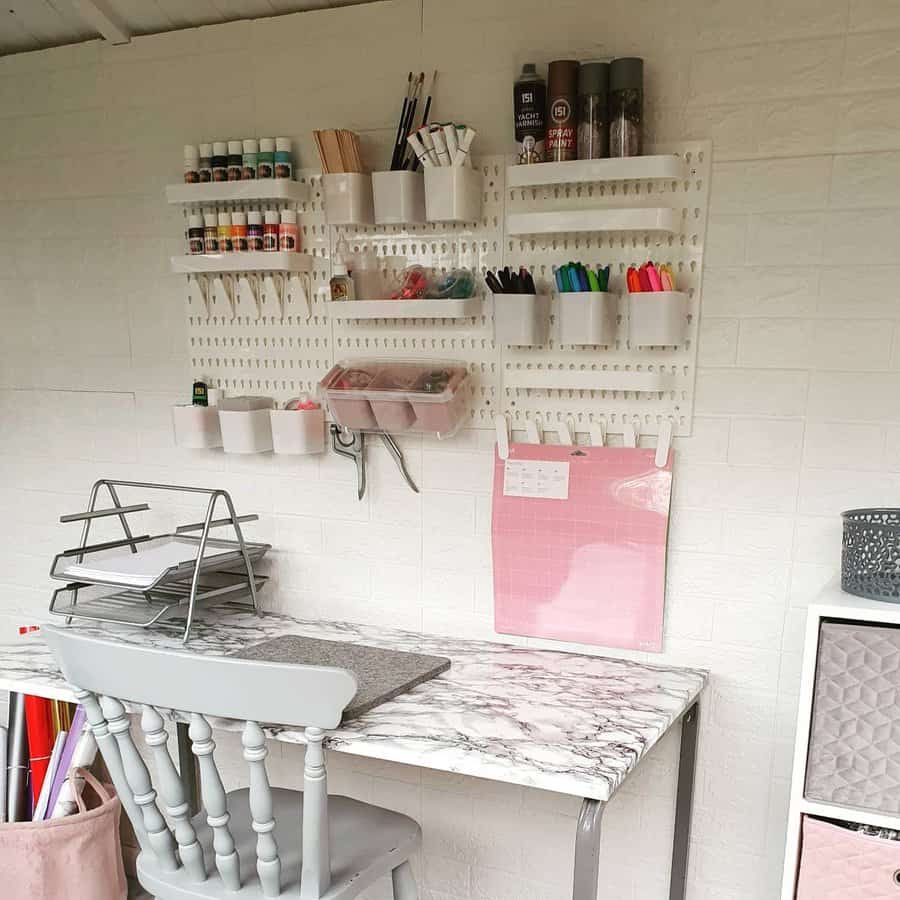
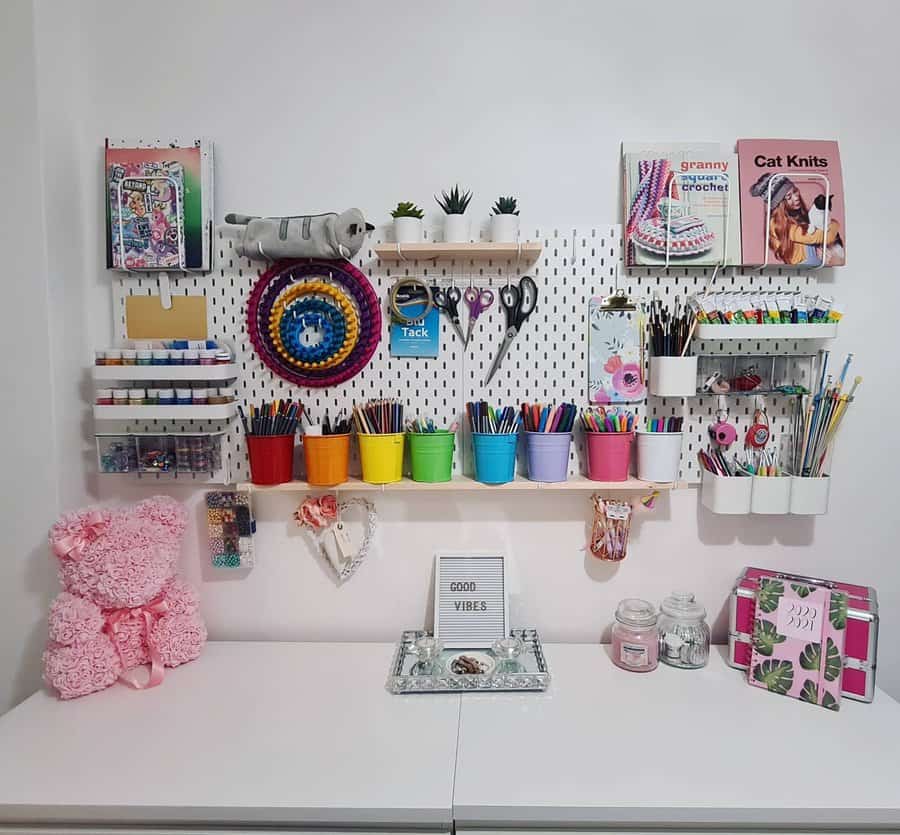
You can paint wooden pegboard to match your craft room decor. You can also purchase thin vinyl pegboard panels to hang on the wall. These are usually black or white, and can be decorated around the edges with colorful duct tape. If you prefer your pegboard unseen, mount it inside a closet or cabinet door.
9. Invest in Portable Storage
Portable supply storage is a must if you frequently work outdoors or craft in another room. It’s also one of the best craft room organization ideas if you keep your supplies in a closet and need to bring out a lot of them to work.
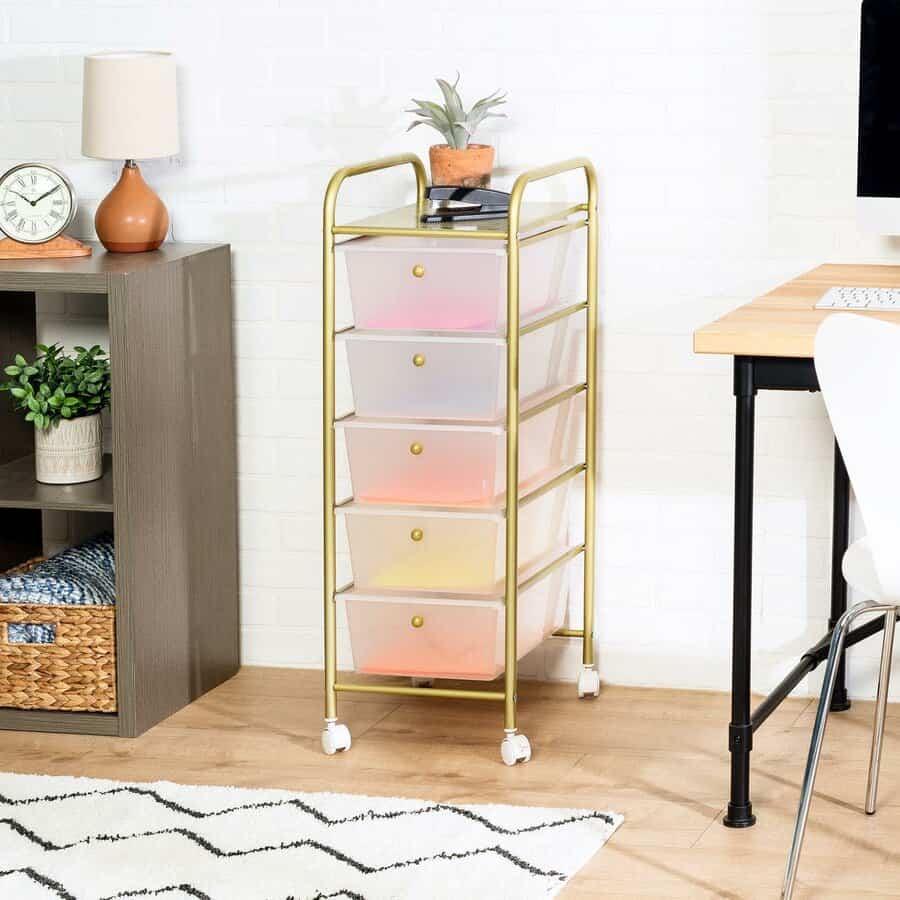
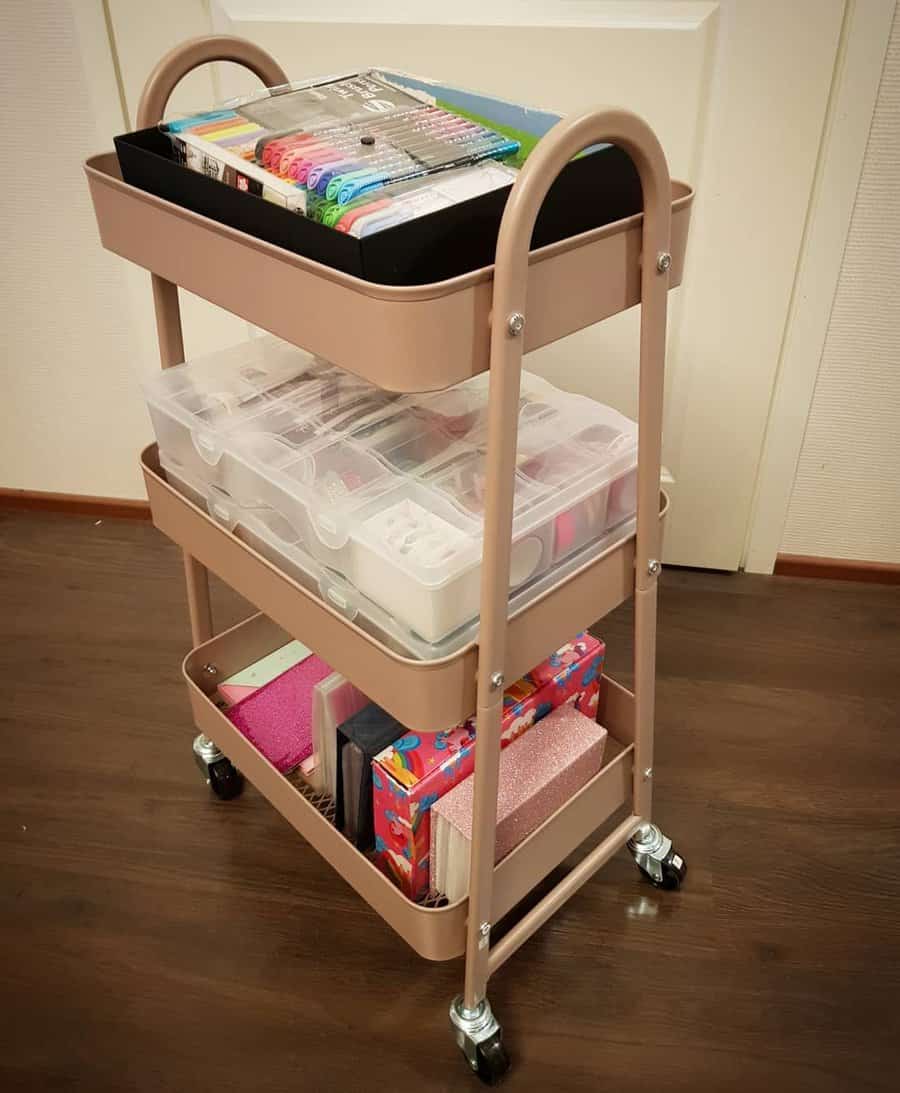
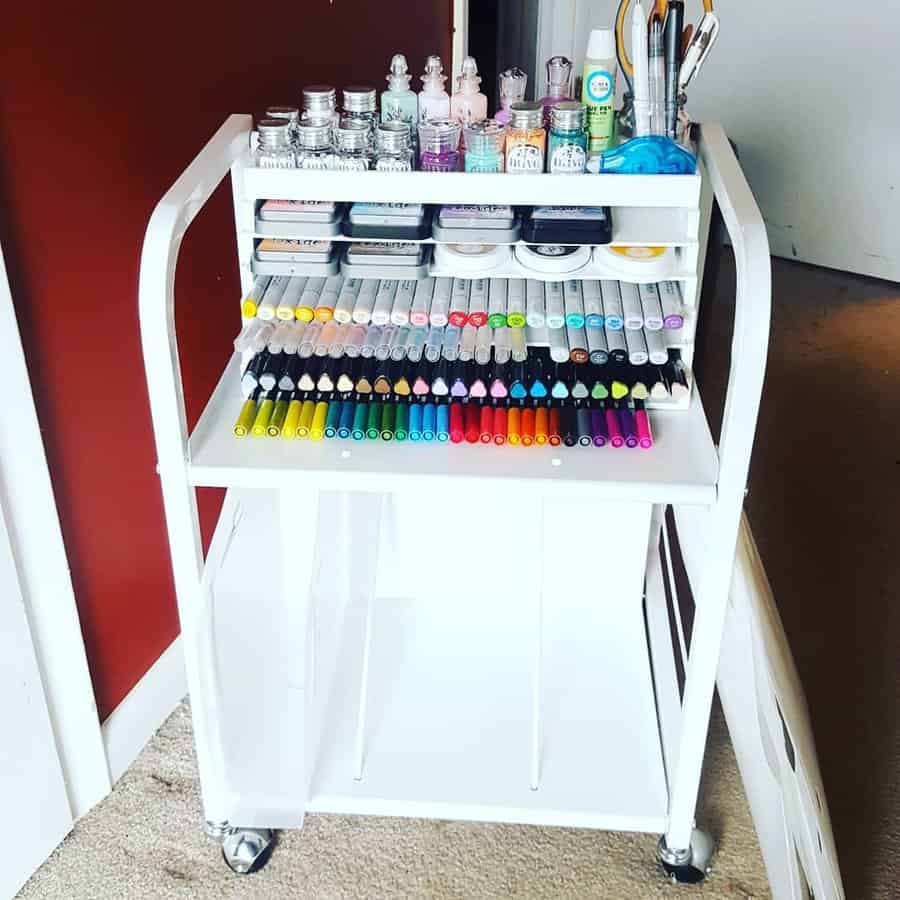
Any type of rolling cart can become a great transport tool for craft supplies. You can expand a cart’s storage capabilities by attaching hook-on baskets to the edge of each cart tray. Put small drawer organizers into cart drawers if you need to divide supplies into more specific categories.
10. Display on Elegant Shelves
A shelving unit is a great storage addition to any room—craft rooms included! Install simple metal shelf brackets onto the wall. In addition to shelves, you can attach rolling basket drawers to these basic brackets. They’re a great space-saving solution when you don’t have the floor space for a bookshelf.
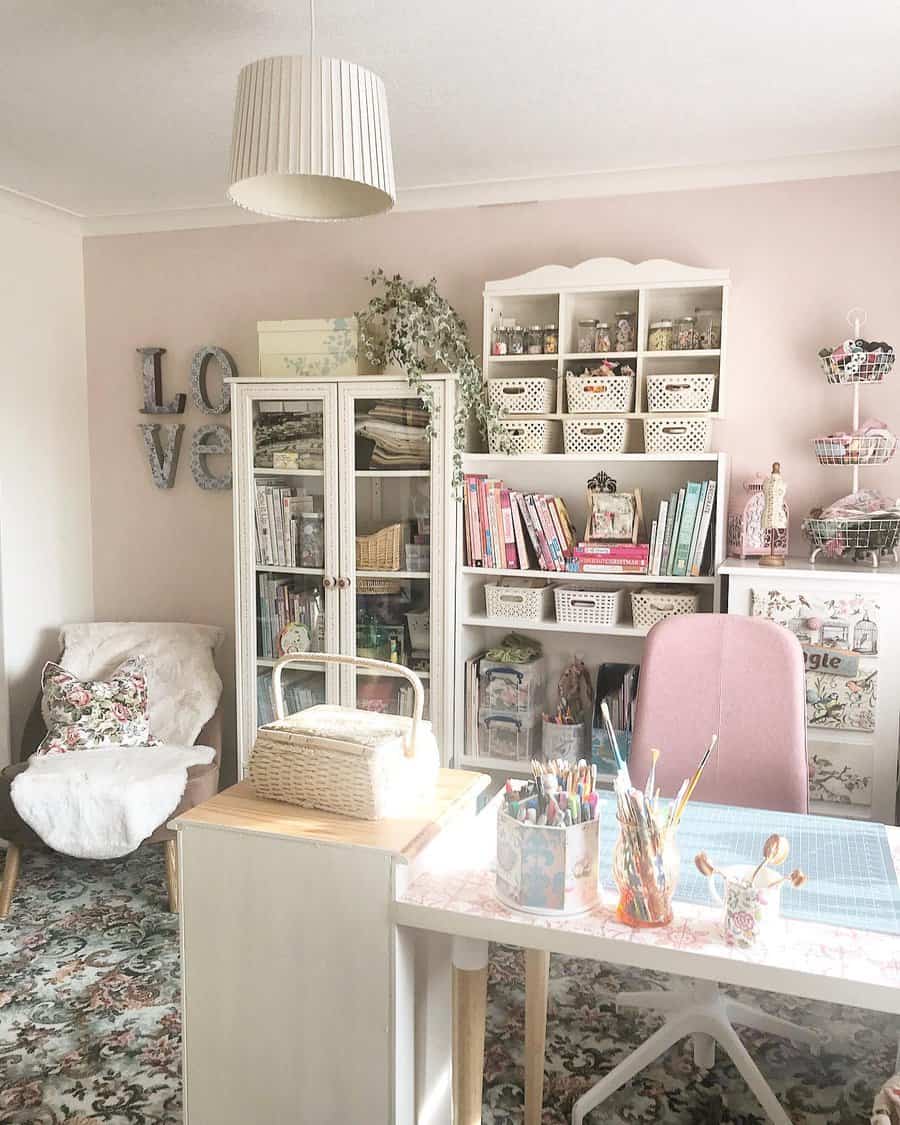
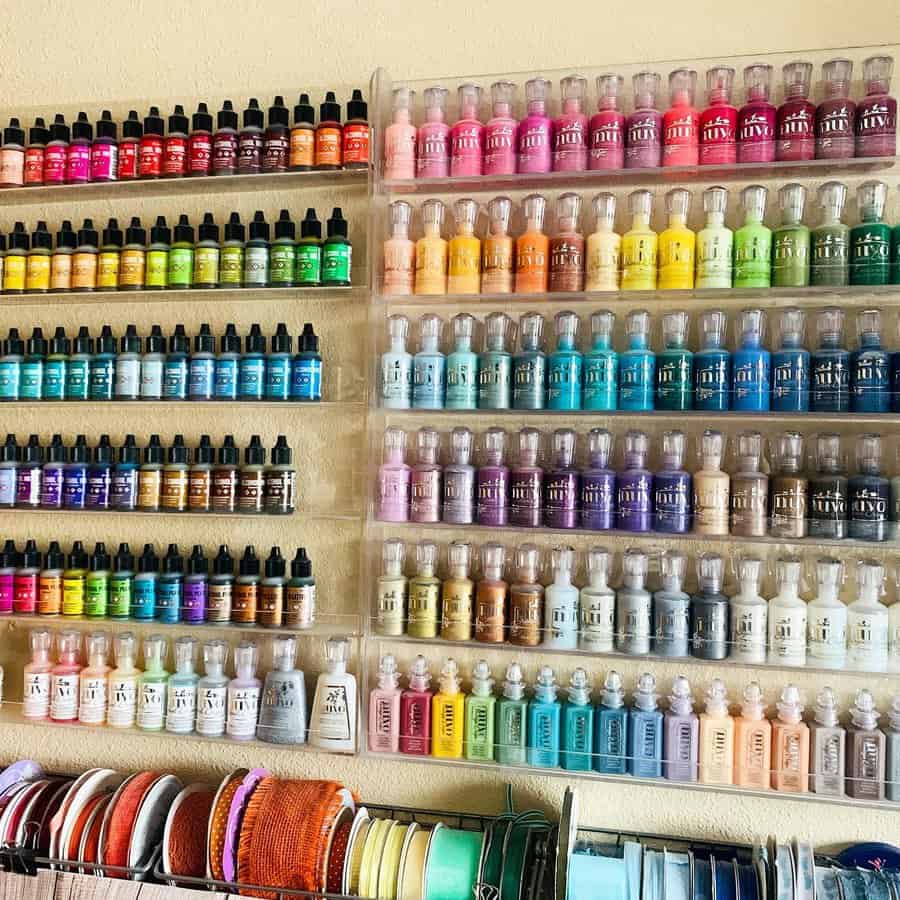
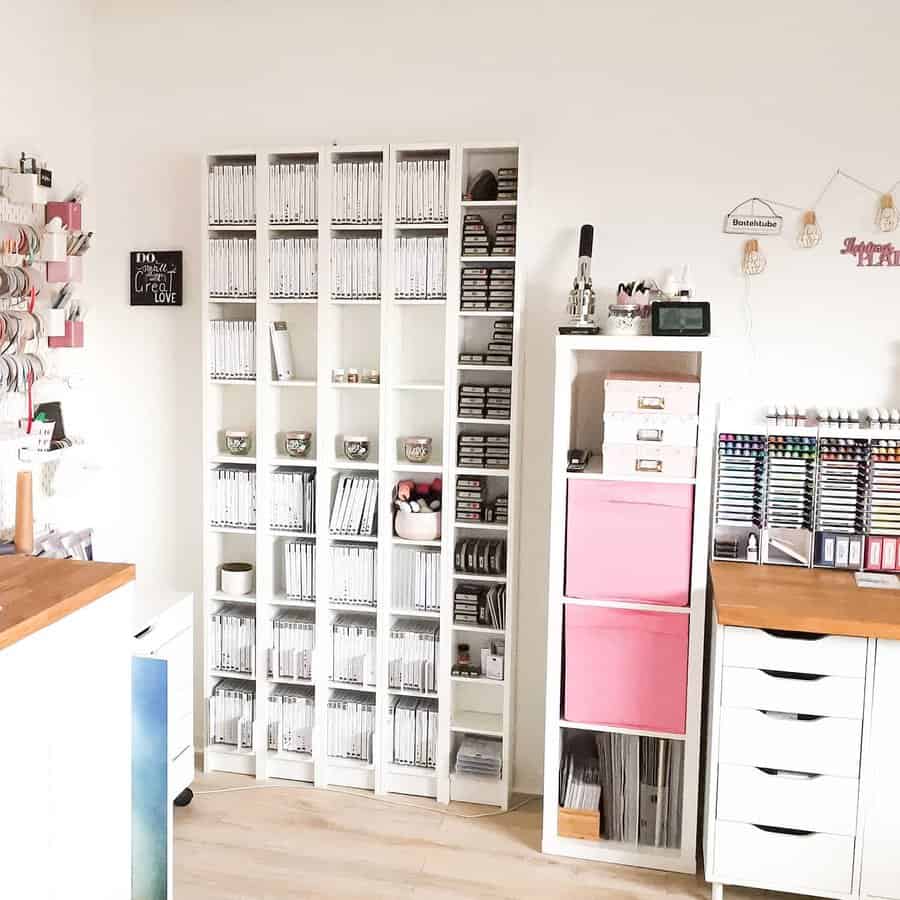
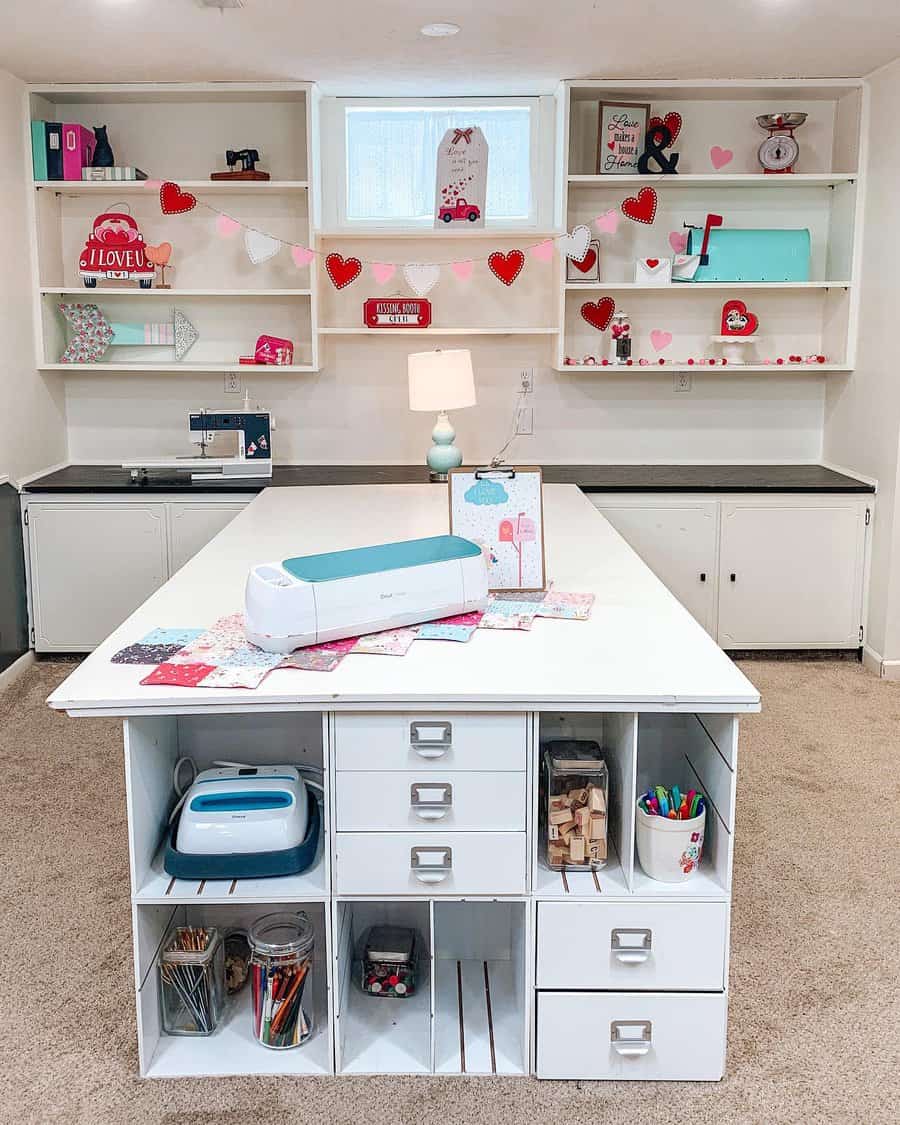
If you prefer freestanding furniture, line attractive bookshelves along one wall. Fill them with craft books and a storage container for each type of supply you use. Baskets, bowls, bins, and jars are all great shelf-top craft supply storage options.
11. Choose a Craft Table With Storage
Your craft table or craft desk probably holds hidden craft storage ideas that might not have occurred to you yet. For example, is there room to mount a craft or wrapping paper roll under the surface? Can you hang hooks along the edge and use them to store scissors or a glue gun?

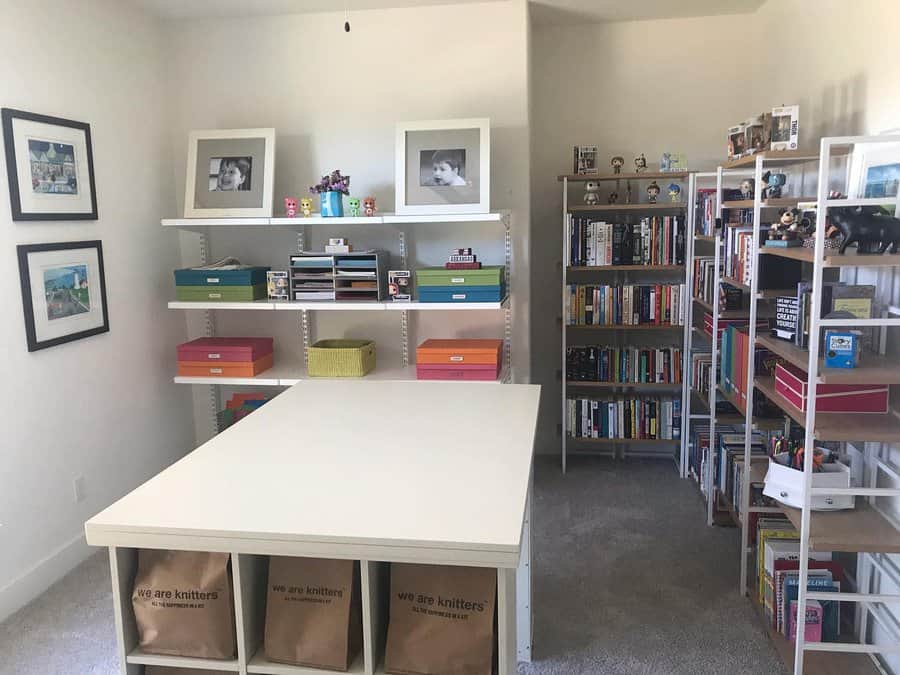
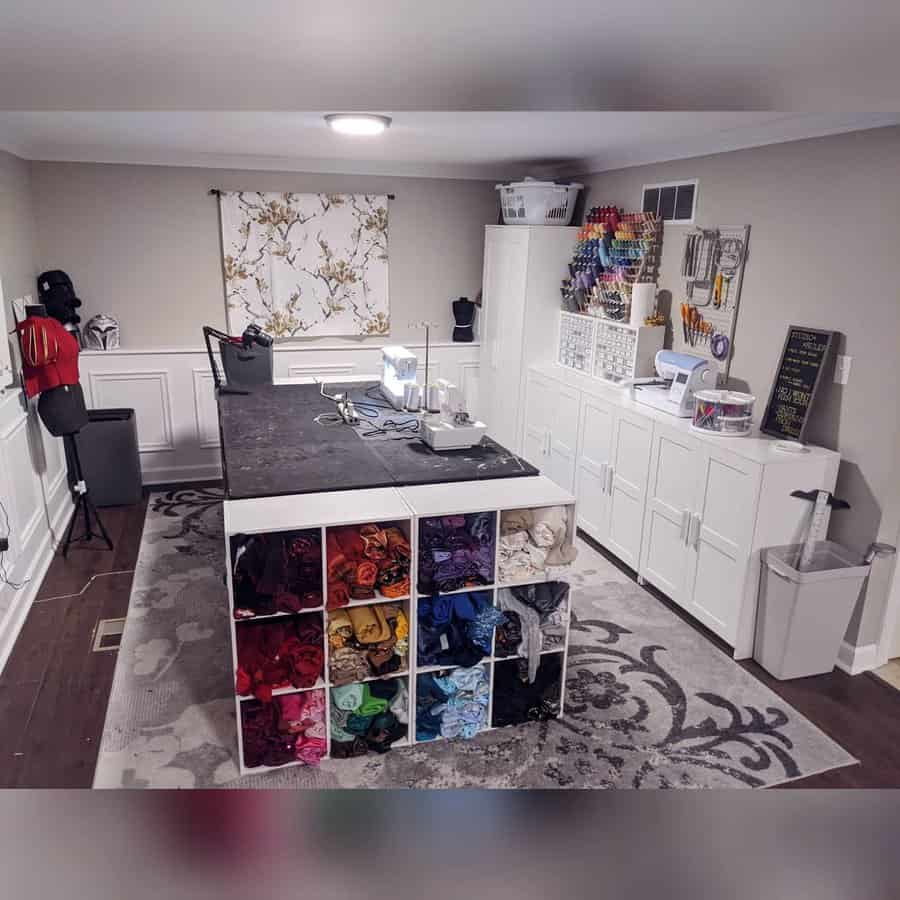
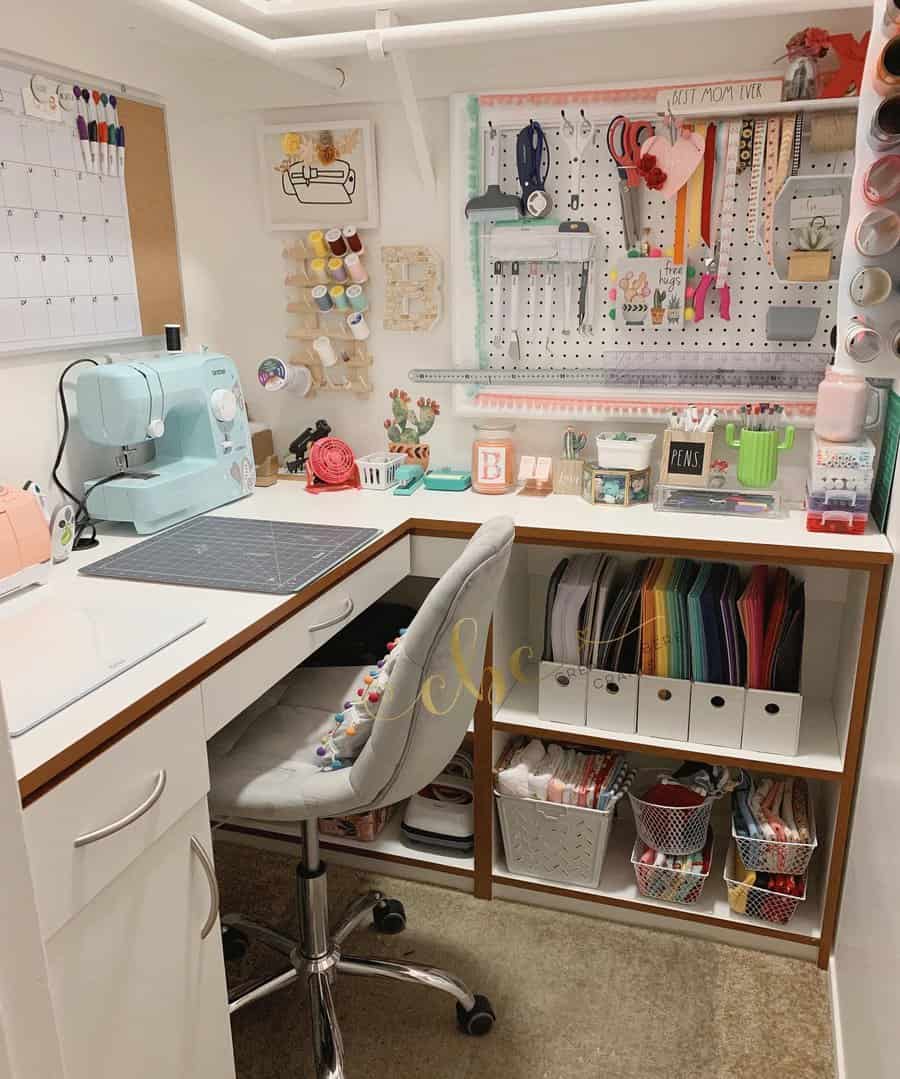
A sturdy rolling drawer—such as the kind used under beds—can also work under a craft room desk or table. If tabletop is positioned in a corner, line up small containers along the wall to keep supplies at close reach without encroaching onto your work surface.